Battle-Tested Achievement Guide
GHub Platform · Гайд · 0 ответов · 19 просмотров
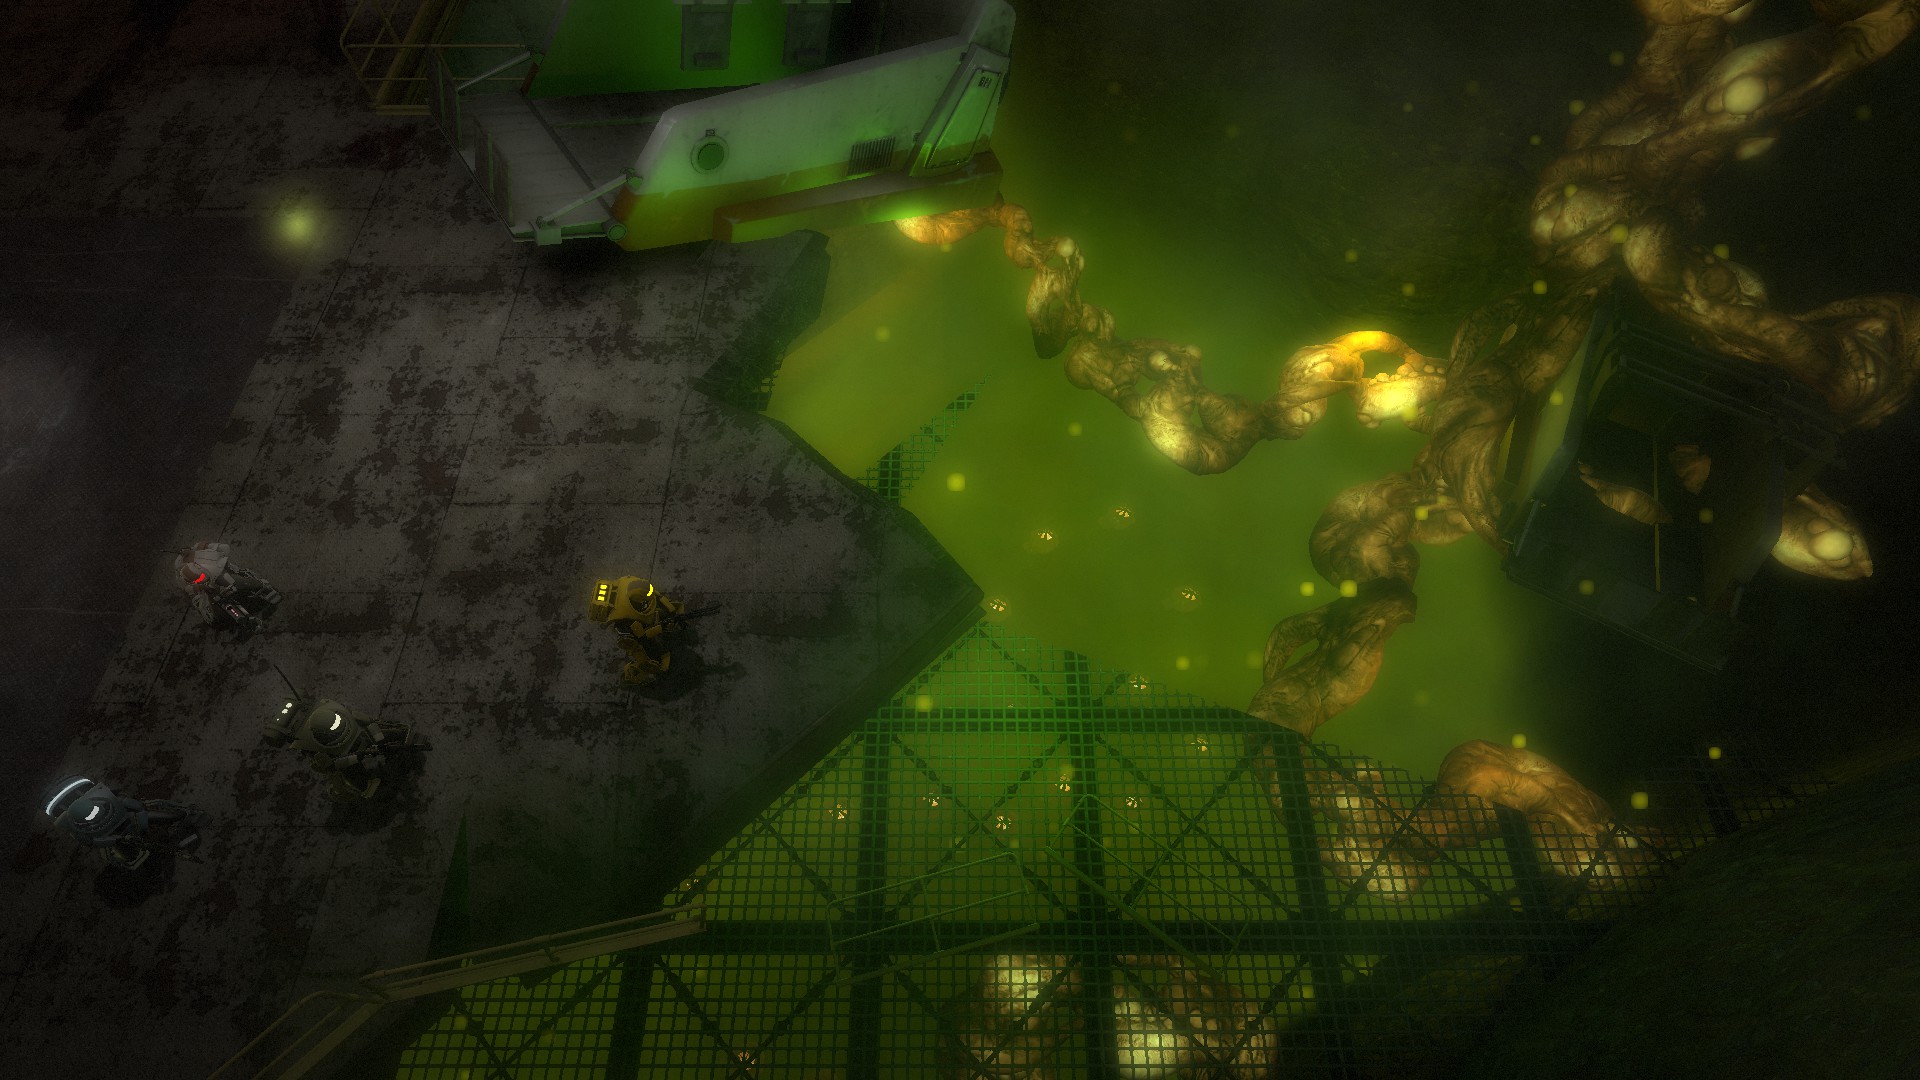
Apparently, quite a few people are having trouble figuring out 25 different ways to kick the bucket in this game for the Battle-Tested achievement. So let me give back to the community by telling you how to end your existence! No, really, it's a "HOW 2 DIE" guide that's actually useful... I've started with the more obvious ones, in case you want to check these in order. You may notice that there are more than 25 ways listed here (64 to be exact). Some are currently unconfirmed, but this list is more or less incomplete - if you know of a way to bite the dust that you can confirm to count towards the achievement, let me know. Anyway, with so many methods to choose from you have some room to be picky. I STRONGLY recommend you try these by yourself instead of a public game. Unless, of course, you like pissing off your teammates and/or public humiliation. I won't judge (much)! All methods specified in this guide are based on personal testing and information from SteamDB: https://steamdb.info/app/563560/stats/ Special thanks to Ben Lubar from the ASRD dev team for pointing me to that! Also thanks to the RD team for considering this snark-filled guide worthy of a medal! I think that's the greatest endorsement this guide could ever get. Note that this guide is intended to point out possible causes of death that are available in official content . Non-official (Workshop) campaigns may feature some "generic" damage types that resemble/are functionally identical to methods described in this guide, but will nonetheless count towards the achievement. These are not listed in this guide. This section lists various ways to get killed by the Swarm. A1. Get killed by a drone Pretty self-explanatory, really. If you need to find a drone, you probably won't have to look very far. A2. Get stung by a Buzzer one too many times Buzzers are those flying little buggers (pun most definitely intended), and they don't do much damage by themselves. As such, you'll likely need to kill all of the tougher aliens in the vicinity so that they won't "steal" the kill (that's you). A3. Get Shieldbugged Shieldbugs are big, tough, and more than capable of stomping you into the dirt by themselves. Odds are you have been already killed by one already, but if you're not sure, just walk up to one and don't resist. One is guaranteed to spawn in Jacob's Rest - Deima Surface Bridge, but they can be found in most campaigns as well. A4. Get blown up by a Boomer projectile Boomers are the three-legged, yellowish creatures that inflate their pouch when sufficiently annoyed. When it does, give it a few seconds to reach full size and then kill it - this ensures that the maximum amount of projectiles is spawned when it dies. Then just try to catch as many as you can; for best results, kill the Boomer in a narrow corridor. A5. Fail to roll under Ranger projectile Rangers are another alien type that appears very frequently. This is very straight-forward; instead of rolling out of the way like a sensible person, try to catch as many of the green spit projectiles as possible. You may wish to kill other aliens in the vicinity beforehand, if possible. A6. Attempt to catch a Mortarbug projectile Mortarbugs are not very common, but getting killed by them is fairly easy. I recommend Jacob's Rest - Timor Station for this: at one point, you must activate a console to turn a rotating bridge. A Mortarbug spawns on a inaccessible walkway to the north (on Normal and above): you can let it do its thing, as there should be very few other aliens to deal with. A7. Succumb to parasitic infestation This is another one you most likely already have. If you're not sure, load up Jacob's Rest - SynTek Residential and go find an egg, wait for it to hatch and meet your new companion. Your time together will be brief, though. A8. Die due to contact with biomass This is a little less obvious than the ones before. While not particularly damaging, touching biomass can indeed kill you. When you find some, deal with any nearby space bugs and go give it a hug! A9. Get Xenomites all over yourself Xenomites are the small aliens that Harvesters release, although they do spawn by themselves on occassion. However, Xenomites do not deal that much damage and die as they burst all over your face, so you'll likely need to find a Harvester - it comes with an endless supply of them. A10. Get kicked out of the way by a Boomer Before they inflate, Boomers are able to attack you by sweeping kick with one of their legs. You'll want to find an uninflated one and then stay right next to it. You may need to eliminate some other aliens as you stand there, as they rarely come alone. A11. Die due to contact with Harvester Like biomass, Harvesters have corrosive skin. Dying of skin contact with one is pretty hard, though, as they prefer to get away from you while laying down Xenomites. I honestly don't recommend going for this if you can help it. A12. Die due to contact with Mortarbug Ditto. Find a Mortarbug and get a little too close to comfort, all while you avoid the projectiles and keep the smaller bugs off your back. A13. Get whacked by a crossover creature, the Antlion Guard These repurposed assets visitors from another universe only appear in a handful of maps, such as Paranoia - Hostile Places and Accident 32 - Lab Ruins. It is an above-average opponent (depending on difficulty and level), so getting killed by one shouldn't be too difficult. They come in two flavors: normal "Guard" (reddish brown) and "Guardian" (glowing green). These are two separate NPC types, so you can do this with both variants and they'll count towards the achievement twice. The Guard has two attacks: shove and charge. Once you've found a creature matching the above description, deal with any other nearby swarm (if possible) and then get close to it. It should perform an "uppercut" of sorts and send you flying. Repeat until you have been thoroughly tenderized. A14. Get rammed by an Antlion Guard Same as above, with one key difference: instead of getting close to it, let it come to you. When you're not too close, the guard(ian) will charge towards you. This attack will also knock you down, so it's important to make sure other bugs won't get you and that you have enough space to get up and put some distance between yourself and the big guy. If you get stuck, it's likely that it'll just run up to you and finish you off with a shove attack. As such, being at low health before attempting this might make this easier. A15. Get spat on by the Queen There are two Alien Queens in vanilla maps: one in Research 7 - Jericho Mines and another in the IAF Academy. This one is only possible in Jericho Mines: you first need to progress through the mission until you open a large gate to the north, then run to the south into a room with the laser. Once the Queen catches up with you, it will periodically spit green acid at you. Drones will trickle in during this part, so you need to deal with them as you're trying to get corroded. A16. Get close and personal with the Queen's tentacles This one is only possible in the IAF Academy. One of the zones involves fighting the Queen, but instead of that, you must stay out of her reach while fending off Drones and Buzzers. She will periodically attack you with tentacles that come out of the ground, so hold your position and wait...you weirdo. A17. Get whacked by the Queen Also possible only in the IAF Academy. Same place as the previous one, only now you need to get close the Queen and let her beat you to submission. A18. Die due to contact with an parasite egg (unconfirmed) Due to the fact that the first thing you do when you see an parasite egg is to put a lot of bullets into it, not many know that it also has corrosive skin. In theory, this should work just like with every other creature with deadly touch - only that the eggs tend to hatch when you get close. You might want to already be at low
ИсточникGHub Platform · автор23.08.2026, 00:43:28
Apparently, quite a few people are having trouble figuring out 25 different ways to kick the bucket in this game for the Battle-Tested achievement. So let me give back to the community by telling you how to end your existence! No, really, it's a "HOW 2 DIE" guide that's…
Войдите, чтобы писать в группе