Complete Walkthrough: Darkness Within
GHub Platform · Гайд · 0 ответов · 15 просмотров
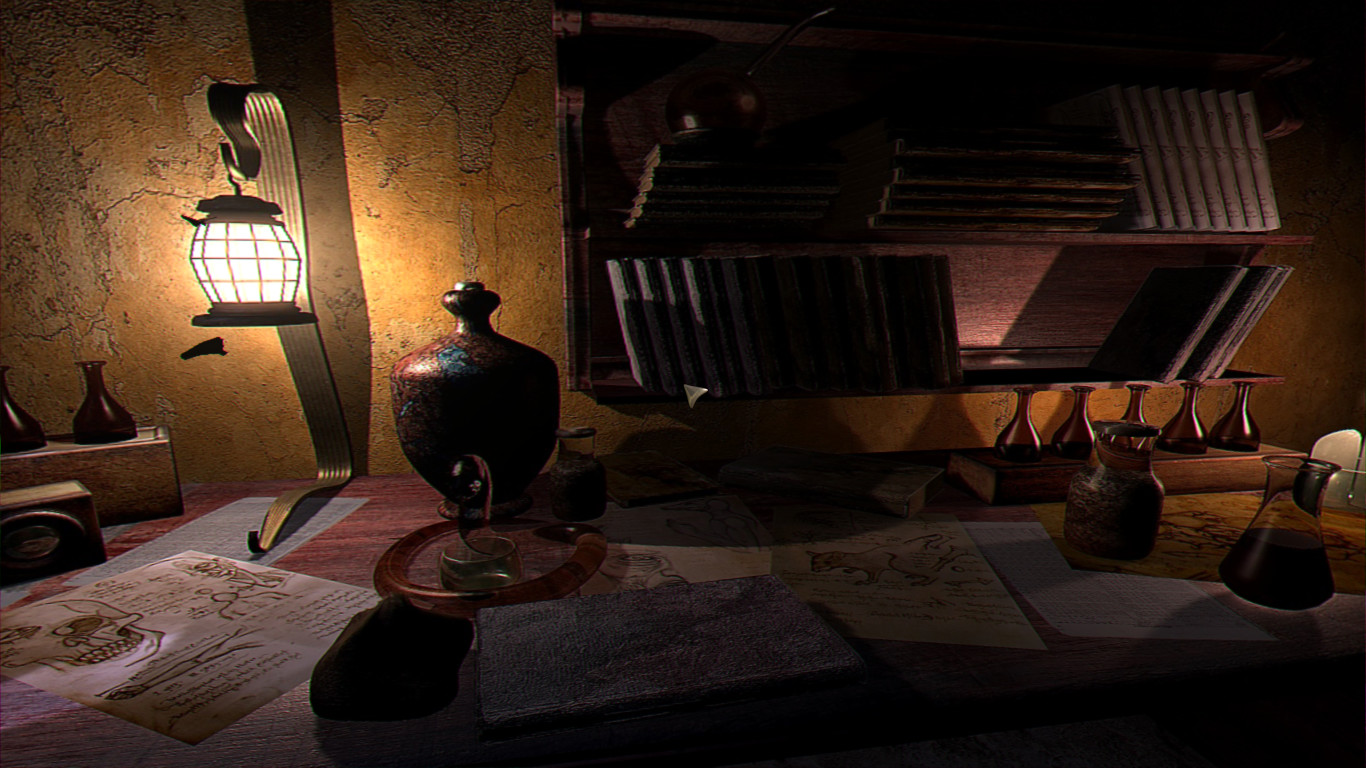
This guide was written in the hopes of giving those enjoying the game a means of uncovering all hidden secrets and easter eggs. The guide will also contain all the information necessary to complete all 30 achievements associated with the game. By the time I finished the run used to write this guide, I had found all documents, all clues, all secrets and all easter eggs. So beware, all the spoilers are in this guide. The pronouns You and Howard will be used interchangeably, as you (the player) for the most part steer Howard (the character). For simplicity’s sake, the guide will cover the game in a certain order of events even though it can certainly be accomplished in several different ways. Gameplay Before you begin the game properly, I advise you to get comfortable with the controls (the game is a mouse point-and-click adventure). Most of your actions are performed by left-clicking your way around, while right-clicking brings you to your inventory which is displayed as a bar at the top of the screen. Items can be examined and used from here either by right-clicking them or using the microscope lens icon to the right. The brain icon opens a new panel called the think frame: here you can combine items, clues you have found and so on into clues that’ll help you move forward. You take the items you want to combine, put them in the slots on the right and press the gear to try and combine them – Howard will tell you the result. Settings Adjustments If you want to be able to find all clues you will have to make an adjustment to the difficulty settings. You need to put the option “Underline” to “Always”. Something else to note is that you should only underline one instance at a time – underlining several instances before pressing the think cogwheel will probably end up yielding nothing. Remember to Save Also remember that there are 50 save slots available to you, and they can all be labeled and overwritten. It gives you a lot of flexibility if you feel the need to revisit a prior point in the game. On with the show! You, Howard, start out in a hallway with four doors. Two at either side of you and two down the hall. Start out with testing the doors beside you and find out they are locked. Take two steps down the corridor and look at the graffiti on your right. Click on it twice and Howard will comment that he’s seeing two faces in it. Continue down to the end of the hall and click on the larger graffiti there for another observation from Howard. Enter the door on your left. You’ll step into a ‘beautiful room’. Pan down, and see a man on the floor. You wake up from a nightmare and are lying in your bed. There’s a phone ringing close by. Get out of the bed and glance down at the nightstand. You can click yourself closer and then take the cellphone lying beside the radio. Answer the call from Arthur. Listen to the conversation between Howard and his coworker. The conversation will give you a dialogue (so you can listen to it again later if you need to), as well as your first clue. Achievement “In Pursuit of Loath Nolder” unlocks. Click yourself close to your nightstand again so that you can see the answering machine and the radio, as well as the top drawer. The radio is also usable: you can turn it on/off, and change music tracks. Quite neat. Let’s look inside that drawer. There’s a book of poems there labeled “I and My Night Mares” written by Edward Pickman, Howard’s favorite poet. Page through it and take special care in the poem called “Time of the Triumphant Witch” – it’ll be an important one later. Next up is the answering machine on the nightstand. Check your messages and there’s none to listen to despite Arthur having said he left several. Give Arthur a call from your cellphone and ask about it. Achievement “Something’s not right” unlocks. Time to look around the rest of the apartment. On your left, past the TV, is a door leading into your walking closet. Head inside and then open the bottom drawer of the cabinet inside. Under one of the clothes is a gun and a ring you can examine and Howard will comment on them. Back out in your bedroom, make sure to inspect the clock on the small side table and the dreamcatcher hanging from the ceiling fan if you haven’t already. Exit your bedroom through the second door here. You’re now in a hallway. Take the door to the left and peek around your bathroom. There’s a few things to examine inside. Afterward you can go back out into the hall. The drawer here is your next objective; zoom in on it and open the drawer. Open the box inside and take the car keys . And then leave your apartment through the last available door and head down to the end of the hallway. Howard will automatically leave the building and head over to his office. Since our job is to investigate the escape of Loath Nolder right now, let’s get around to it and set some ground work which help us later. After you’ve spend a bit poking around the office, that is. Go to the desk and zoom in on the in-out tray to the right of the keyboard. There’s a document there you can examine, holding a crime record, and register of death regarding Clark Field who Loath Nolder is said to have killed. A big part of the gameplay is the capability of inspecting documents and underlining words or a string of words to find clues. That’s what we’ll be doing here. To underline words, click the pencil icon in the lower left and then hold and draw to make a red line under the words you want to check. When done, press the gear icon in the lower left to have Howard process it. Remember to only process one word or string at a time: marking two different instances of words will yield you nothing. On the Record of Death (the first page you’ll see), you can underline four things: Clark Field, Date of Birth: 03/11/1976, Died on the October Day of 21 and Suffocation . The last one doesn’t give you a clue to use, but is one of the game’s many hidden clues to collect. Click on the visible bit of the second paper to get it to the foreground. Here you want to look down under the Details of Offence section and underline the first instance of packet . That concludes all the clues for this document. The last thing for us to do in here to make sure that we collect the crime scene photos lying beside the red phone. After that, we’re ready to leave. You’ll now be presented with a map which will be your means of travelling between locations. Right now, you’ll only see your apartment, your office and Loath Nolder’s office marked on it. Click the photo of Loath Nolder’s Office to travel there. This place, along with a few others, is one that we’ll have to revisit several times across the storyline to collect additional pieces of information to advance the plot. On the right wall from where you enter is a calendar, examine it closer and get a clue. Achievement “The onlooker sees all” unlocks. Next up you should walk behind the desk and pick up the letter opener lying beside the red phone. There’s a news article about earthquakes and an archeological discovery to examine, and you can also open the desk’s top drawer. Take a read of the Wellsmouth: Myths and Legends of an ancient town book lying inside, and give the paper with a list of symbols a quick gander. Now, Howard did say things had changed since last, so let’s compare the scene with the crime scene photos taken from your office. Open your inventory and right-click on a photo to examine it. The trick is to place yourself at the spot where the person taking the photo could have been, look in the right direction and then examine the photo depicting that screen – as you zoom in Howard will eventually make a comment that he does or doesn’t see anything changed. The solution to this puzzle is having Howard standing at the side of the desk and facing over toward the lamp and the door leading to the archive. Take the picture corresponding to that scene, examine it and zoom in – Howard will throw a line that something looks off. Once you have foun
ИсточникGHub Platform · автор23.08.2026, 01:13:36
This guide was written in the hopes of giving those enjoying the game a means of uncovering all hidden secrets and easter eggs. The guide will also contain all the information necessary to complete all 30 achievements associated with the game. By the time I finished the run used…
Войдите, чтобы писать в группе