Advanced Shop & Stall Mechanics
GHub Platform · Гайд · 0 ответов · 5 просмотров
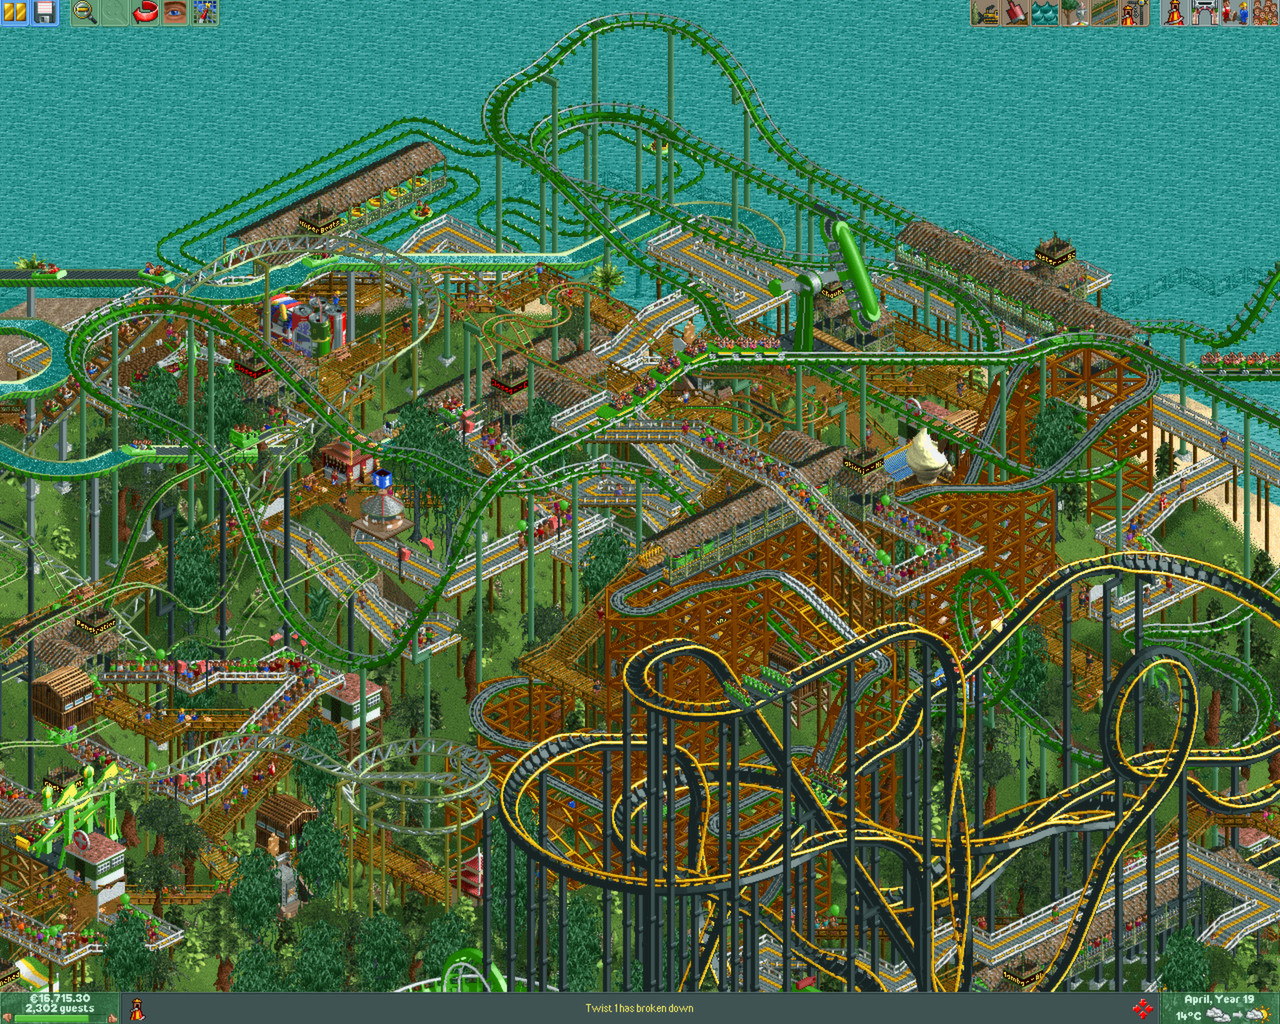
There’s a lot of info available on the web about different coaster and ride types- their stats, cost, and advantages and disadvantages, but there isn’t really much literature to be found about the different stall types in RCT other than Duerklink’s video and spreadsheet on their price mechanics, which is available here. [docs.google.com] On the other hand, there appears to be nearly no information on how exactly food and drink works, especially with some persistent rumors that different food types might have additional effects like salty food making guests thirsty. To that end, I wasted an afternoon examining all the different food and drink stalls in the game and observing single guests using them in controlled conditions. My results are as follows, though your mileage may vary if you are not using OpenRCT2. The cost to build a stall is determined by what it sells or provides. All Food Stalls cost $300 All Drink stalls plus the Info Kiosk and First Aid Room cost $250 All Souvenir stalls and the ATM cost $200 The Toilets cost $225 All stalls have have a running cost of $49.60 per hour except the ATM and First Aid Room which have a running cost of $44.80 per hour. This was tested by dragging a guest into a cut-off path with one stall and using OpenRCT2’s cheats to fill the energy and happiness meters and empty all needs meters (except the one being tested). The guest would immediately buy from the stall, and their subsequent stat changes could be observed in isolation as they consumed each item. Summarized, it appears that drinks only decrease thirst whereas food will decrease hunger while also increasing thirst and bathroom need (sometimes dramatically), in a way related to the amount of time the food takes to eat rather than whether or not the food is salty or whatever else. Now with the game's listed "consumption time" (which it seems does not directly correspond to a real time value) plus a more reliable (though still approximated) set of hunger and thirst values, organized from "biggest" food to "smallest". Fried Chicken: 170, -100% hunger and +70% thirst Pizza and Burger: 150, -100% hunger and +60% thirst Hot Dog: 133, -100% hunger and +45% thirst Sub Sandwich and Beef Noodles: 130, -100% hunger and +45% thirst Fries and Fried Rice Noodles: 120, -100% hunger and +35% thirst Roast Sausage: 115, -100% hunger and +30% thirst Meatball Soup and Tentacle: 110, -100% hunger and +30% thirst Wonton Soup: 100, -100% hunger and +30% thirst Funnel Cake: 90, -100% hunger and +20% thirst Donut: 80, -90% hunger and +20% thirst Cookie and Popcorn: 75, -85% hunger and +15% thirst Pretzel: 70, -75% hunger and +10% thirst Ice Cream: 60, -60% hunger, no thirst Candy Apple and Cotton Candy: 50, -50% hunger, no thirst All drinks: -100% thirst, no other effects, though with some variance in time (115-85). As mentioned above, different foods take a different amount of time to eat. The Fried Chicken takes almost exactly 3 minutes for a guest to eat, and Candy Apples about 52 seconds, to put things in perspective. All other items fall within a spectrum between those two loosely corresponding to the consumption value. Oddly, guests don’t experience increased thirst until they have already been consuming the food for some time (usually when they’ve gone from 100% hunger to around 30%) and will continue to consume the food after their hunger is already at zero, thirst increasing the whole time. This is also true for the Toilet need, but this is always to a much smaller degree than thirst (generally less than half of the thirst increase). Some stalls are actually reskins of another stall, and sell the exact same food item. Some are obvious, some are not, and most (but not all) are from RCT2’s DLC and used in the DLC themed park scenarios. Fruity Ices Stall and Ice Cream Stall - Ice Cream Fried Chicken Stall and Chicken Nuggets Stall- Fried Chicken Fries Shop and Fries Stall - French Fries Sea Food Stall and Neptune’s Seafood Stall - Tentacles Wonton Soup Stall and Witches’ Brew Soup Stall - Wonton Soup Drinks Stall and Moon Juice - Soda Candy Apple Stall and Candy Apple Market Stall - Candy Apples Art Deco Food Stall, Lemonade Stall, and Lemonade Market Stall - Lemonade Art Deco Food Stall and Beef Noodles Stall - Beef Noodles Souvenir Shop and Soft Toy Stall - Cuddly Toys (Souvenir Shop also sells Umbrellas) With the exception of the Art Deco Food Stall being a two-for-one with both a drink and a food item, both of which are slightly suboptimal profit-wise, there is pretty much no practical purpose to this information (though I used to think that Fruity Ices and Ice Cream stalls sold different products before examining this, so YMMV). Litter is a mechanic wherein guests who consume certain items will obtain a litter item in their inventory. If they don't have access to a trash can, they'll eventually just drop litter on the path, which causes many different problems for you. However, some items create litter and some don't. Litter items are also generally unique and relevant to the specific item the guest consumed, which is an excruciating level of detail for something you’ll only actually notice if you're specifically looking at a guest's inventory when they finish eating. You can see these litter items within the guest's inventory in the brief period between them finishing it and them finding a trash can/deciding to drop it on the ground, and the graphics for the items on the ground do in fact correspond to the items they were holding. Generic Trash/Litter: Popcorn, Pizza, Fries Empty Box: Fried Chicken Empty Burger Box: Burger Empty Cup: Coffee, Iced Tea, Hot Chocolate Empty Can: Soda Empty Bottle: Lemonade Empty Juice Cup: Fruit Juice Empty Drink Carton: Soybean Milk, Sujeonggwa Empty Bowl (Blue): Beef Noodles, Fried Rice Noodles Empty Bowl (Red): Wonton Soup, Meatball Soup Nothing: Candy Apple, Tentacle, Cookie, Donut, Cotton Candy, Funnel Cake, Hot Dog, Pretzel, Roast Sausage, Sub Sandwich, Ice Cream Guests who are eating food will greatly prefer to sit on benches, which allows them to regain energy while they eat. Not having a chair doesn’t seem to drain their energy, however. Guests will almost always sit on a chair if they find one while consuming food, but do not actively path towards them. If they are drinking, they won't necessarily sit, but can still decide to do so. Guests can still queue and do most other activities while consuming items if they don't encounter an available bench, but won't be able to buy any other consumable item. They also walk much slower than they would normally. This is a general tier list for shops and stalls based on the info present in Duerklink’s shop price spreadsheet above with some influence from the stall mechanics info I gathered, available here. The primary influencing factor for tier rating are the stall’s highest possible profit and its average profit across temperatures, but other features (such as stat restoration levels and time-to-eat) are also weighted. This tier list is probably not objectively correct in all situations, but should be useful for those looking to optimize their stall profits or to add a challenge to created scenarios by, for instance, locking the best stalls behind research. I should also note that you should have at least 4 unique Food stalls in order to avoid the Worst Food award and qualify for the Best Food award (the awards only track Food, and not Drinks, so you only need 1 type of those), but you should place as many Souvenir stall types as you have access to no matter their tier rating because you can’t sell the same souvenir to the same guest twice. I wouldn't really recommend building a stall type with a rating below C unless you have absolutely no other options for that type. Or you could just build whatever you please, since to be honest stall profits are not usually crucial to scenario success (the exception being scenarios where stall profits are the ac
ИсточникGHub Platform · автор23.08.2026, 04:55:59
There’s a lot of info available on the web about different coaster and ride types- their stats, cost, and advantages and disadvantages, but there isn’t really much literature to be found about the different stall types in RCT other than Duerklink’s video and spreadsheet on their…
Войдите, чтобы писать в группе