Time Trials and the Yokozuna Sticker - How to, Demonstrations, and Helpful Advice
GHub Platform · Гайд · 0 ответов · 7 просмотров
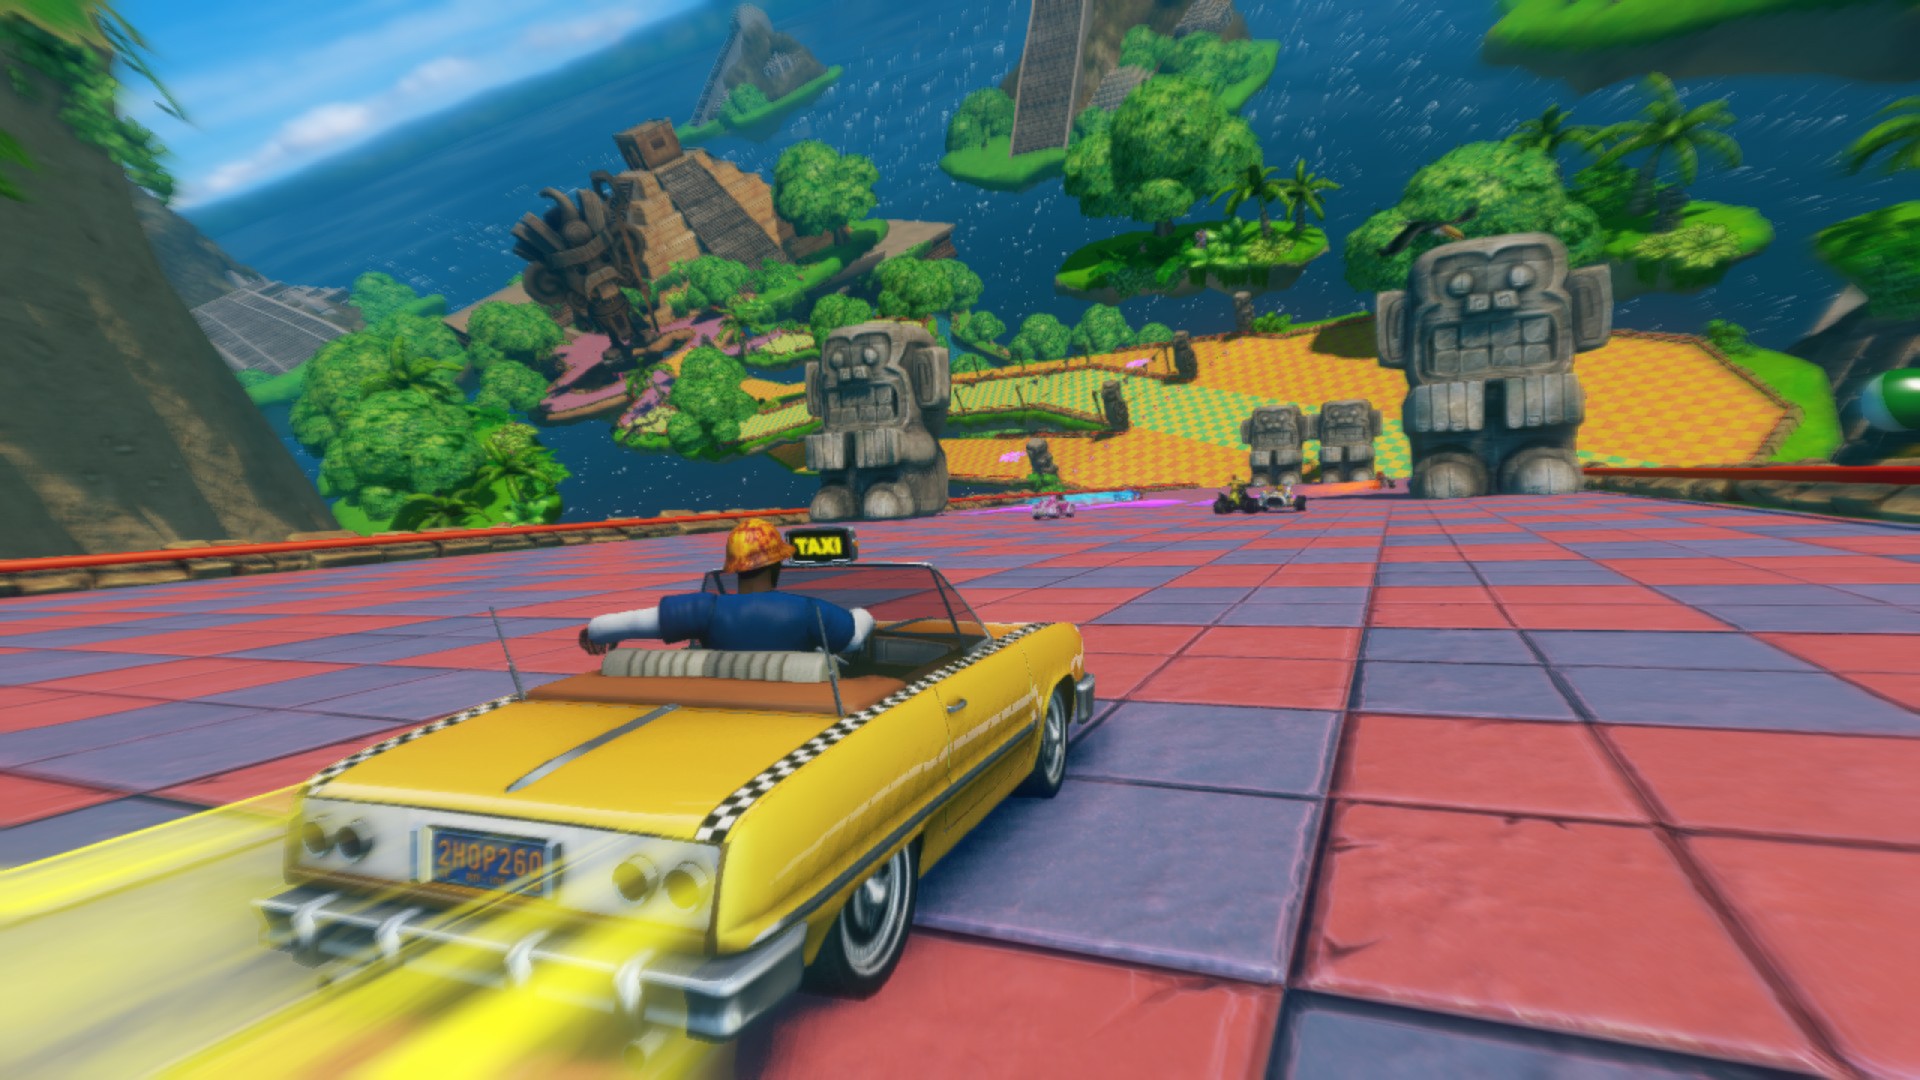
The Yokozuna sticker, quite the feat to obtain. It requires beating every Expert Ghost in the game (well, not quite every ghost, you can do either all of regular, or all of mirror; you don’t have to do mirror if you don’t want to, and OutRun Bay is also excluded). Many gamers have found themselves struggling to beat them. Fear not, for I will give you the advice you need to beat those pesky staff ghosts and improve your game in the process. If you think this guide is missing something, by all means let me know. I am still going over it, making changes and clarifying what needs to be clarified as I find them, but please help me find them. If you spot inconsistancy or incorrect information or have a helpful tip that I don't know about/don't mention please let me know in the comments. Unless otherwise noted, I perform all my time attacks using Vyse and the Dreamcast mod (5/1/1/5). Shadow and Metal Sonic with their console mods have identical stats. I've noticed a number of videos don't seem to be working correctly as of late. Please notify me in the comments if a video doesn't appear to be working. Vehicle selection: Your choice of vehicle is important for time trial. If you look at the leaderboards, you'll notice the most common characters for high scores: Sonic, Vyse, Shadow, Metal Sonic, AGES, Ralph, and Gillius. You'll want a racer who has high speed and high boost; acceleration isn't helpful since all the hazards are removed (thus no need for recovery if you're not driving into walls and off cliffs) and low handling can be circumvented by managing speed and drift properly. Nearly every ghost can be defeated with the 5/1/1/5 setup (the ONLY ghost I could not beat with 5/1/1/5 was Roulette Road), which is available to Vyse, Shadow, and Metal Sonic when they use their console mods. Ralph, AGES, and Gillius also have strong vehicles with their 4/1/1/6 console mods, however their mods come very late in World Tour, and you will likely unlock the Dreamcast mod soon after you unlock Vyse and Shadow. In Metal Sonic's case, if you have him, you already have the Genesis mod for him even if you don't actually have it yet. Despite this, SUMO made sure that you can beat every expert ghost with Sonic, and Sonic's Speed mod has a very respectable time trial distribution (6/1/3/2). B.D. Joe and Vyse have similars Speed mods (6/1/2/3). Vyse is the character I use the most throughout my time trials and most of my current records were performed with the Vyse/Dreamcast setup. While I have to test it, I also believe Tails and his Genesis mod (4/2/2/4) is a good choice if you're concerned you can't handle the 5/1/1/5 setup. Other players have also made other racers work, such as a player who has managed a faster time on Ocean View than me with Knuckles. While your favorite character might not be one of those above, certain characters just cannot stand up to the expert ghosts. If a character has lower than a 4 for speed, it likely won't be able to keep up, especially if the boost is also low. If one of these stats is a 4, the other can't go below 4 without suffering. Certain tracks however benefit from extra handling over speed or boost. You can sacrafice a bit of boost in Burning Depths, while a bit less speed can actually help Chilly Castle. The Boost Lap: One thing to remember is that your speed is conserved as you cross the finish line. Take a practice lap before your real attempt and save your boost pickup until you reach the finish line. Use it in conjunction with any drift or stunt boosts you have saved up at that point to give yourself a strong burst of speed to start your actual lap with. Drifting: Drift as much as possible, but remember that while boosts help you will generally go faster if you stay straight on a straight rather than attempt to drift through the straight. Also be familiar with the Switch-Drift technique, which allows you to change your drifting direction without losing your accumulated boost. When you do this you have to restart the collection of the current level of boost, but any levels you already have are maintained. When drifting and holding the stick opposite the direction you're turning, you'll eventually suffer from drag and start drifting in the correct direction. If you tap the stick the opposite direction rather than hold it, you can sometimes give yourself more time to drift at a wide angle. This is especially noticable when drifting in flight. Switch drifting also reduces the accumulated drag. While drifting, if you let off the gas a bit while cornering, it will let you perform tighter corners at the cost of some speed. This can help prevent crashing in some of the tighter turns. Stunts: Stunt as much as possible. There are more places to perform stunts than you’d initially expect; a lot I didn’t find out about until I looked up some times myself. One thing to note is that if you roll off a stunt ramp, you will gain velocity in the direction you are rolling. Drifting off a ramp at an angle then rolling into the direction of the jump will actually be faster than just going straight through the jump. In cases where rolling into the jump isn’t possible, the next best thing depending on your height would be to perform two different rolls or flips, then a flip or roll (whichever you didn’t do two of; for example: backflip to frontflip to left-roll). If you do this during your jump, you will get a level four boost on landing rather than the usual three from just spamming rolls or flips. If you perform stunts too fast, your engine will backfire and you will lose all accumulated stunt boosts. There's a bug known as stunt buffer that occasionally if you stunt too soon when going off a jump, the stunt won't be performed as usual, but it will be queued and for some reason performed at a later jump, seemingly at random. When this happens, expect a stunt failure or the stunts to fire too fast and cause engine backfire. This queued stunt can also take the form of an air-dodge if you try to roll in flight. To see an example, check the current demo video for Adder's Lair. Risk Boosts: In flight, there’s an additional boost mechanic known as Risk Boosting. To perform this, fly on a collision course with the track (say, a rock sticking out of the middle) and roll-dodge out of the way when you’re about to hit it. If you miss it and you were close enough, you will be granted a level one boost. You can chain these together; two near misses at once is a Danger Boost, while three is a Reckless Boost, however Danger and Reckless are difficult to perform without losing too much speed. Settle for Risk and do as much as you can whenever you can, but remember not to drift until the roll finishes or else you’ll slam the brakes. If you perform dodge rolls too quickly, your engines will backfire and you will lose all accumulated boost. Air Dodge Rolls: When you perform dodge rolls in flight your throttle will be disabled for the roll(s) unless you are boosting. This somewhat prevents the exploit where you can go faster by rolling and flying at an angle. Try not to roll unless you’re picking up risk boosts. An associated issue: if you attempt to start a drift while rolling, you will hit the brakes and lose MORE speed so time your rolls and drifts accordingly. Boost Stacking Boost Stacking is an important mechanic to know about. Boosts can be stacked up to level six. The higher the level of boost, the faster you will go. Performing a single stunt or a level one drift gives you a level one boost, two flips or a level two drift gives level two boost, etc. A drift cannot go above level three, and you can only achieve level four through stunts by performing the above stunt trick. Boost plates on the track will grant one stack for each, airborne and boating boost rings grant two levels (NOTE: In an actual race, driving boost plates grant two stacks if you have no or one boost when you hit them). The boost pickup you have for your lap gives you a level four on use. Yo
ИсточникGHub Platform · автор23.08.2026, 05:28:05
The Yokozuna sticker, quite the feat to obtain. It requires beating every Expert Ghost in the game (well, not quite every ghost, you can do either all of regular, or all of mirror; you don’t have to do mirror if you don’t want to, and OutRun Bay is also excluded). Many gamers hav…
Войдите, чтобы писать в группе