Comprehensive guide for new players
GHub Platform · Гайд · 0 ответов · 17 просмотров
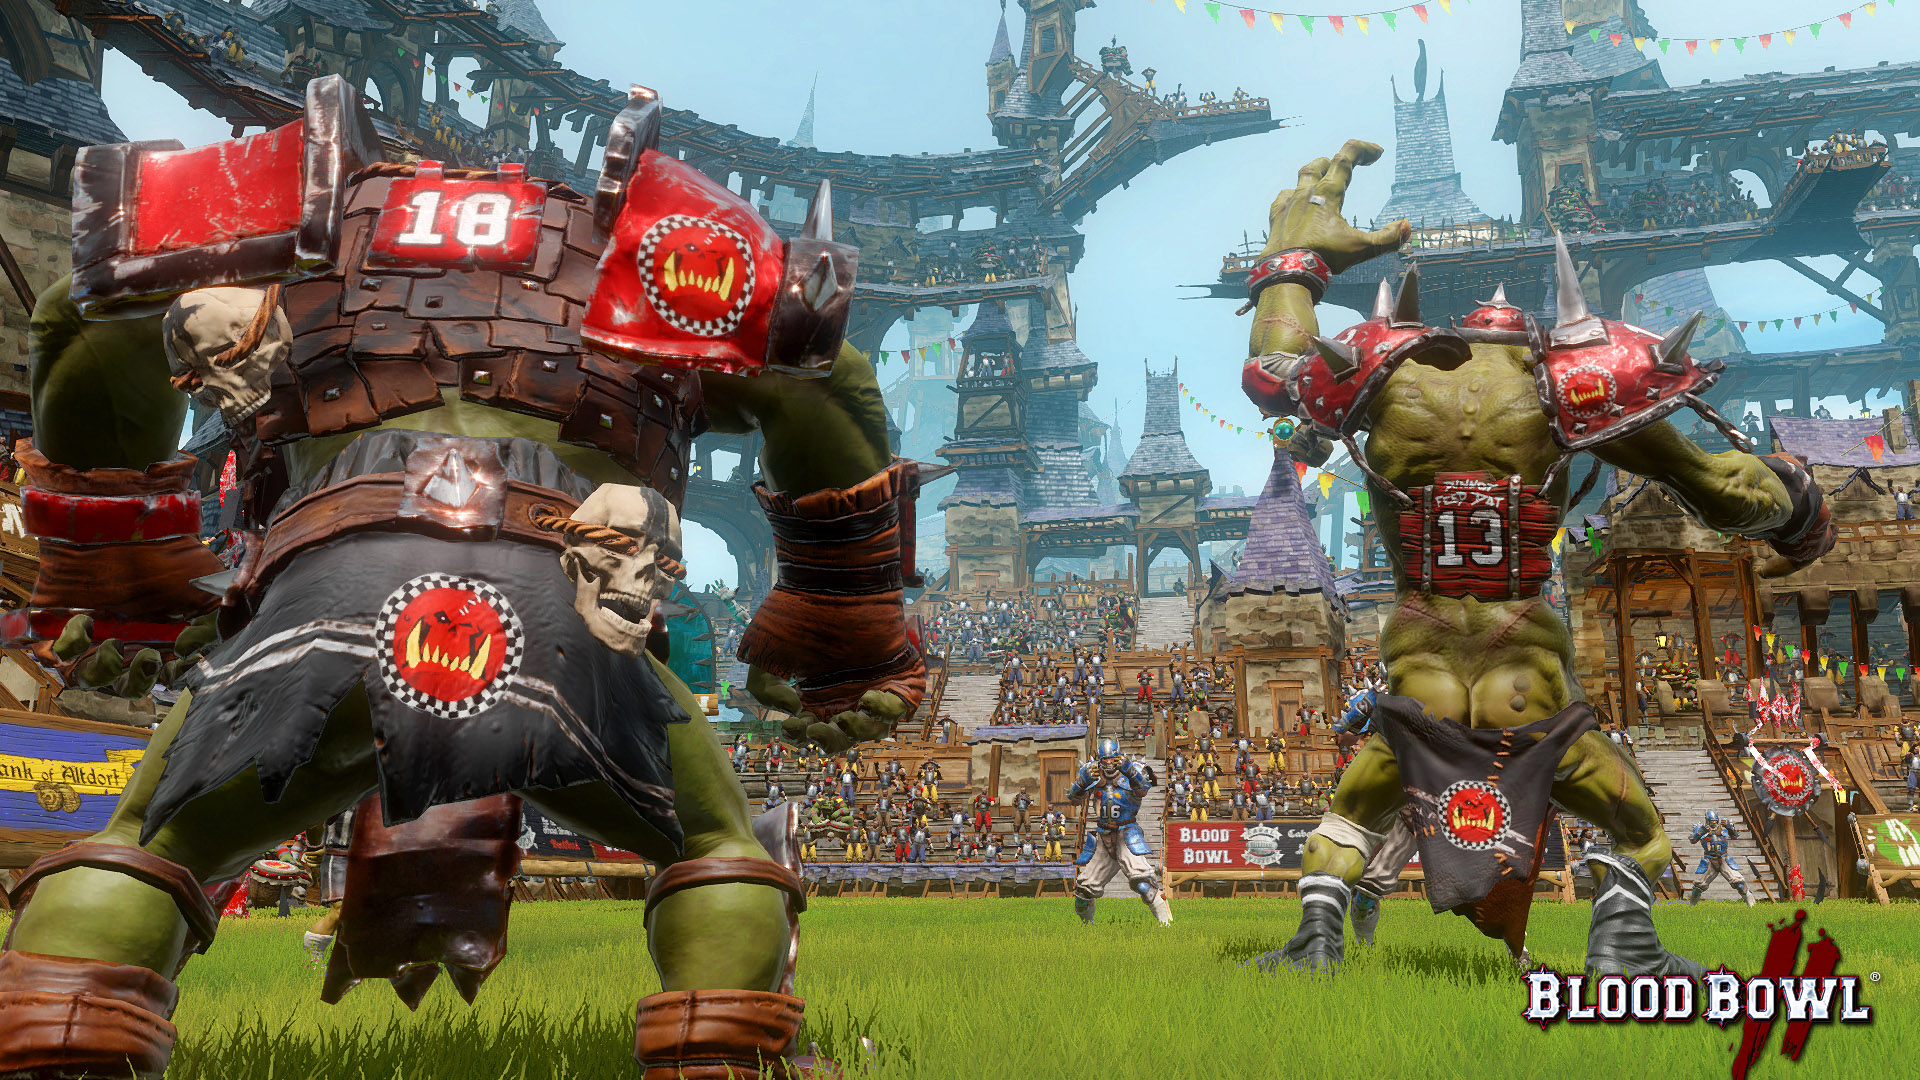
BB is a highly skill based game. While the random aspect of the game will make it impossible for even the best player to guarantee that they will win a single game, skill still trumps the RNG (Random Number Generator) even over a small number of games. This is the single most important thing for new players to understand. If you blame the dice for your losses then you will get frustrated with the game and you will also be less likely to spot the mistakes you have made and work to correct them. Risk management is vital. You should be afraid of 2+ rolls as they fail a lot. Plan strategies that minimize dice rolls and that are still somewhat safe if your dice rolls fail. Rather then try a quick risky play consider doing a safer slower one. On the flip side try to force your opponent to roll as many dice as possible. Always try to take as many no risk moves, like standing players up & non-dodge moves, before doing anything else. After that do as many low risk moves as you can, like two dice blocks using a player with the Block skill. Then finally the highest risk moves, like Blocking with your Big Guy who often can't use a team re-roll. This is a simple thing but is also easy to forget and can be crippling if you forgot to stand a player up then suffer a turnover. Try to avoid one dice blocks as much as possible as if they fail you not only suffer a turnover but may have also given your opponent a numerical advantage. It is sometimes preferable to not block at all rather then risk a one dice block as this assures that the opposition player is marked on his next turn. You can often use a Blitz to set up a chain of two dice blocks. To do so Blitz an enemy and then move the Blitzer, and potentially the player who was next to that enemy, next to another enemy you need to Block. Now you can two dice Block that enemy which in turn lets the Blocker assist another Block and so on. When you block if there is a friend next to the enemy who is not next to another enemy they will give you a +1 str to the block. In the same was if an enemy, who isn't the one being blocked, is next to your blocker and they are not next to another of your players they will give +1 str against you. You can see this in the image below. The rat next to the arrow in section 1 will give the blizter +1 str, the rat next to him will not though because he is also next to a different enemy as well. Tackle zones are all the squares around a player. If you move next to an enemy you enter their tackle zone. When you move away from a tackle zone you have to dodge as that player will try to trip you up. If you are dodging into a square that is covered by enemy tackle zones then those enemies will also help to try to trip you up so the dodge will be made even harder. For each tackle zone you move into when dodging you get a -1 on your dodge roll. If you are inside enemy tackle zones you also get -1 per tackle zone when you try to pick up, catch, pass, or intercept the ball. In general when defending try to keep your players spread out between the enemy and your end zone. It is sometimes tempting to get behind or along side the enemy but bear in mind that if you do and they break through your defences in front then they will leave your players far behind and unable to catch up. It is also important not to put too many players on either side of the pitch. Doing so gives your opponent an opportunity to attack your weak side and break through. It is very common to think you have a higher chance of success when performing seemingly low risk moves. Below is a list of the chance of failure for common actions, this excludes skills like Pass & Sure Feet: Go For It twice: 31% Picking up the ball with AG3: 33% Quick Pass & Catch with AG4: 31% Quick Pass & Catch with AG3: 56% In short be careful when you have to pass multiple rolls even if the requirement is only a 2+. This also illustrates the point that you should take as many non rolling moves as you can first. Stalling is a way to score without letting your opponent score back. It may sound like a good thing to score in two turns, but if doing this leaves your opponent six turns to score against you then you may be in trouble. Even though stalling is often a very good thing don't do it if your opponent has a chance of getting at your ball carrier as scoring is often better then prolonging a stall for one more risky turn. This is also the key to stopping someone from stalling against you, do everything in your power to pressure the ball. Sometimes people give up when someone is using stalling against them and yet if they had just tried to pressure the ball carrier they could have forced the stall to end. This is a classic defence to stop the enemy from being able to blitz the ball carrier. In order to blitz the ball carrier the enemy either has to dodge into three tackle zones, at -3 to the dice roll, or using the Leap skill. It is not always best to do a small compact cage as doing so ties up a lot of players and also means the enemy can often put players next to your ball carrier after Blitzing one of the corners. A small cage also gives up territory as your players aren't stopping the enemy getting close. One alternative is a loose cage, this lets you control more space while still being very difficult to dodge into. Another is to put a line of players between the ball carrier and the enemy. Sometimes you need to make a run for it up the sidelines and don't have enough men or space to make a full cage. In this situation you can make a half cage by putting the ball carrier right on the sidelines as shown below. Be warned that this is dangerous, it is easy for your opponent to surround it and start crowd pushing your players. Also if the enemy has a player with Leap they can jump in and push the ball carrier into the crowd. This is one of the many cool tactics you can use in Blood Bowl. It involves blocking an opponent then using the push result, or pow/defender stumbles, to push other players into a position you desire. In order to carry out a chain push the three squares a player can be pushed into must all have a player in them, if they don't then the pushed player must go to one of the empty squares. To illustrate one of the many uses of this imaging that the hobgoblin in the picture below has Block, Dodge, Side Step and Diving Tackle. How can you get the ball carrier away without praying for a pow? The answer is a chain push, first move someone into the single empty square diagonally behind the dwarf then blitz the dwarf and push the ball carrier clear. Crowd pushing is the only way you can be sure to remove an opposition player from the pitch. As such it is important to try push your opponents players off the pitch and also make sure that you don't put your players in danger of being pushed off themselves. There are three ways you can crowd push a player as shown below. A defence where you string a line of units in front of the enemy is potentially breakable by blitzing one of those players and running through the gap. One way to combat this is to employ a two player deep defence as shown below. In this setup a wide area can be covered and no matter which player is blitzed there is no way through without having to dodge. It is important to note that this will only work fully if there are no enemy units touching your defenders, if there are then they can block then blitz a way through. There are two things to keep in mind before you start messing about with different setups. The fist is that if you place players only one square away from the line of scrimmage and your opponent gets a Quick Snap those players are in range to be blocked. The second thing is if you place a player only two squares away from the crowd they are in danger of being crowd pushed by a Frenzy player. There are many different types of setup that can be used but a good standard is shown below. This setup stops your enemy from having room to break throu
ИсточникGHub Platform · автор23.08.2026, 06:01:46
BB is a highly skill based game. While the random aspect of the game will make it impossible for even the best player to guarantee that they will win a single game, skill still trumps the RNG (Random Number Generator) even over a small number of games. This is the single most imp…
Войдите, чтобы писать в группе