Walkthrough/Puzzle Guide
GHub Platform · Гайд · 0 ответов · 15 просмотров
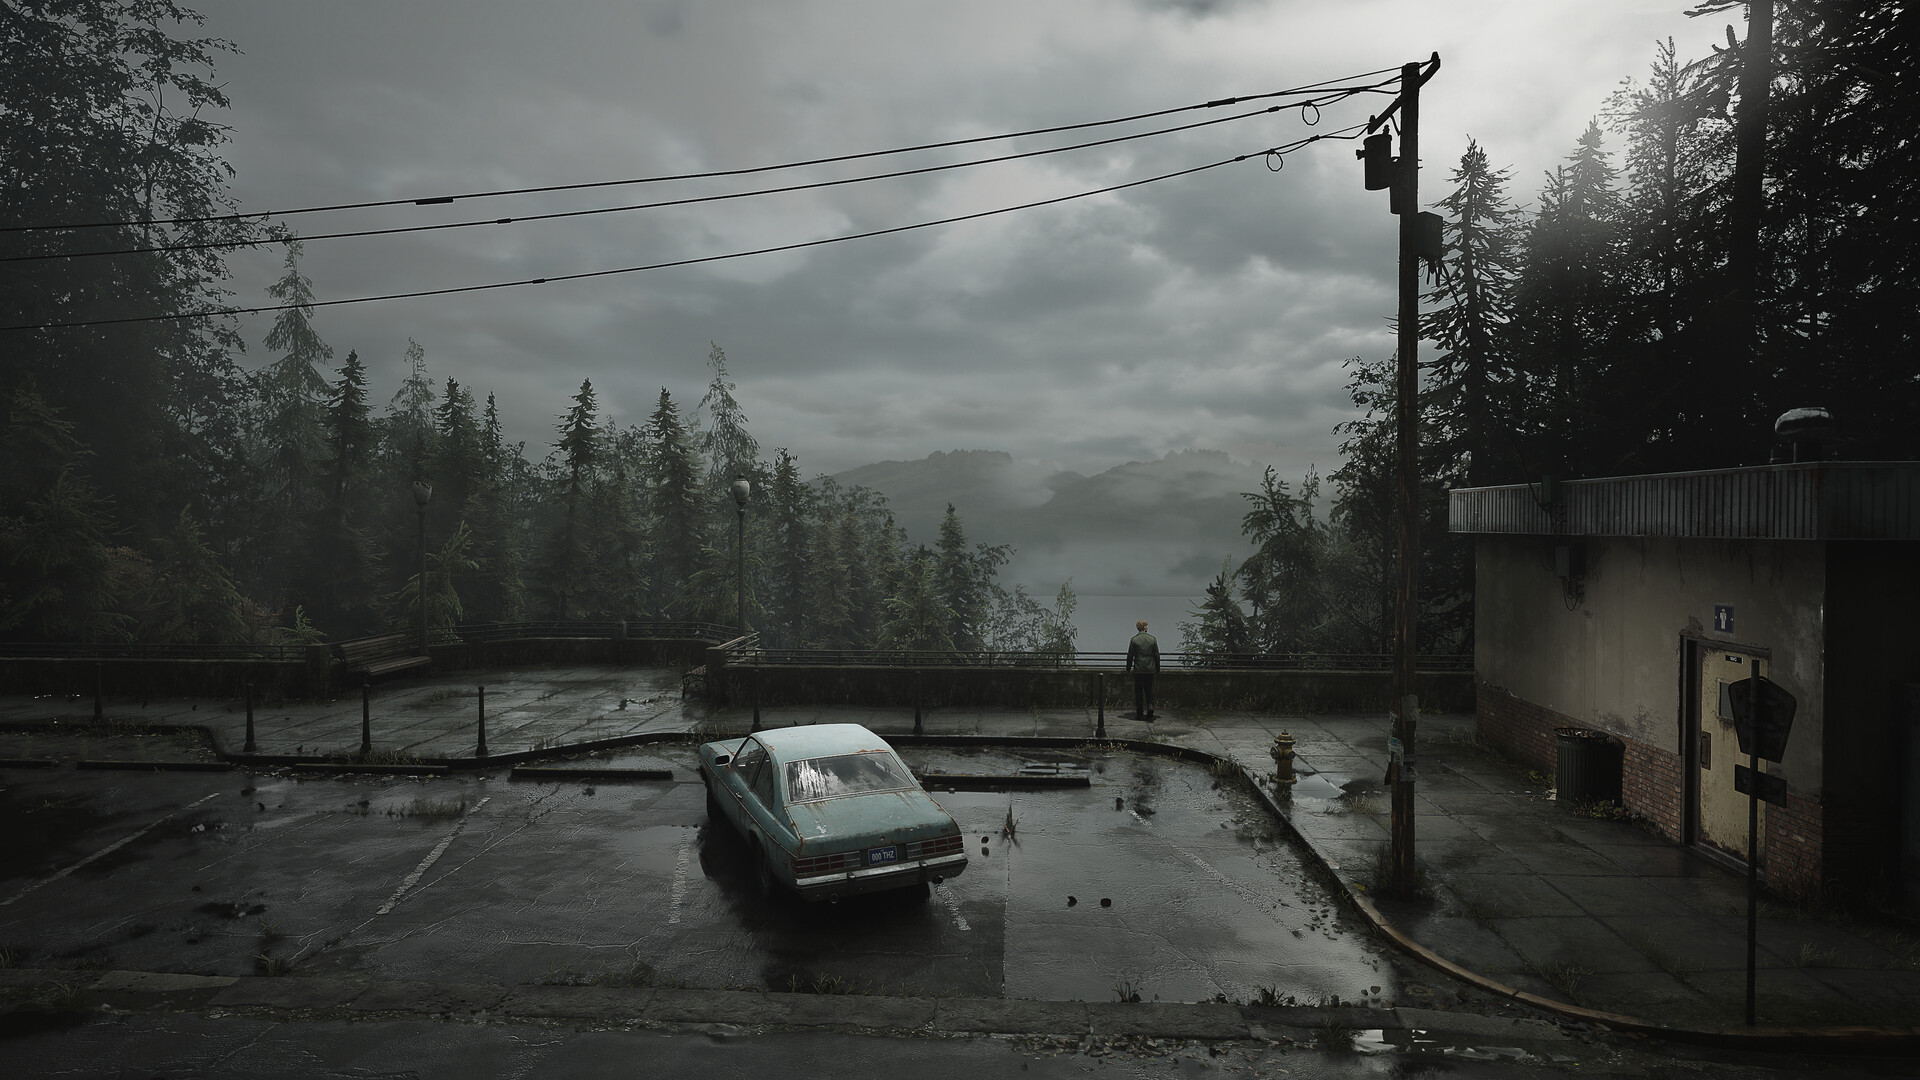
I will not mention consumables or secrets, so make sure to explore if you like. Use the Guide Index or ctrl+f to find what you're looking for. Should you have any questions, feel free to ask, I'll be happy to help if I can. italic = Location Bold = Item Name Currently going over the major points in the game, little things will come later. Doing my best to not spoil too much. Hiding the most crucial info behind a spoiler tag. Interacting with the Jukebox gives you a broken record and breaks the Jukebox. To fix it you're gonna need Neely's Bar Coin , Jukebox Button , Vinyl Glue and the other half of the record. Neely's Bar Coin is in a register at the Texan Cafe , just turn the key in the register followed by a button press. Half of the vinyl and Vinyl Glue can be found at the Groovy Music shop. Enter the shop, break the glass behind the vinyl records, hop over and both half the record and Vinyl Glue are there on the table. Combine them with the half of the record you already have. You'll find Jukebox Button at Saul Street Apartments , bottom of the map. Enter through main red door, on your right there will be a cabinet in a door frame, push it in, turn right to the reception, you'll find Apartment Key to Room 5 . Room 5 is on the second floor, enter, proceed through the cracks in the wall. Exit through window, onto the balcony, walk up the stairs and climb into the window. In the bathroom you'll find a hole which contains Jukebox Button , grab it. Return to the jukebox and assemble it. When the cutscene ends you'll gain Neely's Bar Key and you can now unlock the door to the left of the bar. Hint for the code can be found on a note at the end of Sanders Street. SOLUTION: Light: 4442 Standard: 4444 Hard: 4446 Head straight for the second floor, the staircase is on your left. You're looking for Room 202 . In there you'll find a Flashlight and Courtyard Key . Go back down and search for double doors on the other side of the reception. Unlock, enter courtyard. There's a box that needs to be moved under a window slightly to the right. Once completed, climb up and through the window to 112 . Exit the room and follow the corridor till you find iron bars. Interact with the key on the floor to start a cutscene. Return to the before mentioned double doors. Once entered the door on your left should be unlocked. Go grab the key. (Marked with ! on map) On your way back enter 108 , there's a wardrobe with golden handles, interact with it and one of them will drop Golden Apple Handle . With 2F Hallway Key you can return to the second floor, 213 , there's a crack in the wall you can pass through. In 217 is a gun. Going back to 213 , TV should be on now with a dead guy in the seat. There's a small table with Apartment 212 Key on it, grab it and head to 212 . Walk through 212 , out on the balcony, it leads to 210 , pass through, follow corridor to 208 . Here you'll find the same wardrobe as in 108 , interact with it, use Golden Apple Handle . Push the wardrobe aside and enter the room behind it. Safe in the middle, numbers are revealed on the walls when exposed to light, order and direction of numbers is revealed through a poem on the wall. SOLUTION: 13 right, 7 left, 11 right The safe contains Coin[Man] and an Iron Key which unlocks the door out. Head to 205 , there's a 2F Small Staircase Key on a chair. Exit same way, unlock the door in the corridor. Turn right, go straight forward and unlock the staircase leading upstairs. Go to the 3rd floor. Enter 311 , make your way through cracks in the wall to rooms 309 , 310 , through balcony to 312 , in 312 you can crawl through a hole near the floor. Once on the other side, grab Canned Juice and throw it in the garbage chute. Exit the room and get to the courtyard to pick up Coin[Woman] off the floor. Go to 116 and speak to Eddie . Once done exit the room through the window. You'll see a stroller in the middle of a pool. Get to the stroller and grab Coin[Snake] from inside. There's an unlockable door opposite of the window you came through. Return to the Coin Cabinet behind the reception. The text at the top of the cabinet tells you how to place the coins and changes two times. Once correct 3 times it'll ask you to assign blame. You do this by putting the one to blame at the top. Standard and Easy Solution: Hard Solution: The reward is Apartment 201 Key . Up the stairs, to your right. In 201 Interact with a cloth on a table behind a couch to start a cutscene. After cutscene enter the red door. Exit 208 , follow the corridor and you'll find a pinboard with a map on it. If you keep going you'll encounter a destructible wall which leads to 206 . Through there you'll get to 204 and exit the room. In 212 is your puzzle for this section. Clock. After you uncover the clock, head onto the balcony and turn left, entering 203 . Proceed in the kitchen by destroying a wall, gaining access to 205 . A window from here leads to a balcony, climb out, go up the stairs, up a box and into a small window in 303 . Next stop 307 . Pass the pipe without a valve, leave through the door onto the balcony, followed by the window on the right. Pick up Apartment 306 Key and turn the valve to open the door. In 306 crawl through a hole, turn the red Valve , it'll break and become interactible. Return to 307 to use the obtained Valve on the pipe. Chain will break, the radio will fall, revealing The Hour Hand . Leave through the balcony, there's a lever on the left to let down the staircase. Enter 212 , insert The Hour Hand into the clock and set it to 9 . 210 door is now unlocked. Destroy the wall in kitchen, and shove your hand as deep as you can into that toilet. yum . Right in front of the door grab Pigeon Figurine . Exiting the room and looking to the right you'll see a destructible wall where you'll find Wooden Swan Head . Malformed Figurine Part can be found in 209 bathroom. Combine it with Wooden Swan Head . Both the Swan and Pigeon are to be put on seesaw in 210 . Should look something like this. The middle part will fall apart and reveal Winged Key which you'll use on the locked door behind you and jump through the hole. Go to 109 and speak to Angela . After the cut scene Key of Resilience will be on the table in front of you. Return to 212 . Insert The Minute Hand into the clock and set it to 2 . 202 is now unlocked. Here you have to count symbols on the wings of all 3 moth types respectively, then do basic math according to the writings on the wall next to the lock. SOLUTION: Light: 582 Standard: 373 Hard: 522 . Get The Second Hand from the hole, return to 212 , insert it into the clock and set it to 3 . Once completed get downstairs to the door with "S" on it and enter. Here you will fight Pyramid Head , you can either shoot him to speed up the process or save your ammo and wait for the fight to end naturally after 3 minutes. Exit the building. Find 107 , smash window, climb in, destroy wall, go through, memo on table with a riddle, the answer is the combination for the safe at the reception of the motel. SOLUTION: Light: 0451 Standard: 0451 Hard: 0533 Return to reception, enter combo into safe, grab the Gate Key and turn around, walk straight forward past the car with a save on it. Unlock the gate at the end of the building with Gate Key . Walk through the door and grab the map in front of you. Enter Examination Room 3 by smashing the window and climbing over, in between that room and Examination Room 2 you will find a note with a hint on the padlock combo in the reception office. SOLUTION: Light: 287 Standard: 724 Hard: 152 Grab the Basement Key and walk to the staircase at the bottom right of the map, enter basement and don't miss the map. Get Empty Fuel Can in 0.10 Boiler Room Shove the box from 0.5 Laundry Storage into 0.8 Laundry Storage under a small window and climb through. Here you fill up Empty Fuel Can . Exit through door on your left and go to Generator Room to fill up the generator and power it on. Get in the elev
ИсточникGHub Platform · автор25.08.2026, 18:12:38
I will not mention consumables or secrets, so make sure to explore if you like. Use the Guide Index or ctrl+f to find what you're looking for. Should you have any questions, feel free to ask, I'll be happy to help if I can. italic = Location Bold = Item Name Currently going over…
Войдите, чтобы писать в группе