100% One-Life Guide
GHub Platform · Гайд · 0 ответов · 7 просмотров
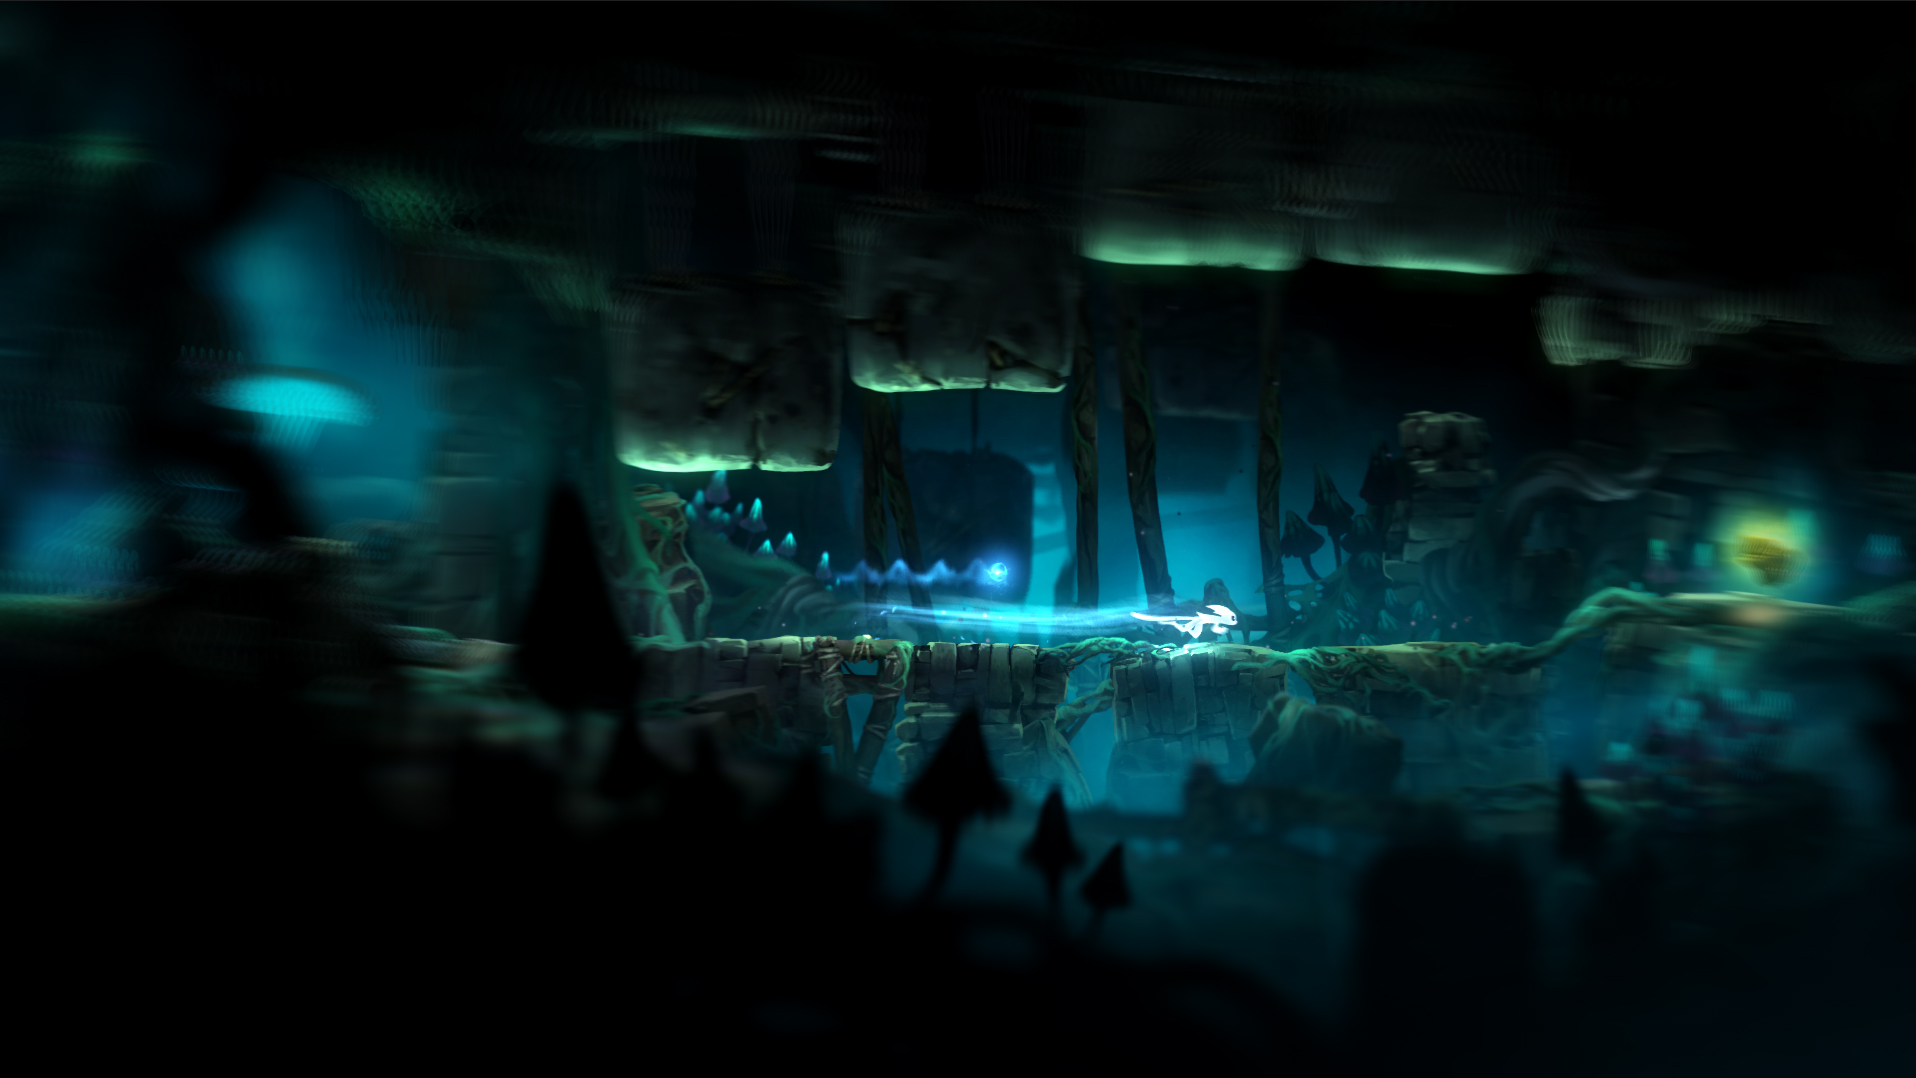
This guide does two things: Provides a proven and reliable path to get 100% of all items in a reasonable time span Gives tips and tricks for avoiding death in tricky and dangerous areas. Some notes about this guide: The images and path taken are based on the video below, as is the skill tree. Videos are also taken from the video. However, images used to visualize tips or tricks are NOT necessarily used in this video since I have come up with additional techniques since I recorded this run. The difficulty setting was One-Life Mode. Although I have only played the game on that particular difficulty setting once (when I recorded this run), I have played the game on Normal with 100% and zero deaths at least 5 times, so the techniques described are well tested and proven reliable. Also, check out my guide for Ori and the Will of the Wisps here . Ori and the Blind Forest is much more challenging than Ori and the Will of the Wisps, for a number of reasons: Instant Death is very common (lasers, crushers, lava, spike pits) Jumping is much tighter. This game is closer to a precision platformer than its sequel. Ori is less powerful in the beginning, with less energy and less abilities Walls aren't as reliable. More on this below. It isn't as easy to recover. Health is more limited, especially in the beginning before you can heal with a soul link, and many spike pits and other traps are designed so you cannot escape from them. Walls Walls in Ori and the Blind Forest have an issue that is common in physics-driven platformers, which is that they allow the player to become detached from the surface as the character traverses them. This is the wall equivalent to "falling" off an imperceptibly small ledge on the ground. This means that when you jump off an uneven wall, there's a chance you will press the jump button while Ori is "floating" and it won't trigger. This was fixed in the sequel by making Ori's wall ability more "sticky". The best way to handle this situation is to recognize walls where this most commonly occurs. It can be extremely subtle, so I will be pointing them out throughout this guide. A plus-side to Ori, however, is their ability to "slide" up walls from the ground, as seen in the video. This allows you to climb up a wall, often times quite far up, without having to do a wall jump. Plus, it can be done before acquiring wall jump. Enemy Highlight As seen below, enemies will highlight with a purple outline. You can use this to help judge whether enemies are in range when using attacks like Light Burst. Stomp, Stomp, Stomp! Once you get the stomp ability, ground-based enemies should never be an issue anymore. Even the most powerful enemies will melt when pummeled with stomp. This is particularly useful in Misty Woods, where tough enemies like toads are abundant. Feather Restoration Dash, double jump, and other abilities are automatically restored when using the feather in the wind. They do NOT, however, restore when using the feather to float down (only up in the wind). Charge up in the air Charge Jump (and later, Charge Dash) can be charged up while in the air, which can allow you to use them in quick succession to get around. In my skill tree, I favor attack above all else, with the only exception being spirit magnet. I get all single-point skills first, then fully complete the attack tree and then the maneuverability tree. The video below gives an idea of what point in the game I acquire each skill point. The Path Use Light Container Bursts to your advantage This advise goes for any light container bursts, but this one can easily be done reliably. Just wait to grab the secret light container under Sein until the enemies spawn. Be sure to lure the second enemy in for a double-kill. Tricky Keystone Watch this jump. It's very easy to slide too far Quick Climb If you start this climb as soon as the projectile lands, you can climb up the entire wall without having to jump back and forth. WARNING This early in the game, this area is VERY DANGEROUS! More than half my failed runs ended in this area. However, Dash can be invaluable when dodging traps, especially in the Moon Grotto. Use your best judgement. It may be worth an early risk to make things easier later on. The Path Watch the Spiders! These are what I considering to be the most dangerous spiders in the game. You're on small moving platforms with an enemy that can swing around while shooting projectiles, and the second half of the area is over a death-pit. Sometimes I get lucky, like in the video below, and manage to take out the second spider with a light container burst. Other times, they have to be taken out conventionally. There's no tricks here, only good judgement and skill. Don't get lazy or impatient here, as that's easy to do this early in the game. Torches This is the other dangerous area (with the exception of the instant-death lasers, which are easy to get the timing of). The problem here is the color contrast, as it's easy to lose track of Ori amidst the bright torches, projectile, and other glowing objects. The best strategy is to wait each time you activate a torch and jump over the projectile before moving on (this isn't always necessary since some platforms allow the projectile to fly over you). Boulder Chase This is the other dangerous part. If the boulder hits you, it's instant death. The hardest part is getting over the spikes, but there's an easy and reliable way to get over it quickly without taking damage. All you have to do is jump-slide up the wall from the ground. The Path Charge Burst the Blobs Small blobs can be killed instantly with Charge Burst, even this early in the game. Health Sphere in Spider Cove It can be tough to judge the perfect arcs in this part but I've worked it out from trial and error. You be relatively high up on the wall, but not so high that you hit your head on the ceiling. Spike Pit DO NOT fall in these spikes. They are INSTANT DEATH. The Path Spirit Well Rock If you angle this rock in the spikes instead of pushing it all the way in, it's much easier to reach the ledge. Retreating Blobs These blobs will sometimes retreat back into the ground if you approach them. There's a certain timing to it, though. You have to approach them after they been out for a moment but before they rear-up to fire. Use this to your advantage to help keep the area clear. This is one of the more dangerous areas of the game due to all the instant-death traps. Take it slow and methodically. I avoid the energy door with the three energy pips until I clear the water as the health sphere isn't worth getting at this point. Besides, you have to return later anyway to get the spirit light at the bottom of the pool. The Path Lasers These lasers are front-and-center in Moon Grotto. Not only are they instant-death with tricky timing, but they're positioned such that you may find yourself having to pass them multiple times. As a result, I've come up with a variety of techniques for handling them. Obviously if you have Dash you can use it to great effect. Make sure you don't dash too far, though, or you'll find yourself stuck against a wall. When returning, Dash is not needed for the second laser. You can also duck under the first laser. Finally, if you've already used Stomp, you won't be able to use Dash without much greater risk, but if you time it right, jumping across is relatively safe. Crushers I have come up with a reliable plan of getting through this section without taking damage but unfortunately discovered this after the recorded run. This is the concept, though. This keystone is very tricky to get as well, owing to the wall on the left being uneven and thus very unreliable. The better technique is to use the much more even wall on the crusher next to it. Just be sure not to go too high and hit the spikes. Avoiding Spikes Even though these spikes are technically skippable, I've never had much trouble with them. Just be sure yo
ИсточникGHub Platform · автор25.08.2026, 18:53:03
This guide does two things: Provides a proven and reliable path to get 100% of all items in a reasonable time span Gives tips and tricks for avoiding death in tricky and dangerous areas. Some notes about this guide: The images and path taken are based on the video below, as is th…
Войдите, чтобы писать в группе