Optimal Automated Wood Farming
GHub Platform · Гайд · 0 ответов · 13 просмотров
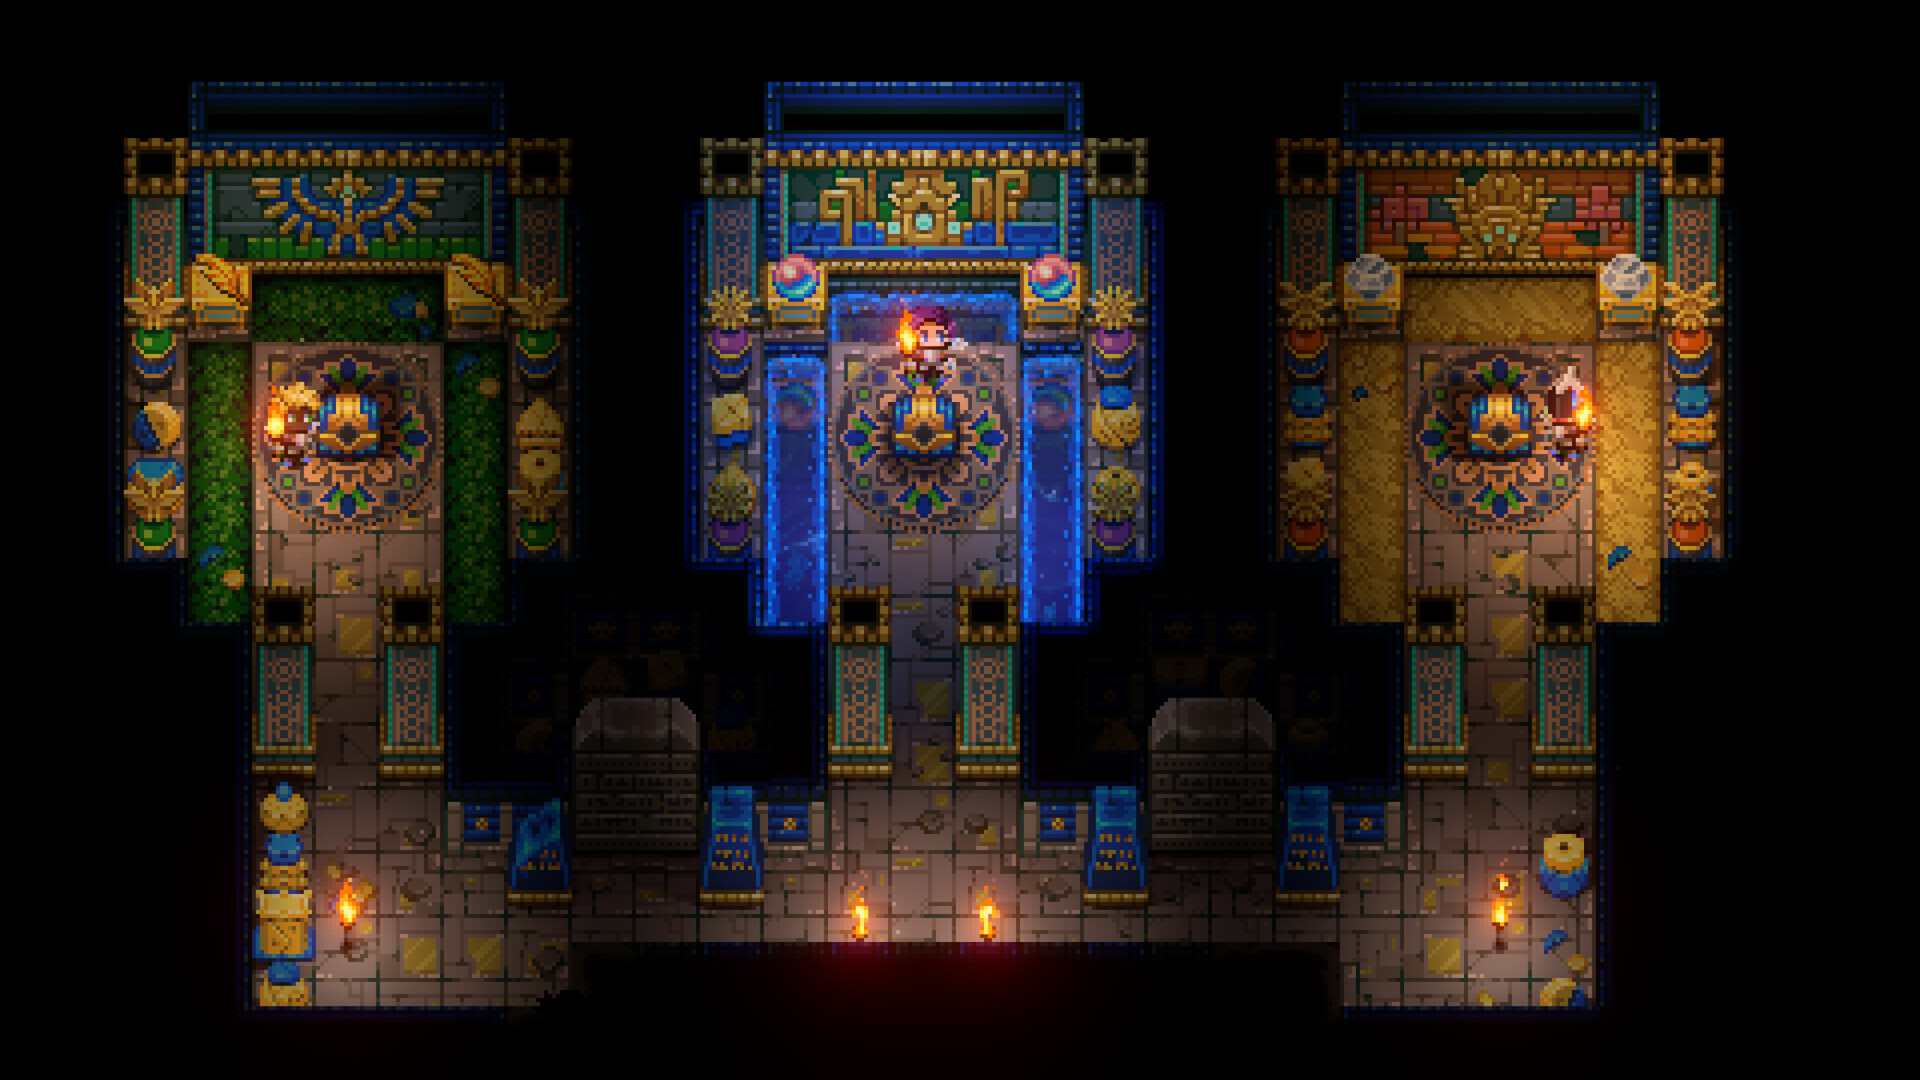
The below farm still works well, with many guide details relevant. But it's no longer the most optimal design for space or drills and is a little over-complicated to set up. Unfortunately I'm not able to update the guide at this time. But a design that is about equally as good and easier to set up is shown in this video by Dakon and then compared with my design in a second video ! 😍 For those interested in theoretical maximums: It is possible to be far more efficient *per drill* by thinking about each root stump and ensuring its growths can reach 2 drill bits, to be able to alternate at least 2 spots. Screenshot from 18 months ago, not optimal, and only presumed still relevant: This design still works very well. However, developer changes now mean that more basic designs aren't all quite as weak by comparison. Game changes may still be shaking out. So a full guide update is waiting on further patch notes and in-game testing. What's currently changed, from patch notes : • " Roots grow one piece at a time, but more often. " - So this build no longer get (so many) simultaneous wood growths popping. But they should occur more frequently, such that it roughly evens out. • " A Table Saw can be crafted at the Electronics Table that allows players to cut wood into planks. " - These can be fed wood directly by this root farm's automation. 1 wood -> 1 planks that currently sell for 1 coin each. So a better money farm than crafting chests. Not in patch notes: • Roots can now grow on sand tiles but not Wilderness grass (as shown in my other build, RIP). • Coral wood can now be found in the new Sunken Sea biome, that can also be turned into planks. This can be seeded and grown in Sea Biome (beach) sand. With the same growth mechanics as regular roots. • Root seeds (in 0.4.1) grow wood 2 minutes after first watering them. I.e. before fully grown (bug). • Roots can grow wood adjacent to existing wood, in some circumstances. This guide was created with enthusiastic permission from Mz, based on their key insights (1, 2b and 5, below) and builds laid out in this detailed Google Docs guide [docs.google.com] . Produces 590 about 480 wood per hour (in 0.4.2, while on-screen, measured by Snow81). Important details of operation and construction below... (1) Multiple root stumps (the part with leaves) can connect to and grow through a shared root network (the wood branches). This trick allows multiple roots to take turns growing into the same tile in front of a drill. Whereas, unconnected roots, trying to grow into the same tile, will block each other from *ever* growing there. It also greatly reduces the number of expensive drills needed per root seed. Which can allow players to build a much more productive automated wood farm earlier, using a small fraction of the scarlet and iron ore. Once one has an excess of these ores, and drills, this clever design is only relevant to reduce space used and potentially improve game performance (lag). (2) Blocking root growth: (a) Roots can *never* grow on stone ground, Wilderness grass, platforms (or gaps). So put these under your drills and other equipment (to be safe). I first saw this pointed out in this video by Kytros . (b) Roots can block each other from growing onto a shared drill. So make sure your root only grows onto each drill from one direction. (3) Root stumps create new growth within a 5 tile radius. Like a real plant, they can only extend a network of contiguous branches. And only on a suitable ground type (dirt, clay, turf), clear of objects. (4) Root growth is triggering roughly twice every 5 minutes , via two separate 5 minute growth timers, per stump. These can't share the same growth location. (5) Drills can be lined up to pass the harvested wood to each other, negating the need for conveyor belts. Saves space, but not much cost. Stops the accidental collection and accumulation of little wood insects. (A) Plan out on the ground where you want the root to grow. Surround the area with sand , stone, wilderness grass, platform or no floor at all. Mask off the parts reserved for planting more seeds by temporarily placing e.g. wood floor, carpet, or some other floor covering that blocks root growth and can be easily removed without melee hits (which risk breaking the delicate root). In this build, the dimensions inside the sand boundary are 9 tiles wide by 6 tall. With insets for sitting the drills on. (B) Seed your shared root network from a single temporary stump on the *outside* edge! Two root networks will never join. Except occasionally during glitches (when returning from far away). These are probably not controllable. (C) Plant additional seeds *only after* they are surrounded by the root network on all relevant sides. Once grown, additional root stumps will help grow the shared root faster, to extend the range of the network indefinitely, for as far as you like. In this build, that would be adding more columns of stumps to the right. Or the left, if moving the robot arm and chest. Extending the length of the columns of stumps downwards, beyond the 4 shown, will *not* add any extra growth speed or wood production! Also, remember to water your root seeds *after* planting, so they finish growing before the ground dries out (unlike vegetables). (D) Protect your root's backbone very carefully! A single stray punch could mean having to destroy and re-grow everything downstream of the break. Because TWO ROOT NETWORKS WILL NEVER JOIN! Use a shovel to safely dig up the temporary starting stump, once you have others established. Then protect the backbone with a tough wall or full tile of air/water gap. I've used a fence for illustrative purposes. (E) Add your drills, once all the seeds are in place. If you don't have many drills, those in the middle should be your priority. Those drills in range of more root stumps will produce more wood. I've numbered them in descending order of importance. There's diminishing returns on adding more drills, see section below for numbers. (F) This build can be extended quite simply: by adding additional width (to the right). Or by doubling up with a mirrored build that can share the same root backbone. This would keep it tucked safely away from accidental hits.But illumination may be an issue, if you want to see it. Or you could share a central power wire, as Mz's guide shows: This design will, of course, also work fine mirrored to run in the opposite direction, left to right. Or rotated to run up/down. Completed reference image: My old build ( totally broken in 0.4! ) is almost 4 times bigger, 20 root seeds/stumps, 40 drills, only ~483 wood per hour: It's a somewhat decorative build. But I previously thought it was close to optimal, having tested to confirm that two-way root growth, from a single stump, is as productive as 1-way growth (i.e. 1 seed to one drill). I measured production rates of the guide build simultaneously with my previous design, to confirm conditions were unchanged in the game between configurations. (Tests done in Core Keeper Early Access Version 0.3.8) So, this Mz build is, depending on the number of drills used, between 9.8 up to 16.4 times more productive per drill! (I.e. best is with just 1 drill, in the middle position.) Even a mediocre wood farm design will produce enough wood to spam as many platforms and torches as you'd reasonably need for exploring, etc. So what can be done with the many, many more stacks of 999 wood...? Crafting skill level farming: grab a load and then just hold the button down (potentially AFK) on making platforms, torches, wood floor (all just 1 wood per craft). Or another pure wood item from this list on the wiki [corekeeper.atma.gg] . XP appears to be awarded per crafting click (or equivalent tick, holding the button). Money farm: Add a sawmill or two to the end, with an extra robot arm, before the storage chest. Planks take only one wood and currently sell for 1 coin each (in 0.4.2). Chests are the mos
ИсточникGHub Platform · автор25.08.2026, 20:50:16
The below farm still works well, with many guide details relevant. But it's no longer the most optimal design for space or drills and is a little over-complicated to set up. Unfortunately I'm not able to update the guide at this time. But a design that is about equally as good an…
Войдите, чтобы писать в группе