[WIP] Galandra Combat Guide
GHub Platform · Гайд · 0 ответов · 15 просмотров
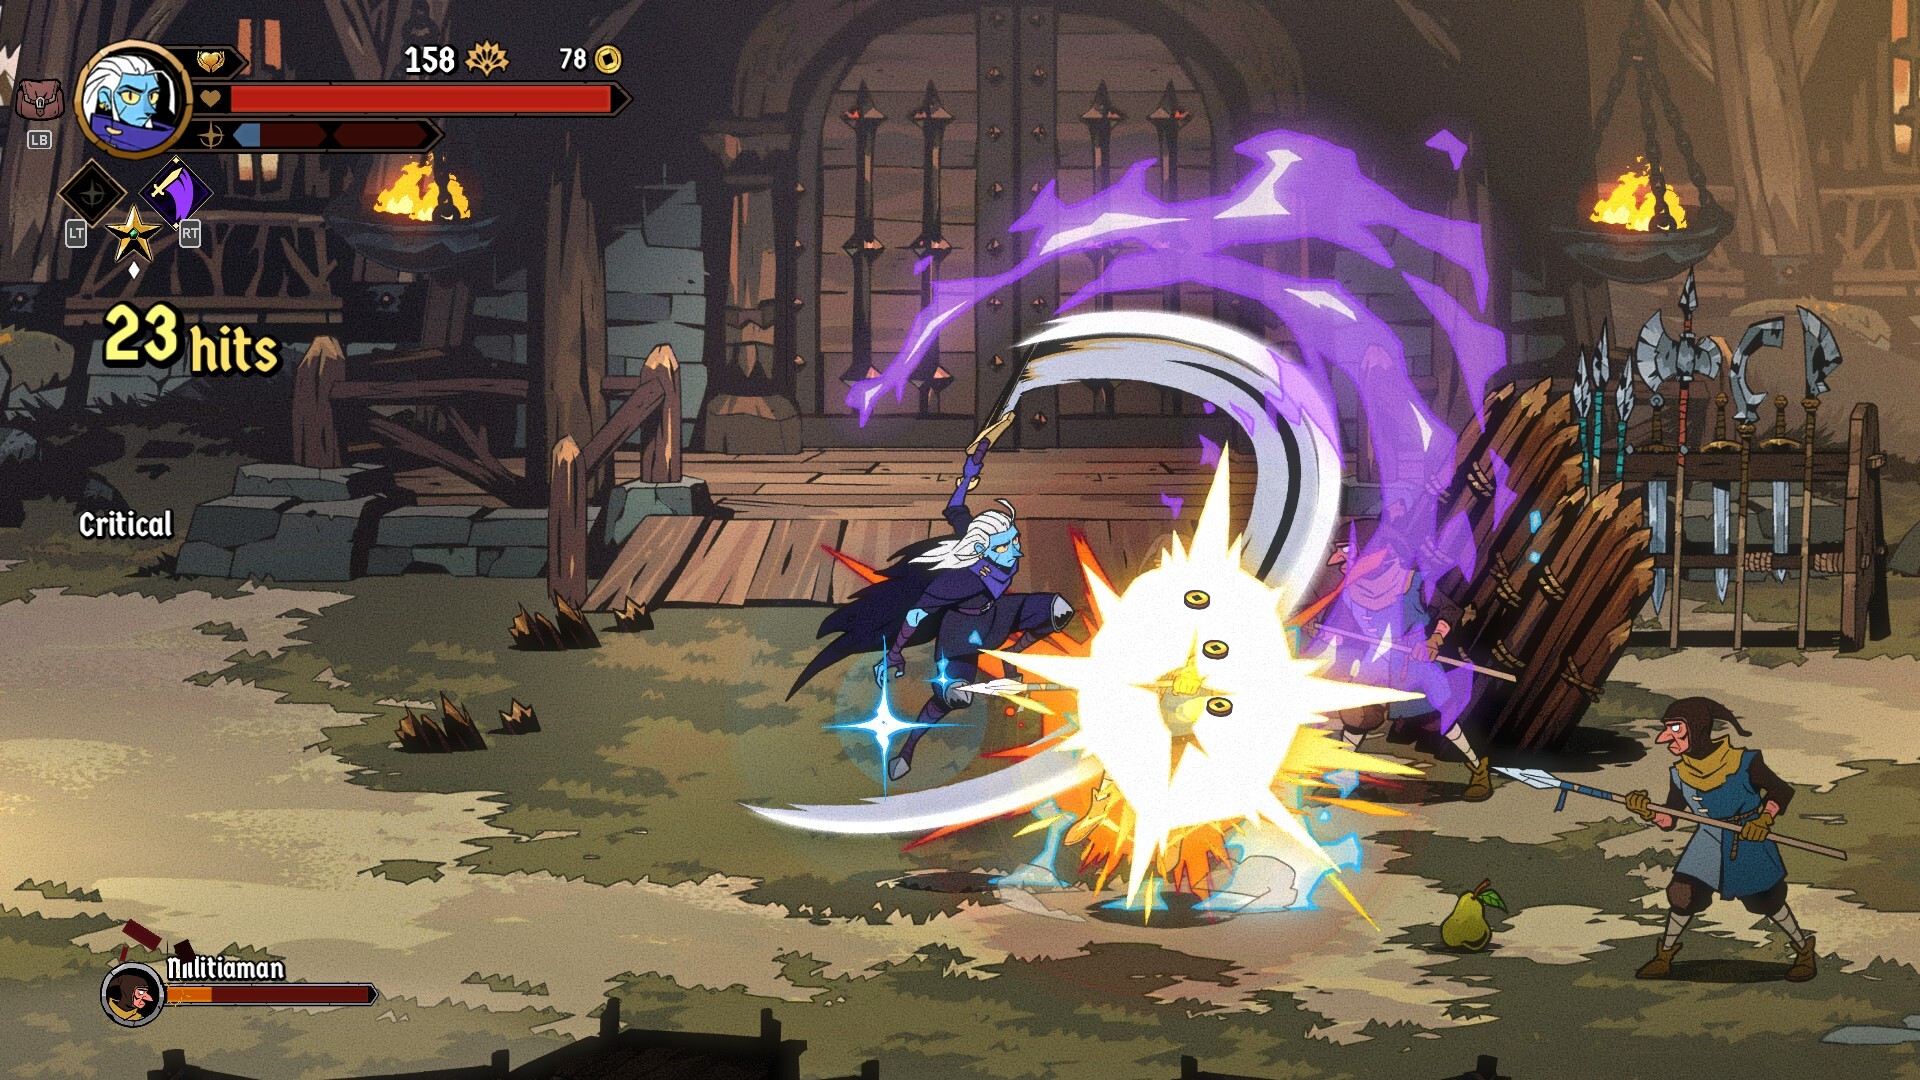
Welcome! Here you'll find a detailed breakdown of the combat mechanics of Absolum so you can make pretty much any ritual work and you can have a more satisfying fighting experience. Whether you are just getting started or want to improve your skills, this is the definitive guide for that! In addition to helping players across a wide range of skill levels, this guide also intends to showcase the game's depth. Absolum can essentially be approached in two different ways: you can focus on the roguelite elements using your knowledge of builds to break the game apart, or you can focus on the beat 'em up elements and use your knowledge of the mechanics to clear the game regardless of what RNG you're given. This guide focuses more on the latter: the beat 'em up part. I really hope you enjoy! "A maiden helps the pilgrims. She does not waste her time idly." These are the fundamental mechanics of the game and are consistent for every character. Punish After a clash, deflect, dodge, or any time you hit an enemy after they whiff, it's considered a Punish. The damage is applied to the whole combo, not just the one hit that says Punish. Repetitive If you do the same attack over and over, you get a "Repetitive" penalty, reducing damage dealt and preventing you from doing longer more damaging combos Overpressure This prevents you from doing infinite combos, but this state can be reset by using your Ultimate (L2 + R2). The hit that triggers Overpressure is always Critical on top of Overpressure itself doing more damage. A flash happens just before Overpressure kicks in and the enemy is staggered for a long time. Tech Hit and OTG This is when you hit enemies who are knocked down. In fighting game terminology this is often referred to as "OTG" as in "Off/On The Ground". In Absolum, there is an important difference between a Tech Hit and an OTG: enemies can only recover (land on their feet) from Tech Hits . All of Galandra's Arcanas can hit OTG. Meaning they can hit downed enemies and yet they do not count as "Tech Hits", so you can repeatedly hit them with your Arcana and they won't be able to recover. Wallbounce Some moves will cause wallbounce and if you know about it you can use it for combo extensions. The most important thing about wallbounces is they are unlimited and each does a little bit of damage that is not building any extra pressure so ideally you want use as many wallbounces in combo as you can. The force of the wallbounce depends on the move. Some wallbounces push the enemy very far away while others don't. Ground Bounce Some attacks can make an enemy bounce off the ground. The force with which the opponent is launched upwards after hitting the floor is determined by the strength of the move as well as the height. So, hitting an enemy with Air Skill after Draconic Ascent will cause them to bounce noticeably higher than if you just did Skill -> Dash Jump -> Air Skill. Ground Bounces do not seem to be "stored" in this game like in SOR4 so in order for the ground bounce to trigger, you cannot juggle the enemy before they touch the floor. For example: Air Skill has a Ground Bounce, but if you combo Air Skill into Strike Combo, when the enemy falls on the floor, they won't bounce. Impact Hit Otherwise known as collision damage, this refer to when enemies collide with one another or when they collide with terrain such as a wall (the edges of the screen) or even the ground. Clash When your Skill or Arcana collides with an enemy's attack it causes a Clash, staggering your foe for an extended period of time. Against certain armored enemies, if you Clash them while they are in the air, it puts them in a vulnerable state mid-air you'll be able to juggle combo them as if they did not have armor. "Beyond the waves, and under the moons, a Sun King must die." Now that we know the mechanics that are core to the game as a whole, we should take a closer look at Galandra's moveset and how we can best utilise it. By default, you won't have all of your moves unlocked, you're meant to unlock them mid run. Still, it is very important that you know your basics very well. So, let's quickly go over them. Strike Combo 3rd Hit (elbow) Has inertia (most noticeable on whiff) - Can be cancelled into Skill while preserving the momentum -- Can be done in reverse too Does slightly more hitstun Can auto-target enemies diagonally 4th hit (kick) Has wall bounce Skill Launcher - Naturally sets up farther wall bounce with auto-combo Tech Hit (can hit downed enemies, but they're able to recover) Wall bounce Jump Attacks 1st hit Can hit downed enemies even though it doesn't technically count as a "Tech Hit" in the game. Only usable against a few enemies Can be used to fall fast after Draconic Ascent and Phantom Impale 2nd hit Has inertia - Allows you to slightly control Air Skill momentum Has wall bounce Air Skill Wall bounce (still keeps the ground bounce property) The most damaging original move, so it's the most optimal combo ender when enemy is right about to get overpressured You can do it almost instantly right after a jump (low jump Skill attack), you don't need to be at jump's peak to perfom it Low jump Skill attack is the fastest way to clash, but it doesn't have such wide range as the standing Skill Attack. Running Attack (→→ + Strike) Has collision damage Can be cancelled into air Skill Attack - Allows better combo follow-up - Good for extending the travel distance of the move - Kara Cancel into Reverse Skill Attack for quick side-switch at jab range - Sets up re-stand reset after a throw Can be used diagonally - This in turn means Skill Attack can also be used diagonally Tech Hit (can hit a downed enemy, but they're able to recover) You can jump over some projectiles with this Grappling Forward Throw pushes the enemy farther away than Back Throw All throws do damage ONLY if you let enemy fall on the ground naturally without any additional hits in between. Up throw launches the enemy upwards setting up a combo and a side-switch Throws have iframes, but you cannot iframe through an enemy's grab. "It's a long journey to Asterios" You can only choose one Arcana at the start of your run. Much like in the previous chapter. Knowing the capabilities of your chosen Arcana is very important. Galandra doesn't have any bad Arcanas, some may be stronger than others sure, but nothing is terrible, so pick whatever you feel like suits your playstyle better. By default, you gain mana by attacking enemies with either Strike or Skill. For more ways to build mana check Ritual Synergies. Reaper Cyclone Soft wallbounce making it very good in the corner Highest damage arcana with wall bounce When done in the air it has less recovery Very good for clashing Benefits from movement speed increase Draconic Ascent Wallbounce The best way to initiate Air Combos with Galandra You can use a regular attack in the air to fall faster and set up better follow-ups Aerial version has a lot of corner carry which makes it useful for setuping corner combos from midscreen. - Can be performed pretty much immediately after jumping, allowing you to stay close to the ground; a good option to avoid the danger of getting anti-aired Revenge Claw Strong knockback and wallbounce that enables follow-ups Aerial version has Ground Bounce Counter does not trigger on projectiles. Only melee attacks. Though it will still throw the projectile back at the enemy. You don't need to be facing the enemy to clash with this and you can redirect the claw attack. Highest damage Arcana with a single-hit (not counting wall bounce) Fully invincible except against certain grabs and environmental hazards (such as wrecking balls). - This allows Revenge Claw to successfully clash certain attacks that would otherwise stun Galandra like the Lizard King's belly attack. Recovery can be cancelled into anything Necrotic Wave Excellent wave clear and crowd control
ИсточникGHub Platform · автор26.08.2026, 00:24:33
Welcome! Here you'll find a detailed breakdown of the combat mechanics of Absolum so you can make pretty much any ritual work and you can have a more satisfying fighting experience. Whether you are just getting started or want to improve your skills, this is the definitive guide…
Войдите, чтобы писать в группе