BloodCovered Ending and Achievement Guide
GHub Platform · Гайд · 0 ответов · 20 просмотров
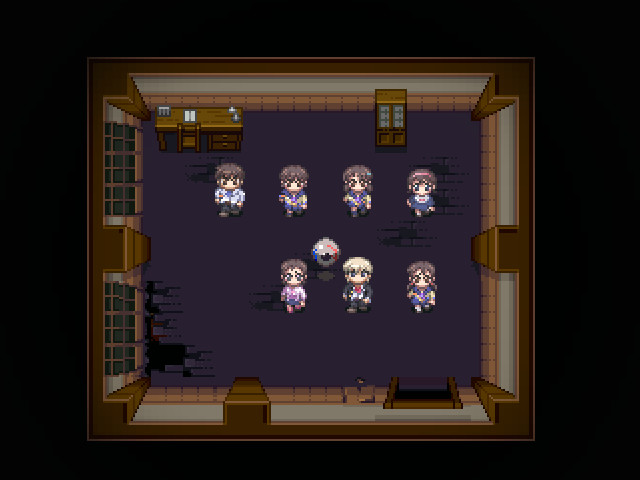
Ending 1 (Clear End) [Classroom 1-A] Pick up the loose board. [Main Building 2F] Use the loose board on the northern gap. [Classroom 2-A] Examine the skeleton. Choose either option. [2-3F West Stairwell] Examine the spirit to gain the unknown key. [Classroom 3-A] Choose to enter the room after unlocking it. Read the newspaper, then examine the door. Continue examining objects and moving through the room until a conversation occurs. Then approach the door. [Main Building 2F] Grab the loose board near the southestern stairwell. [Main Building 1F] Go to classroom 5-A. Enter from both sides and try to approach the item. Speak to the spirit outside the classroom. [Classroom 5-A] Have Seiko stand on the spot on the north side of the room where the item appears, then approach from the south to get the infirmary key. [Main Building 3F] Use the loose board to get up to the third floor, then enter the girls' bathroom and exit. Attempt to leave downstairs until a voice is heard. Return to bathroom, then go downstairs. [Infirmary] Examine the space heater to get matches. Examine the beds to start a story scene. After waking up, examine the door. Move around the room until the door is covered in black hair, then examine the door again. Approach the desk. [Infirmary] A shadow will attack during this sequence, and some parts of the floor become impassible. Examine the door and try to use a match, then go and grab a bottle of alcohol from the white cabinet (approach from the north side only, or you'll risk being trapped by missing tiles). Re-examine the door and leave. [Main Building 1F] Go north until a voice is heard. Follow the voice. [Main Building 3F] Enter the girls' bathroom. [Girls' Bathroom] Examine the stall with the noose. Continue examining the noose until a story sequence begins. CLEAR Ending 2 (Wrong End 1) Skip step 5 from clear ending path, not entering Classroom 3-A. Continue through chapter as normal. Ending 3 (Wrong End 2) In step 11 of the clear ending path, let the shadow grab you until your HP hits 0. Ending 4 (Wrong End 3) This ending does not exist in BloodCovered, having been added for BloodCovered...Repeated Fear 3DS. It has been added here for those who have yet to find a dedicated guide for that version. Note: No dialogue in this ending is voiced. Read all five of the Victim's Memoirs. This becomes possible once it is possible to exit Classroom 2-A from the northern door (east door in hallway). Classroom 1-A, south end: Victim Memoir 1 Classroom 2-A: Victim Memoir 2 Main Building 2F (East, near north stairs): Victim Memoir 3 Classroom 5-A, south end (west entrance): Victim Memoir 4 Main Building 3F (East, near bathrooms): Victim Memoir 5 Optional Scenes Before step 2 of clear ending path, use the board on the southern gap and go downstairs. Try to examine the front entrance, then return to the second floor. Retrieve the loose board to continue. When on the first floor with Naomi (main path), examine Shiho Hasegawa's corpse and notes by the red door. (No nametag.) When entering the bathroom in step 9, examine the second stall from the left before leaving the first time. This causes alternate dialogue on the second visit in this step. When controlling Seiko in step 12, go back up to the second floor and try to reach the blood splatter. When controlling Seiko in step 12, examine the poster on the first floor for a new response. Nametags Classroom 2-A (Naomi): Yoshiyuki Shinohara Main Building 1F (Naomi/Seiko): Yuzuha Mikami Main Building 1F (Naomi): Koito Fujiwara Classroom 5-A (Naomi): Asuka Kato Main Building 3F (Naomi): Sasha Shinonome Classroom 3-A (Naomi): Shin Aichi Achievements Welcome to Heavenly Host : Clear the chapter. The Dark Space : Complete all three endings. Total credit for endings/nametags: 9 Ending 1 (Clear End) [Main Building 2F] Go to west stairwell and pick up the 3-A key. [Classroom 3-A] After unlocking and entering the room, approach the door. Choose either option. [Main Building 2F] Exit the classroom and head downstairs. [Main Building 1F] Go north, passing the skeletons. Enter classroom 4-A. [Classroom 4-A] Reach the item on the far left without looking directly at the child spirit to get the nail puller/crowbar. [Main Building 1F] When Ayumi leaves the party, enter the Entryway and speak to her. (Leaving will prevent re-entry unless you speak to her.) The child spirit will attack, so retreat to the entryway once again before running past. [Classroom 1-A] Use the nail puller to open the hidden door. In the hidden room, pull the lever. [Classroom 4-A] Pull the lever without looking directly at the child spirit. When leaving the room, avoid the child spirit. (If the gemstone is in inventory, it will break to save you once.) [Main Building 1F] Use the new bridge to reach the east stairwell. Go up to the third floor. [Main Building 3F] Enter the girls' bathroom. Approach the shadow. Choose either option. Enter the girls' bathroom and examine the shadow again before trying to exit. Go back downstairs [Infirmary] Follow the ghost into the infirmary. After the event, return to the hallway. [Main Building 1F] Pick up the antique doll body from outside the red door. [2-3F West Stairwell] Pick up the antique doll head. [Infirmary] Return to the infirmary with both doll parts. After the event, go north. CLEAR Ending 2 (Wrong End 1) Get caught by the child spirit at any point after step 5. Ending 3 (Wrong End 2) Skip step 6 and continue as normal without Ayumi. Ending 4 (Wrong End 3) During step 10, after examining the shadow once and leaving the bathroom, go down the stairs. (Impossible if you still have the gemstone.) Ending 5 (Wrong End 4) Read all five of the Victim's Memoirs. This becomes possible once the eastern side of the third floor is accessible. Main Building 1F (Yoshiki): Victim Memoir 1 Main Building Entryway (Yoshiki): Victim Memoir 2 Behind Classroom 1-A (Yoshiki): Victim Memoir 3 Main Building 3F (East) (Yoshiki): Victim Memoir 4 Main Building 2F (West) (Yoshiki): Victim Memoir 5 Optional Scenes During step 1 as Yui, enter Classroom 1-A from the south and pick up the gemstone. (If given to Yoshiki, it can prevent Wrong Ends 1 and 4 once before breaking, or prevent Wrong End 3 entirely if it is held until then.) During step 1 as Yui, enter Classroom 2-A and read the newspaper. As Yoshiki, examine Shiho Hasegawa's body and note near the red door. No nametag. During step 3 as Yoshiki, enter Classroom 2-A and try to use the north door. During step 3 as Yoshiki, try to reach Classroom 3-A from the west. After step 8 as Yoshiki, try to use the entryway door. Nametags Main Building 1F (Yoshiki): Kai Shimada Main Building 1F (Yoshiki): Tomohiro Ohkawa Main Building 1F (Yoshiki): Masato Fukuroi Main Building 1F (Yoshiki): Hikari Kirigami Main Building 1F (Yoshiki): Emi Kudou 2-3F East Stairwell (Yoshiki): Ryosuke Katayama Achievements Penitence : Clear the chapter. Impact : Complete all five endings. Total credit for endings/nametags: 11 Ending 1 (Clear End) [Classroom 1-A] Choose either option. Exit and enter from the south side, trying to reach the board. Enter from the north side again. Enter from the south side and approach the board to start an event. Enter from the north side and have Yuka wait where the board will be. Enter from the south again to get the loose board. [Yuka's Charm] After getting the loose board, Yuka will offer Satoshi her charm. If Satoshi accepts, he is protected from Wrong Ends 1 and 3 once, but if he refuses Yuka is protected from Wrong End 2 once. [Main Building 2F] Enter Classroom 2-A and examine the bloody corpse. Exit from the north side and read Victim's Memoir #1. Return to the main part of the second floor. Response to Yuka will affect whether or not an optional scene can be viewed. Use the loose board to get downstairs. [Main Building 1F] Enter the entryway and read Victim's Memoir #2. Avoid looking at the child spirit and go up the eastern stairwell. [2-3F East Stairwell] Pick
ИсточникGHub Platform · автор26.08.2026, 02:25:28
Ending 1 (Clear End) [Classroom 1-A] Pick up the loose board. [Main Building 2F] Use the loose board on the northern gap. [Classroom 2-A] Examine the skeleton. Choose either option. [2-3F West Stairwell] Examine the spirit to gain the unknown key. [Classroom 3-A] Choose to enter…
Войдите, чтобы писать в группе