Getting started on Open World, first three missions and first addition to your fleet!
GHub Platform · Гайд · 0 ответов · 20 просмотров
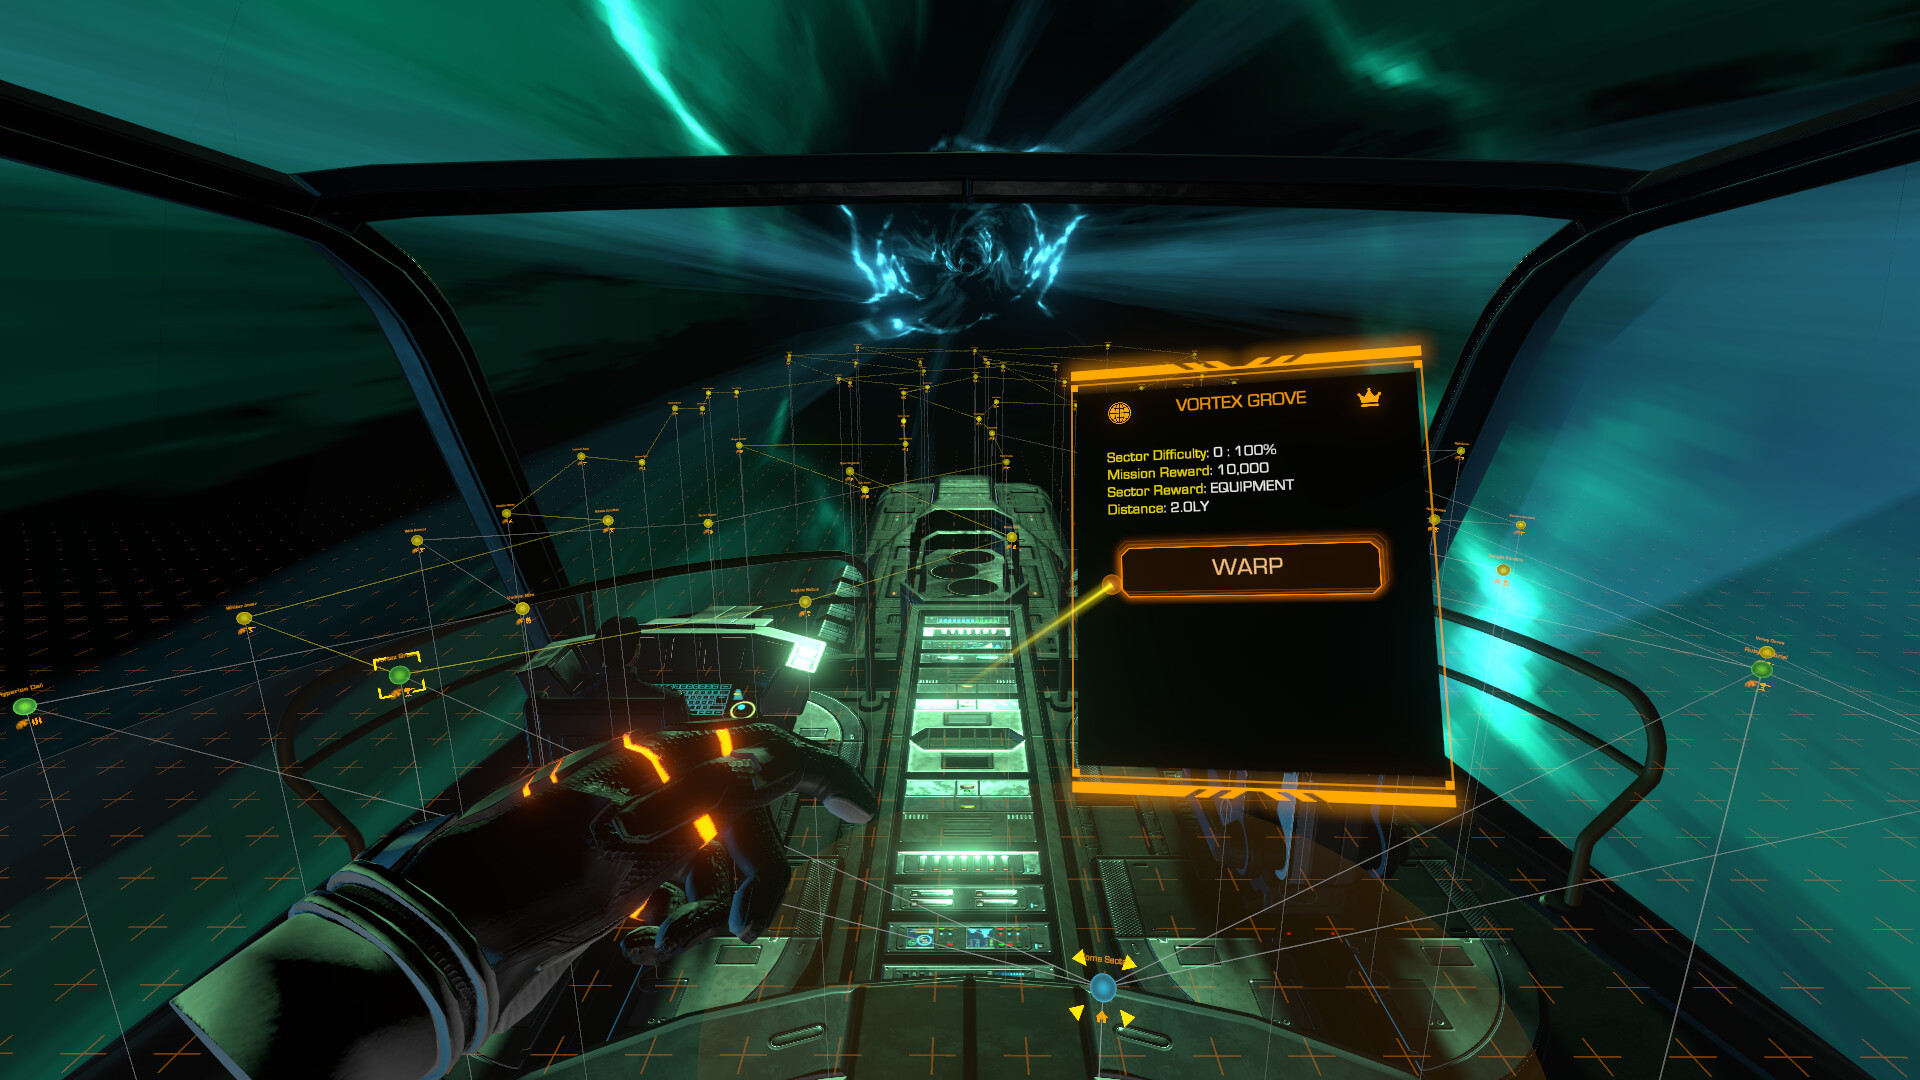
Power priorities are covered in the tutorial but worth another mention. The difference made by setting the power priority to the system you need most in the moment can make or break a punch-for-punch, retreat or out maneuver, or a shield regen cycle. Know the different ways outlined in the tutorial to affect these settings, fleet wide from the global commands, and the cog menu when a single ship is selected in the holomap. Later you will see how changing the power priority can double your fire rates, speed, or shield recharge and sway the battle in your favor. And before you get too carried away, take a moment to inspect your ship and its equipment. You will find all weapons have a maximum range, and some even have a minimum range. With the first loadout on your ship you will see the medium cannons on the side can fire from 0-10000 meters, the cannon on the top 0-5000m, and the missile launcher can only fire at targets from 5000 to 10000 meters. Additionally, most weapons have a firing arc. If you remove all the weapons except the one you are trying to better understand, it will become obvious when you look in the holomap which way needs to be pointed at the enemy. Some of it is intuitive, such as the medium cannon on the port side not being able to fire to starboard, but some others are subtle and worth investigating. Additional to the tutorials there is a movement feature that becomes very useful very soon. Within the holomap if you have a vessel selected that does not have any special orders regarding movement (stay within range of enemy, hold position, ect.) you will see a small grey arrow near its nose. Grab that arrow and swing it around to align your vessel where you need it for best effect. Take some time before you go anywhere to get used to moving your ship in proximity to a station or asteroid. Inspect your ship and its weapons. Try parking near an asteroid and aligning different directions to see which of your firing arcs and ranges are pointed which direction. You will do a lot better in the next battles if you do. ***Spoilers for the storyline missions from here on out.*** If following the storyline, the first jump into the unknown will drop you at a location with two supply caches that need to be captured. Capturing them is pretty straight forward. In the holomap select and move your ship nearby the unknown yellow diamonds. They will become capturable icons when you are within scanner range. Select your ship again, move it to there, and select the capture option. Your ship will park nearby and start capturing the supplies. Some enemies will start after you, about when you are nearly done capturing the first supply cache or so. They are easily taken out with your current ship, but lets get the most out of this learning opportunity. In the holomap, once they are within scanner range, you will be able to select the enemy ships and see what their stats are, the status of the hall and shields, and select subsystems to focus fire on. This time we are going to disable the weapons on both the ships. Select the weapons subsystems, keep your nose aligned with the enemy so both your medium cannons can hit them, and take out the weapon subsystems on both. That done, we are free to use the defanged enemies as target practice in helm mode! Switch from the holomap to helm mode and try every setting and method of moving around you like. Chase your prey down and unload your overcharged weapons manually, roll your ship around to change which of your shields they would be hitting if they were firing back, and practice flanking them on whatever side their shields are the weakest. Finish them off and collect the loot they drop, and once you have the two original crates you are ready to plug your new engine into your ship and head off to the next mission. Ok time to put all the skills you've been practicing to the test! Some good to knows: The station will show damage but will never go below 10%, so don't worry about losing that way, only from your own ship being defeated. You can fire through the station without any issue. The enemies that spawn on this mission are scaled to your fleet, so feel free to head out into the open world and build out a whole battlegroup before doing this mission, but don't expect it to go any easier. It is totally doable with your single original ship. First thing to do is zip your ship right over to the station and park close to right on top of it (power to engines to get there faster). Throughout this mission we are going to do our best to stay within the shields of the station itself, our weapons firing outward (good time to switch power to engines), and their shots having to get through the station shields before becoming a threat to us. The enemies will come to you. Stay within the station shielding, changing positions as the shield on one side or the other starts to fail. You can tuck in tight to the curve of the shield to get a pretty full arc of protection. Keep your ship in position, but don't use "hold position" mode as it will disable your ability to align your ship using the little grey arrow we practiced from before. Target the enemies weapons and keep your ship aligned with the little grey arrow (or helm mode if you are keen) and disable them in turn. Don't forget to fire your charged Lancer Beam! Once they're all disabled run around (helm mode again if you want more practice) and clean them all up, collecting the loot as you go. Congrats, you're about to recover the Long Fang and your ship of one will officially become a fleet! Next jump you fall out in a third unknown area with not a lot going on yet, but a little yellow blip in the distance. Make a run for that (power to engines!) and recover the Missile Cruiser. If you hurry you should just about be done recovering it when the junkyard owners come around the corner. A missile cruiser that is to your fleet as an archer is to any good DnD campaign, the Long Fang packs a ranged punch that can support your other ships by softening up or mopping up the enemy from afar. Not as good at taking a punch as it is handing them out though, so keep it behind the front line. You will notice its missile batteries have a minimum range as well, so if a brawler gets up in it's face it's game over. The two very different ships you now have will give you a great chance to get used to commanding a mixed fleet effectively. Take the time to understand where each shines and how they can complement each other as you continue onward from fleet to Battlegroup! --- Источник: https://steamcommunity.com/sharedfiles/filedetails/?id=3608485144
ИсточникGHub Platform · автор30.08.2026, 06:29:58
Power priorities are covered in the tutorial but worth another mention. The difference made by setting the power priority to the system you need most in the moment can make or break a punch-for-punch, retreat or out maneuver, or a shield regen cycle. Know the different ways outli…
Войдите, чтобы писать в группе