All-rounder Guide to Let It Die
GHub Platform · Гайд · 0 ответов · 23 просмотра
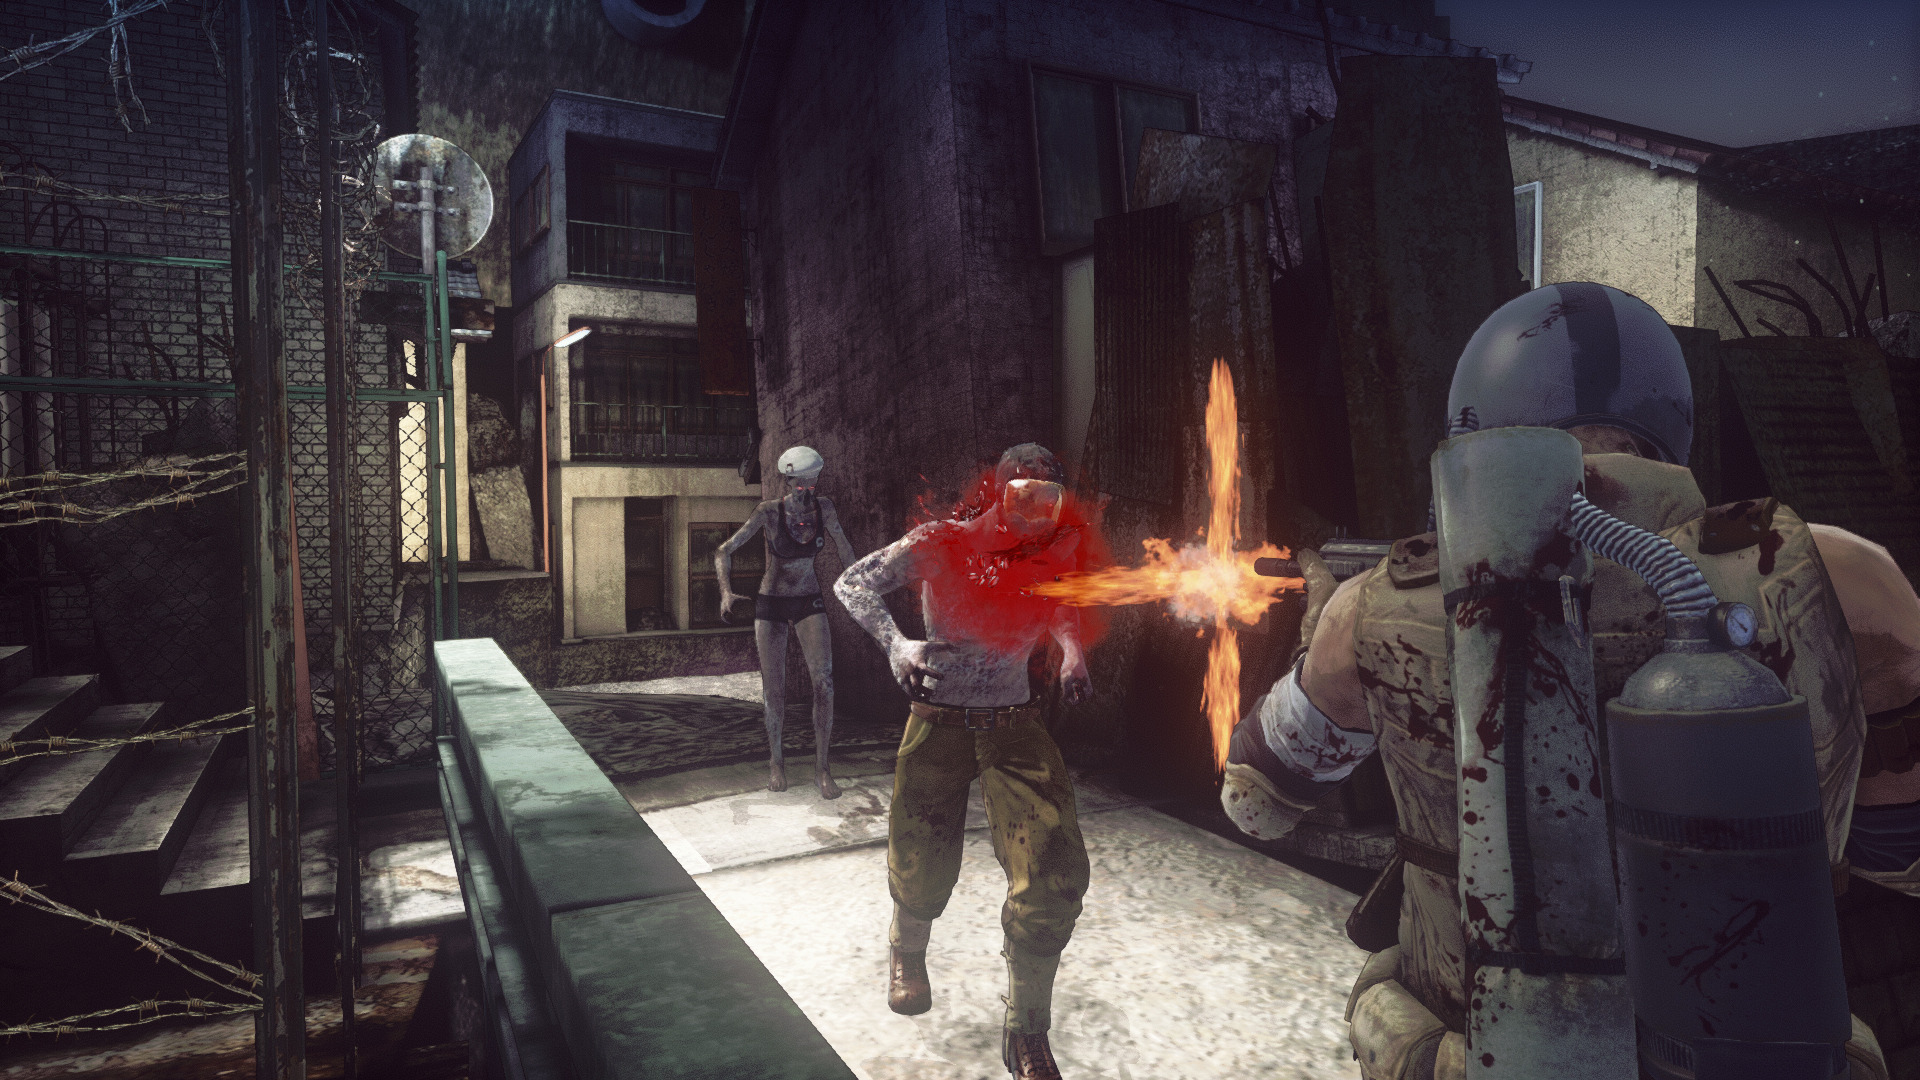
Greetings and welcomes and stuff to Let It Die, senpai! To get ya started I'm gonna go over some basics then get to the nitty gritty afterwards. Walk before ya run sorta thing. To preface things, this guide will refer to other external sites(listed at the bottom as External References) that are fairly reliable sources for the information. Part of what I'm attempting to do here is make it so that the PC users can just pull up the Steam Overlay and find some of this information without having to alt-tab and pull up a browser, etc., etc. It can be a bit tedious doing the latter all the time. Again, welcome to Let It Die! When first starting up the game you'll deal with the usual company and developer logos hittin' ya before getting to a screen that shows any recent news or events goin' on. Hit the Escape Key / B Button to get rid of the News/Event pop-up or you can hit Insert Key / Y Button to have the Steam overlay pull up and show a browser to the News/Event page from the games official page. Here you have several options to start with. 1) Starts the game. 2) Allows for Voice Selection options. What you'd like the audio and subtitles to be in.(This can be changed In-Game as well) 3) Brings the News/Events pop-up back up. 4) This just rolls the credits. 5) Takes ya back outta the game. When ready select " Game Start " then hit the Enter Key / A Button . SIDENOTE: There are sometimes special announcements on the loading screens in the lower scrolling marque that is below Uncle Death on his skateboard. After the game loads up you'll either be in a Tutorial or loading into your Waiting Room. 1) This lists your options to choose from. These are as follows: Death Bag Underworld Rolodex DH Service Config Back to Title Quit the Game 2) This shows if you have an active Direct Hell Express pass. It lists the time left and the color signifies the type. Silver is a 1-day pass and Gold is a 1-month pass. 3) These are your currently equipped Decals on your Active Fighter. 4) These are the stats of your Fighter. I'll get more in depth on this part in it's appropriate section. Starting with the options listed as 1. Death Bag Here you can see all the items you have on your current Fighter. Underworld Rolodex This is where several bits of information are kept. Everything from E-mails to Tutorial messages. DH Services This menu is pretty much where you spend real money for the in-game Death Metals and Express Pass. This is also where you go if you want to expand your Storage Chest space. Config Here you can select: Gameplay Settings Graphic Settings Control Settings You can go into this menu to mess with various settings for the game. Back to Title This takes you back to the Title Screen.... need I say more... Quit the Game Quits the game. The controls of the game I'd say seem to be better laid for controller users than mouse & keyboard users. I'm not saying it's impossible to play the game with M&K but keep in mind this initially released on Playstation and remained that way for nearly 2 years before porting to PC. With that said, I'm going to try to lay out things for both sides so you know what to press to do what(for the most part). Controller Above is the DEFAULT control scheme for a typical Xbox One controller plugged into a PC. Keyboard & Mouse General/Combat Forward = W Backward = S Move Left = A Move Right = D Walk = Left Alt Crouch/Dash(moving) = Left Ctrl Jump = Space Guard/Dodge(moving) = Q Rage = E Change Left Arm = 1 Change Right Arm = 2 Change Item Left = ,(comma) Change Item Right = .(period) Left Hand Attack = Y/Left Mouse Button(LMB) Left Hand Sub Attack = U/Shift+LMB Right Hand Attack = O/Right Mouse Button(RMB) Right Hand Sub Attack = I/Shift+RMB Interact = E/Side Mouse Button Down(SMBD) Eat = C Throw = Tab/Side Mouse Button Up(SMBU) Taunt = Page Up Switch Target = G Lock-on/Camera Reset = T Options = R Map = M Menus Menu: Camera = Move the mouse Menu: Confirm = Enter/LMB Menu: Cancel = Escape/RMB Menu: Control 1 = Backspace/SMBD Menu: Control 2 = Insert/SMBU Menu: Select = Arrow Keys Menu: Scroll = Move the mouse Change Tab Left = 2 Change Tab Right = 3 Menu: Sort = 4 Menu: Switch Display = 5 Notes: Just some small bits to point out. Lock-on is useful in SOME situations but it's best to go with just free running it. The Sort option(4/X Button) can make life a bit easier when you're going through your bags and such. Switch Display(5/Depress Right Stick) will be explained a little more in depth later. It is different for some menus. This is the card for your current Fighter. This shows several things. Fighter Name, Grade(Stars), Class(Type), and Power Rating. Level and EXP required for leveling up. Death Bag size, Skill Slots(for Decals), and maximum Rage Gauge. Stats for the Fighter. HP - Total amount of health ya have. STM - This affects your actions when in the Tower. Rolling, attacking and running drains this. When your Stamina has been depleted you become Hungry and have to eat a Beast to get back to normal. STR - This is the damage multiplier for weapons that scale on STR damage. DEX - This is the damage mulitplier for weapons that scale on DEX damage. VIT - This, combined with your Armor stat, determines your damage reduction from attacks. LUK - Increases Kill Coin gain and Critical Hit chance. This shows your attack values for the current weapon in your right(R) and left(L) hands at the top. Next to the white bar shows the Damage Type(s) the weapon has. If it has two types you'll have the physical(if any) listed to the left(Blunt shown here) and the element listed to the right. Underneath the Attack Section you see your Defenses. The top-right number(4746 here) is your total Defense from armor(Head, Body, and Legs). Underneath that are any resistances or weaknesses gained from your armors accumulatively. From top-left to bottom-right: Slash Damage Blunt Damage Piercing Damage Fire Damage Electric Damage Poison Damage Obviously, the positive numbers are good and the negatives are bad. In this portrait you can see what your Fighter has equipped. The green bars you see are the Durability of the items individually. The more full the bar is the better condition the equipment is in. These display currencies that you have on you. This is mainly important when you're in the Tower. Anything that is listed in this section are what's on you while you're out. These won't be "banked" until you return to the Waiting Room or spend some at the Wandering Shop. From top-left to lower-right: Kill Coins SPLithium EXP Bloodnium WELCOME TO THE WAITING ROOM Above is the initial view you'll get of your Waiting Room. This is your central hub for the game. You start here and, for the most part, end yer day here. Numbered up above is: 1) ANY immediate messages for you to catch wind of are displayed momentarily when you log in. This can be anything from fighters returning from expeditions to attacks on your Waiting Room along with many other things. Try to keep an eye out for these poppin' up. 2) Basic information on your current Fighter. This shows level, name, HP(green bar) and amount of Rage Meter(square with a 0 in it). 3) These icons in the lower left and right are the weapons you have equipped.** 4) Current Decals that are on your current Fighter.** 3 and 4 are marked with a ** because we will cover these things in another section. For now, OOOO PRETTY WAITING ROOM!!! The Waiting Room itself has several parts to it and I'm setting those each in their own sort of section to give you an idea of what each part does a bit more in depth. If you run straight ahead when loading in you'll reach the Tower Entry Hub. The items available are as follows. 1) Mingo Head : You use this fellah for leveling up your Fighters. 2) Elevator : It does what the name implies. It's important to unlock these as ya ascend the Tower of Barbs to make for easier return trips to going higher or for hitting areas for farming materials. 3) Escalator : This s
ИсточникGHub Platform · автор30.08.2026, 22:05:51
Greetings and welcomes and stuff to Let It Die, senpai! To get ya started I'm gonna go over some basics then get to the nitty gritty afterwards. Walk before ya run sorta thing. To preface things, this guide will refer to other external sites(listed at the bottom as External Refer…
Войдите, чтобы писать в группе