HIVESWAP ACT 1 Guide
GHub Platform · Гайд · 0 ответов · 17 просмотров
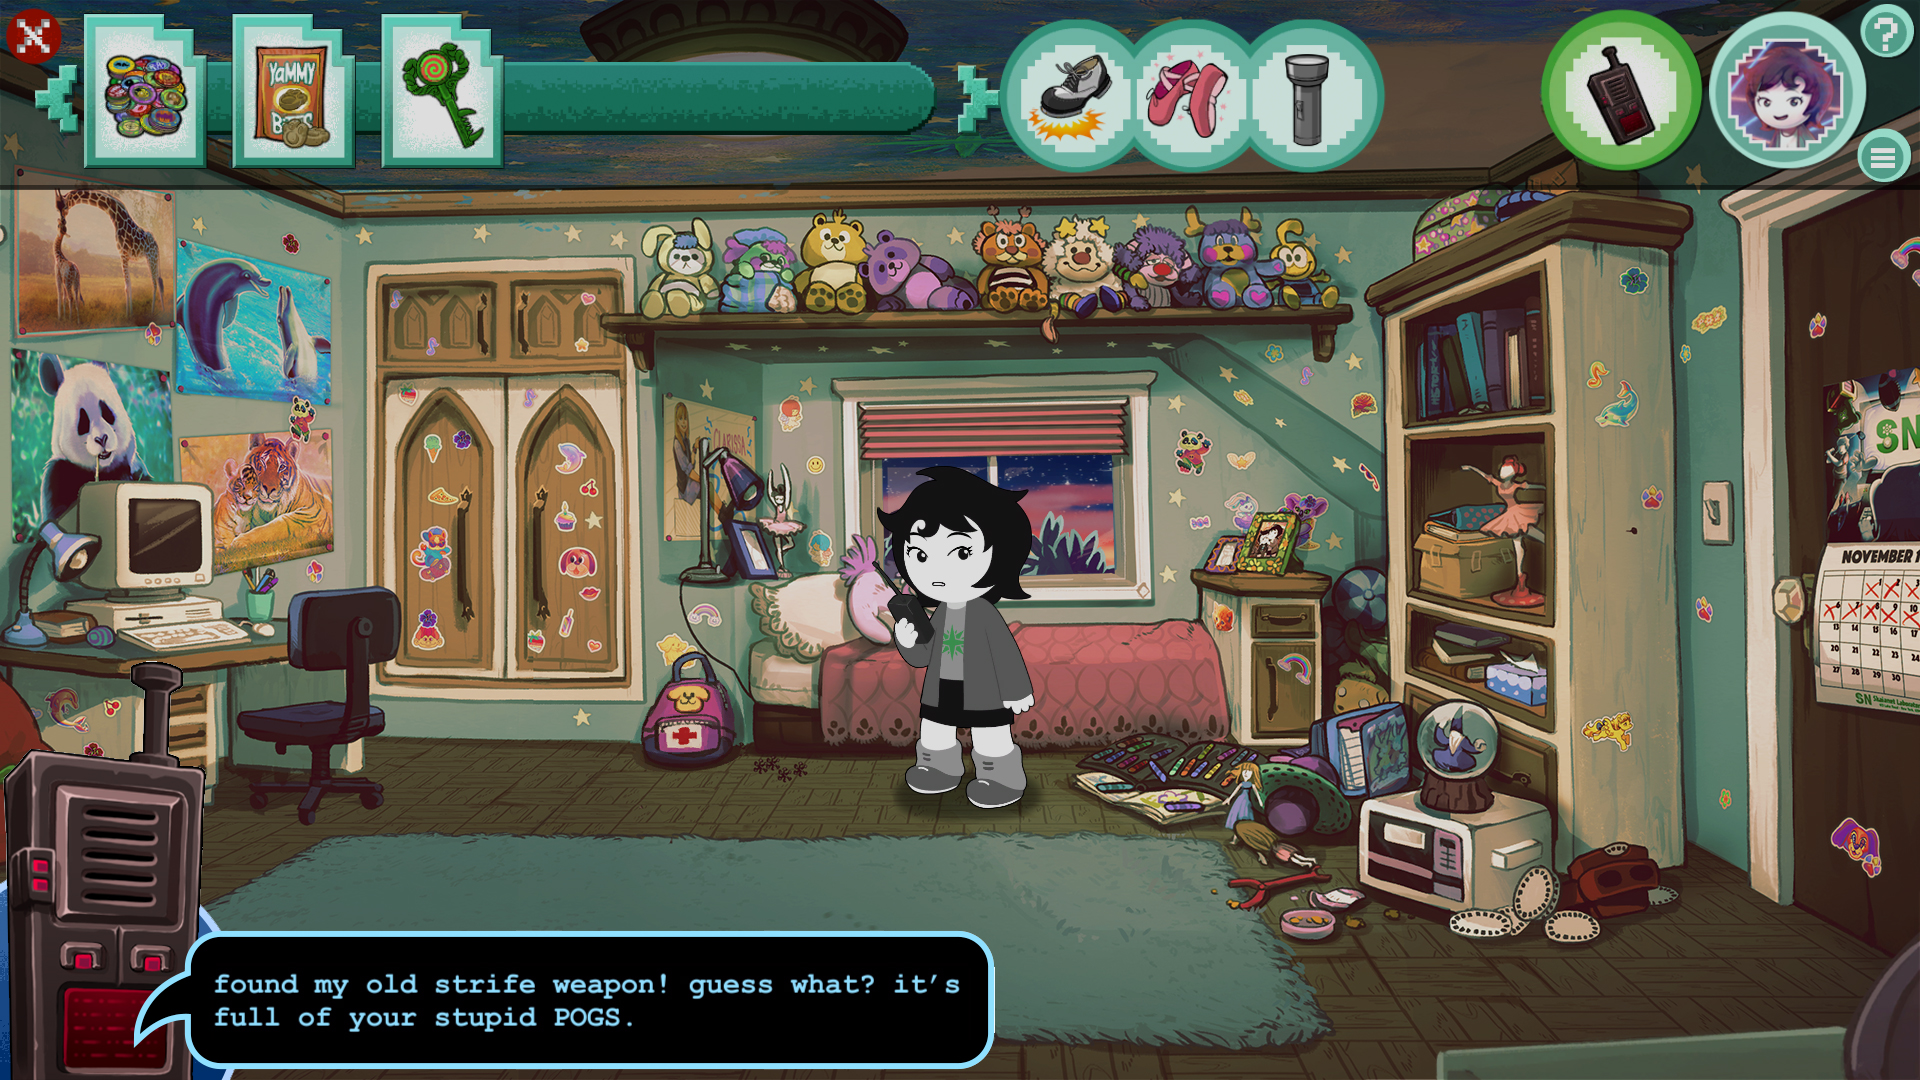
As with all point and click adventure games, the cursor will change styles based on the actions you can take. The pointer finger is to interect with that object as is. Sometimes you will get a menu to either look at the object or to perform a specific action like "Equip" or "Take". The eye allows you to look closer at the object in question and you will find more objects to interact with. The feet changes your location when you click there. Moving from room to room, section to section. This guide is to help you complete this ACT. However, nothing is stopping you from interacting with the eviroment and explore. Just remember to travel as long as you can before moving on. Sometimes you will find the strangest quotes when using items you have on the interactive objects. Optional: Click on the light switch. "Get" the walkie-talkie on the ground near the chair. Click on the left side to move to another part of the room Click on the closet to open it. "Challenge" the Simon Says game. Click on the green button to end it. Combine the Batteries or the Walkie-Talkie to be able to talk to Jude. From now on you will be able to talk to Jude whenever the Walkie-Talkie is flashing a speech bubble with an "!". By the way, play attention to the Walkie-Talkie from now on, beyond the first mentioning, you are on your own. Except with the tablet Click on the Walkie-Talkie to talk to Jude. Click on the right side of the room to return to the other side. "Search" the plush dog, Puppy Surprise, to examine it closer. "Get" the keys. Now head back the other way again. Examine the dresser with a book. Use the Diary Key on the lock. "Write" in the diary. Once again go to the other side. "Equip" the tap shoes. Leave the room. Click South of current location to head to over to section with the closet. "Open" the left door, that is the closet. Use the Tap Shoes on the box on the top shelf. "Search" the box. Click on the right side to return near Joey's Room. ACHIEVEMENT ALERT Go back to Joey's Room. Use the Pet Treats on the Bugsy poster for >DON'T ENCOURAGE HIM. Available until you acquire the Actic Key Click by the arch to head to the stairs leading to the actic. ACHIEVEMENT ALERT While here use the Ballet Shoes then click on the slinky for >HOPE SPRINGS ETERNAL. Available until you acquire the Actic Key Attempt to "Open" the actic door. Return to the section of the hallway with the closet. Click near the stairway to go down and keep going down to the living room. Living Room ACHIEVEMENT ALERT/WARNING Use the Pet Treats on the bears here to attempt the achievement >THEY'RE STUFFED. If any of them was your last click, you got the achievement. Achievement has a two restrictions. If you missed the narwal in the basement, out of luck for the current playthrough. Otherwise this achievement is available until you get the Actic Key. ACHIEVEMENT ALERT/WARNING There are three achievements affected by the removal of the E cell batteries from the remote on the table near the beanbag chair. Leave the batteries, you get >BATTER LUCK NEXT TIME when you beat the ACT. Take the batteries and you will instead get >CELL YOU LATER. Use the E Cell Batteries on the remote to get >NO. THEY'RE YOURS NOW. Make your decision on interaction with the remote before acquiring the Actic Key. ACHIEVEMENT ALERT/WARNING Get these batteries or you will miss out on achievements in ACT 2 Head deeper into the living room until you reach the other side. WARNING Due to the developer's foresight, if you get the D Cell Batteries before entering the trophy room, you will not be able to enter the trophy room. I tried, therefore I know. Go into the trophy room which is the door on the right. Trophey Room There is nothing more you can do here, you cannot see siht. You can click anywhere besides the door behind Joey and click "Listen" to feel a bit spooked. Go back through the door behind Joey to return to the Living Room. Living Room Head to the door on the left and enter the kitchen. ACHIEVEMENT ALERT Click on the Pogs then click on the trash next to the fridge for >WHERE THEY BELONG. Achievement is available until you acquire the actic key. Click on the radio. "Pop Open" the battery compartment, it has bandages on it, and "Get Batteries". Back away from the radio. Combine the D Cell Batteries and Flashlight to provide power. WARNING If you sequence break and got the batteries before going to the trophy room, the door to the trophy room will be barred for some reason preventing you from getting in due to developers' foresight. Head into the basement via the door on the right. Under Darkness ACHIEVEMENT ALERT/WARNING Click on the Pet Treats and give it to the narwal for progress in the >THEY'RE STUFFED achievement. If you don't don't do this before flipping the breaker, well, remember next time on another playthrough. ACHIEVEMENT ALERT For the Hula Girls, use the Tap Shoes and the Ballet Slipper on them for >MAY I HAVE THIS DANCE?. Availiable until you flipped the breaker. Use the tap shoes on the pile of boxes to the left, now "Flip Breaker". Leave the basement, or attempt to anyways. STRIFE!!! Use Tap Shoes then the Serpent. Use Ballet Slippers then the Serpent to abscond. ACHIEVEMENT ALERT Use the Pogs on the fax machine, by the fridge, for >PERIOD-APPROPRIATE REFERENCES. Available until you grab the Actic Key. Leave the kitchen and head back/over to the trophy room. STRIFE!!! Use the Pet Treats on the monster. Repeat two more times. *Auto* Ascend the Echeladder! After Strife ACHIEVEMENT ALERT/WARNING Use the Pet Treats on the deer and the lionese head for progress in >THEY'RE STUFFED. If one of them was the last one needed, then you got the achievement. If you forgot the narwal in basement, out of luck for this playthough. Otherwise, you have until you leave the trophy room. "Pull" on the Deer Antlers. ACHIEVEMENT ALERT/WARNING Click on the pigeon cage right now, then each time when you sent it with the marbles. Click it before sending Frohike, after Frohike, after Langley, and during the final Strife of this Act. Available during those moments mentioned. *Optional* "Open" the lockbox and get the flares. *Optional* Equip the flare gun located in the box. *Optional* Combine the Flares and the Flare Gun to arm it. ACHIEVEMENT ALERT Click on a window hidden between the desk and mystious figure sheet. Click on the figures in the distance for >ACTIVITY RECORDED. Available until the final strife is completed. ACHIEVEMENT ALERT While still at this window, clink on the flare gun then the evil-looking manor in the distance for >SEQUENCE BREAKING after performing the optional task. Available until the final strife in completed. If you need to know the marbles needed click on the chart near the big window. You will need a red and green marble. Click on the desk. ACHIEVEMENT ALERT Click on the cat's eyes twice, or any same marble twice. Available for this moment only. Take the needed marbles and then "Get Pouch". Use the Pouch with Red and Green Marbles on the pigeon cage. Click on the desk, then the Pouch with Red and Green Marbles, then the pigeon cage. Repeat one more time. Trophy Room Head out of the trophy room and into the kitchen. STRIFE!!! Click on the Magic Spice Mix nearby. You could have gotten this earlier whenever you were in the kitchen. Use the Tap Shoes on the monster. Use the Flashlight on the monster. Use the Magic Spice Mix on the monster. After Strife Click on cabinet above the radio for a stale cracker. Use the Stale Cracker on Byers. ACHIEVEMENT ALERT Return to the living and use Byers on the piano for >BIRDGEONING TALENT. Available until you aquire the Actic Key. ACHIEVEMENT ALERT Use Byers on every interactive selection possible thirty times for >SURELY HE HAS SOME
ИсточникGHub Platform · автор30.08.2026, 22:15:54
As with all point and click adventure games, the cursor will change styles based on the actions you can take. The pointer finger is to interect with that object as is. Sometimes you will get a menu to either look at the object or to perform a specific action like "Equip"…
Войдите, чтобы писать в группе