Build Guide - Basics
GHub Platform · Гайд · 0 ответов · 19 просмотров
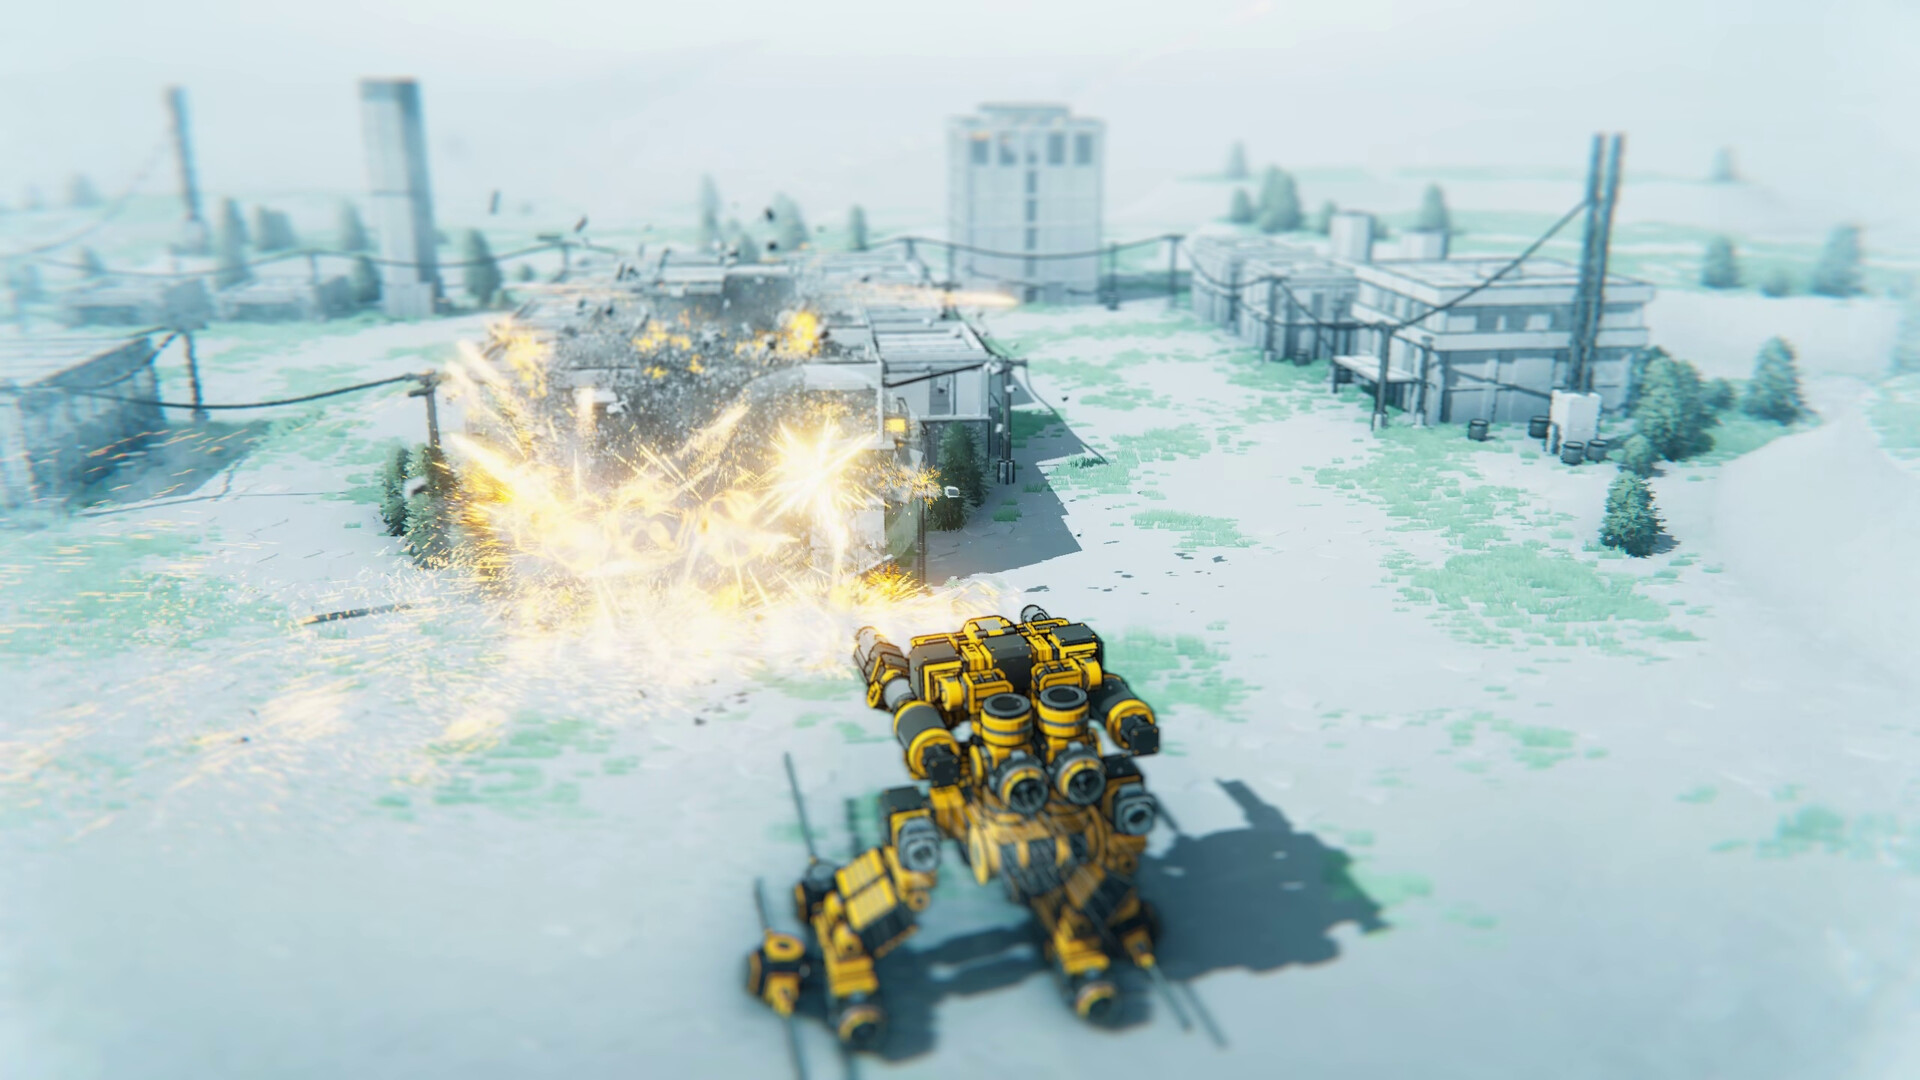
Preface It's important to note that the game is still in active development, and will therefore change and evolve over time as we get closer to v1.0. I'll update this guide as necessary, but for now, we'll start off with something simple. If you're more interested in doing missions instead, this guide will still be helpful, but is not directed towards a particular vehicle type. More varied and advanced guides are still being written, but some have already been put up on wiki: https://iod.fandom.com/wiki/Advanced_build_guide Getting Started Load the game and go to Sandbox. This is where you should start if you are wanting to build contraptions to mess around and have fun with. We'll start by using the Horizon Cab Make sure you have Mirroring enabled (shortcut key: M ), as this will save a lot of time, and most vehicles that we create are mirrored. Now we'll chose the 6-Way piece from the Frame Split category, and attach one to the sides of the cab, like so: We can extend the sides further by placing a few more 6-Way splits. Hold your Right Mouse Button and drag to orbit the camera around the highlighted piece. We use the 6-Way pieces in order to prepare for adding more detail later. From here, we have a few options on adding motion. For this guide, we'll add simple powered wheels to get our vehicle moving. Select the Wheel category and choose Powered Large Wheel . Place these wheels at the front and rear of the sides of the vehicle, like so: Now test your creation by pressing Spacebar , or by going to the top menu bar, and pressing Play . We're done! Use [W] [A] [S] [D] to move Forwards, Backwards, Left and Right. It's a good idea to save our creation by opening the Vehicle menu (shortcut key: V ) and pressing Save Vehicle . Move onto to the next section to continue adding some more advanced options to your vehicle, such as Steering Wheels , Suspension , and a Plow ! We're going to add some suspension. But first, we'll have to delete the wheels we placed in the previous section of the guide. You can do this by highlighting the wheels , and press [X] or Del to remove them. Go to the Joint category. To add suspension to our vehicle, click the Side suspension piece, and attach them to the sides of the cab where the previous wheels were, like so: We can now re-add the wheels back , but this time we'll add 2 different types of wheels. Go to the Wheels category , and choose the same Powered Large Wheel as the start of the guide, but this time adding them only to the rear of the vehicle . For adding a wheel that steers, we now have 2 different options as of Version 0.109, Steering Large Wheel , or Combo Large Wheel . For this tutorial, we'll stick to using the 'classic' Steering Large Wheel If you wanted to make your vehicle a Four Wheel Drive , you can use the Combo Large Wheel instead. Place these wheels at the front suspension pieces of the vehicle, like so: We'll now add a Plow object to the front of the vehicle, but first we'll need to add a 6-way connector piece between the front pieces: To add the Plow, go to the Utility category , and choose the Plow object. Attach this to the front 6-way piece we added in the step above. Now you can test your creation by pressing Spacebar , or by going to the top menu bar, and pressing Play . We're done! Use [W] [A] [S] [D] to move Forwards, Backwards, Left and Right . A separate guide will be available soon where we continue adding even more advanced options to our vehicle, such as Thrusters, Weapons, Magnets and Joints . --- Источник: https://steamcommunity.com/sharedfiles/filedetails/?id=2782845199
ИсточникGHub Platform · автор06.09.2026, 05:34:56
Preface It's important to note that the game is still in active development, and will therefore change and evolve over time as we get closer to v1.0. I'll update this guide as necessary, but for now, we'll start off with something simple. If you're more interested in doing missio…
Войдите, чтобы писать в группе