How to Use the Level Editor 🌱
GHub Platform · Гайд · 0 ответов · 15 просмотров
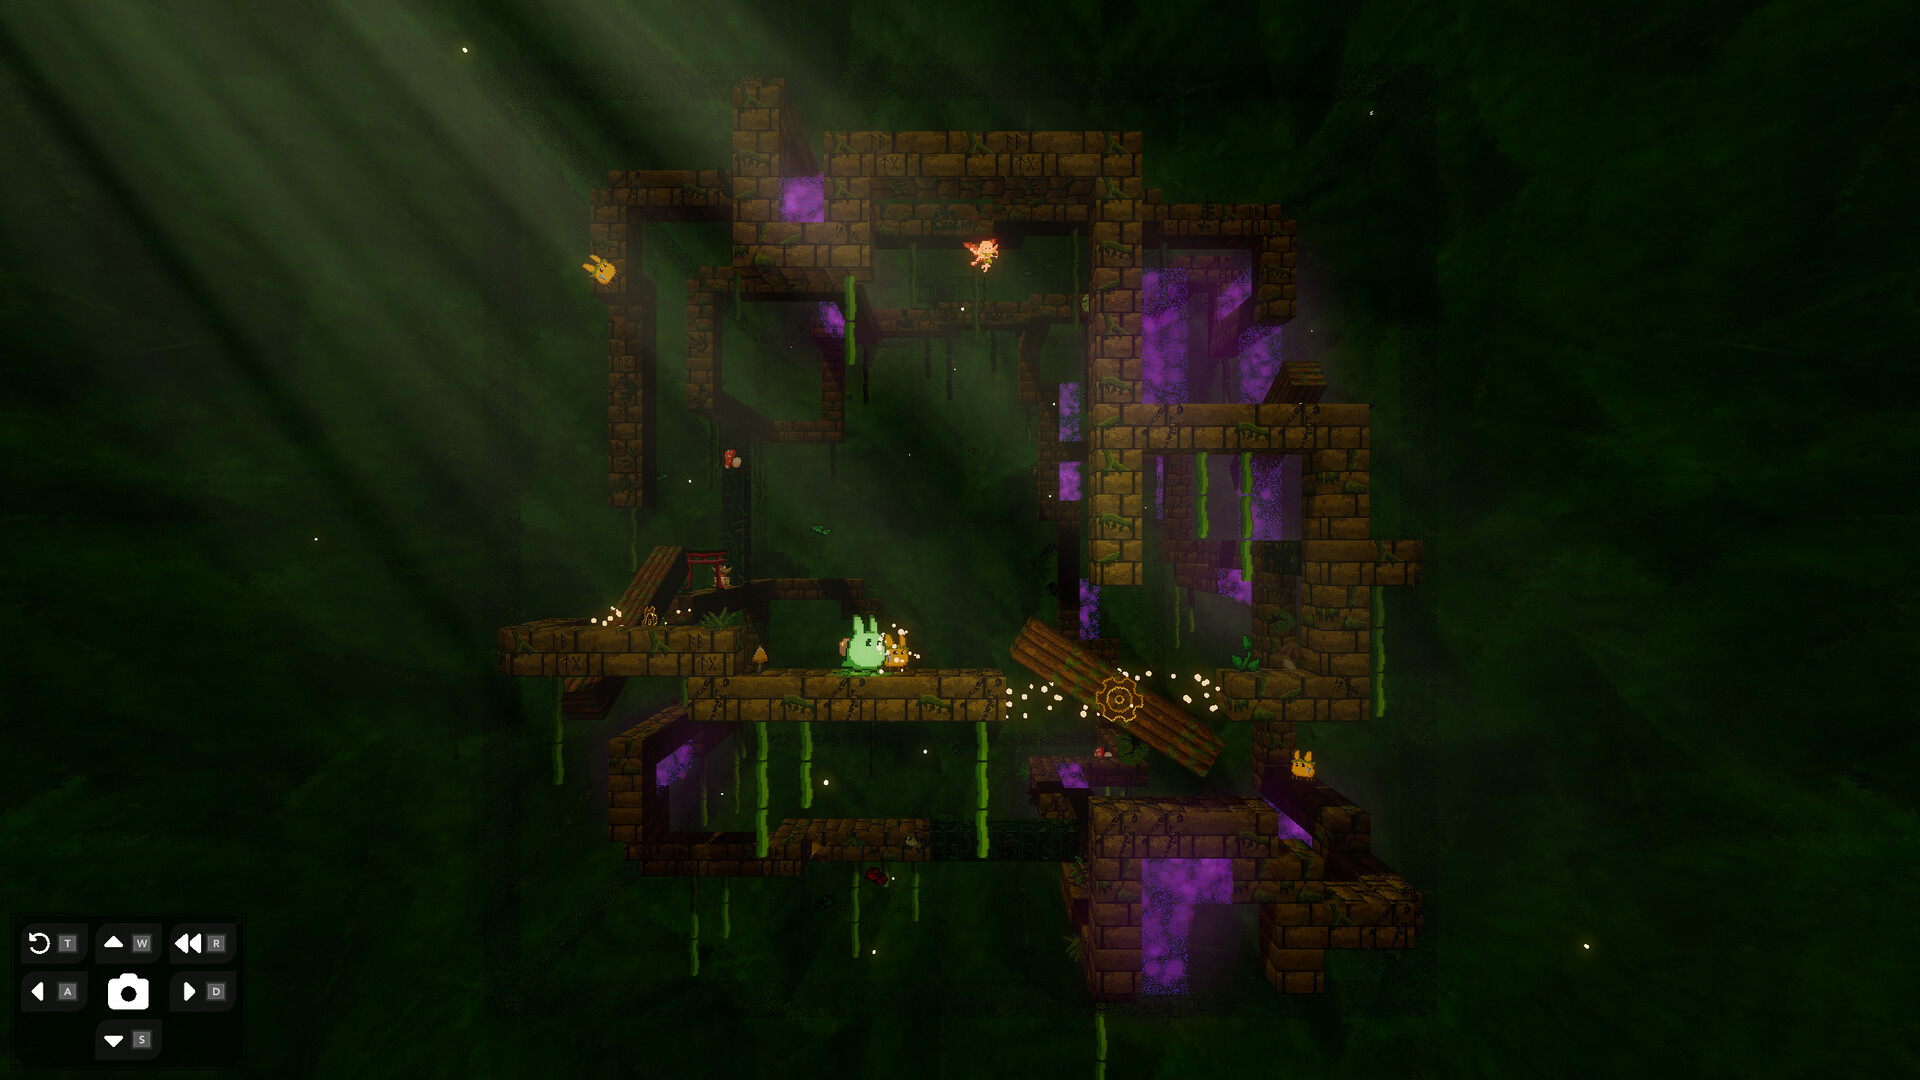
This official guide will teach you the basics of using the level editor. It explains the interface, how to use it, and how to upload levels to the Steam Workshop. Opening the Editor From the main menu, you can select the Editor-Level to create a new level or open a previously created one. Creating a new level opens the Level Name interface. While playing a custom level, you can switch to the Editor via the in-game menu. Overview of the Interface The editor is divided into three main sections, each with subsections: Editor Panel: Editor Menu Error/ Warning List Camera Controls Main View: Level Display Undo/ Redo Object Panel (depends on selection) Add new Object Modify selected Object Menu Button This takes you back to the main menu. If you have made changes to the level that have not been saved, you will be asked to save or discard them. Start Button Starts the current level from the main spawn. If the level name is not set, the level cannot be started. Level Name Button Opens the Level Name interface. A name must be given to each level in order to save and play it. Names may not include special characters, and ineligible characters will be trimmed. Save Button Saves the current level. If the level name is not set, the level cannot be saved. Workshop Button Opens the workshop interface. From there, you can create a Steam Workshop item or update the level. Delete Button Deletes the level from the game and moves the files to the trash. (Depending on the OS configuration, it may be possible to restore the level) Open Folder Button Opens the directory where the levels are saved. Help Button Open this Steam guide. Theme Selection Changes the theme of the level. The level is checked after every interaction. If a level becomes invalid (for example, if the spawn is floating in the air) an error will be shown in the list. Invalid objects are marked with a red outline (orange if selected). The object can be quickly selected from the list by clicking the item. Objects can be valid but in a warning state, for example, if two interactions overlap. Even though it is valid to position objects inside each other, the interaction may be unexpected or break in a future update, so it is not recommended. Warning are also shown in this list, but not highlighted in the level. The current possible errors/ warnings are: Error Description In the editor, the camera can move left, right, up, and down, as well as rotate clockwise and counterclockwise. If an object is selected while moving the camera, the object will move to the new side. Additionally, a grid can be shown or hidden to help with object placement. When testing the level, the camera will stay in the same position/ rotation when returning to the editor. Pressing the camera reset button will make the camera face the front side again. Each action is logged in the undo history and can be loaded via the undo button. Each undo is also logged in the redo history. If the level is started or you return to the main menu, both the undo and redo histories are cleared. Each level consists of six sides, each with a grid of 20x20 units. Only the objects on the current side can be modified. When nothing is selected, a yellow outline appears around an object when you hover over it. If you select the object, it will be highlighted with a blue outline. Selected objects can be dragged to change their placement. The following table explains the outline colors: Color Description If nothing is selected, the object panel shows the Add Object interface. Here, you can switch between the following categories: Platforms Interactions Decoration Editor Hints Favorites Placing Objects Each object can be clicked or dragged to the Main View and placed inside the level. By adding an object, it becomes selected, and the object panel switches to the Modify Object interface. You can use the number keys to quickly place objects at the cursor position Editor Hints All objects in the Editor Hints category are only visible in the editor and are used to map complex levels and orders of interactions. You can cycle between different colors. Favorites With the star in the bottom right corner of each object button, the object can be marked as a favorite and appear under the Favorites category. Most objects are locked at the beginning and can be unlocked by playing through the story. The current progress can be seen in the Progress tab under the In-Game Settings. If an object is selected, the object panel shows the Modify Object interface. Depending on the selected object, the interface changes. Generally, the following options are available: Rotate Scale Duplicate Delete Deselect Extra options Some objects have more options. For platforms that can be toggled, the initial state can be set. Additionally, teleporters and moving platforms have the option to select the other portal or switch between start and stop objects. Visible/ Hidden Platforms can be marked as hidden and will only be revealed when the player interacts with a secret platform. Hidden objects are marked in the editor with a gray outline. Ground/ Grounded Interactions Grounded interactions, such as the mushroom, depend on the platform on which they are standing. For example, a mushroom on a hidden platform will also be hidden. Not every platform counts as ground. Cycling Some objects, like the fairy, can cycle through different modes, such as turning gravity 90°, 180°, or 270°, or switching between sprites or colors. The main spawn and goal cannot be deleted or duplicated. If an object is deselected, the object panel changes back to the Add Object interface. If you try to exit the editor with unsaved changes, the Save Changes interface will appear. You can then choose to either save the current state of the level or discard the changes made since the last save. After selecting either option, you will return to the main menu. If you cancel the dialog, the editor will reappear. Levels are saved on disk and require a name. Therefore, if a name is not set, the level cannot be saved or played. You can enter a name via the keyboard or the on-screen keyboard, which has limited keys. Generally, special characters are trimmed. If the level name is changed after a level is saved, the old level with the previous name will still exist, making it possible to duplicate a level. The Workshop interface is used to publish or modify levels to the Steam Workshop. A screenshot of the level will be attached to the workshop item. If the level has already been uploaded, the current Workshop details will be loaded. Otherwise, there will be an option to create a new Workshop item. Levels must be completed and valid before uploading or modifying to ensure they are solvable. Levels will be tagged automatically depending on the objects placed inside them. Thank you for reading this guide 💚 If you have any questions, please ask them in the comments or on Discord [discord.gg] . Have fun creating awesome levels for the community 🌱 --- Источник: https://steamcommunity.com/sharedfiles/filedetails/?id=3775506358
ИсточникGHub Platform · автор06.09.2026, 08:10:54
This official guide will teach you the basics of using the level editor. It explains the interface, how to use it, and how to upload levels to the Steam Workshop. Opening the Editor From the main menu, you can select the Editor-Level to create a new level or open a previously cre…
Войдите, чтобы писать в группе