Ultimate guide to getting your SD40-2 or GP38-2 train moving
GHub Platform · Гайд · 0 ответов · 15 просмотров
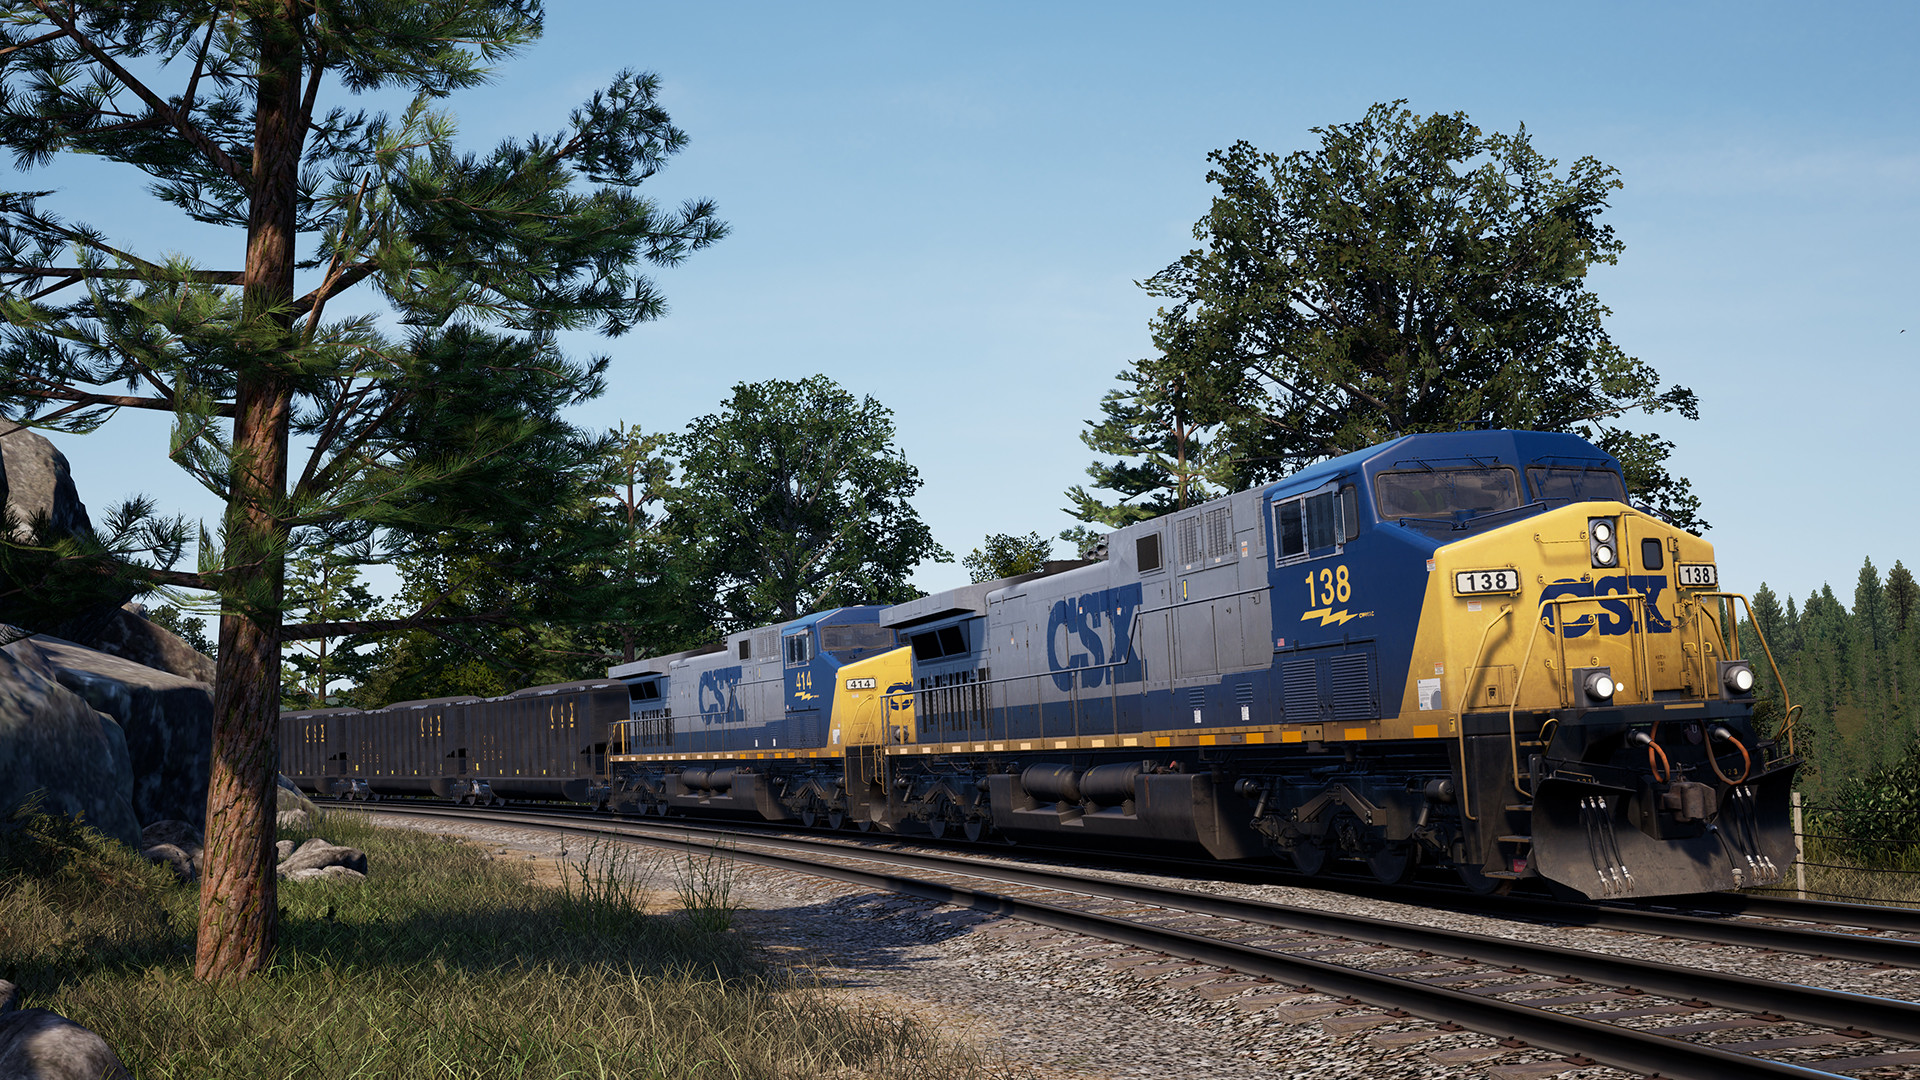
All the screenshots in this guide were taken in a SD40-2, but the controls between the SD40-2 and GP38-2 are virtually identical. So it should be easy enough to follow along in either. How do I know what type of locomotive I have? Perhaps the easiest way is to look at the cab outside the train. You can find the model number underneath the cab window: Another way—after you've sat in the Engineer's Seat—is to press the Escape Key to open the menu and look at the model number towards the top of the left column. Note : This guide does not cover the Clinchfield SD40 (the original—not to be confused with the dash two). The SD40 and SD40-2 are mostly the same, so you could still get some mileage out of this guide, but there are key differences that you'll have to figure out for yourself. This section covers the basics of driving your lead locomotive. Maybe your train only has 1 locomotive, maybe it has a bunch—you have to pick one of them to drive from—that's your lead locomotive. I don't know if that's the exact definition in real railroading, but that's what I'm sticking with for this guide. Brakes By far and away the most common reason people can't get their train to move is because of brake system problems. To get moving you need to be aware of 2 different brake systems: Automatic Brake – controls the brakes for your entire train Independent Brake – controls the brakes just on the lead locomotive + any cable attached locomotives Both sets of brakes need to be released before the train will move. To release the automatic brake, you first need to activate the automatic brake handle by using the cut-off valve so that the equalizer tank is able to act on the brake pipe for the train. Do this by setting the Cut-Off Valve (or Cutout Valve ) to Freight : Then you can move the Automatic Brake lever all the way left into the Release position: Now for the independent brake. Similarly to the automatic brake you first need to activate the independent brake handle, except in this case you need to set the MU-2A Valve to Lead or Dead : Then move the Independent Brake lever to the left into the Release position: Note : If you go all the way to left you end up in Bail Off mode, which is fine—just let go of the handle and it will return to the Release position. Bailing Off is used during dynamic braking —an entirely different, third braking system that isn't relevant when just getting the train started and so is out-of-scope for this guide. Now here is the fun part: the automatic brakes–remember, the ones that operate on all the cars in the entire train–don't work instantaneously. The longer the train, the longer it takes for the brakes on all the cars to release. On a warmed up train, it could take 20 seconds from moving the handle before the last car even starts to release its brakes. And on a cold train–one that hasn't had a running locomotive attached to it in a while– it can take up to 10 minutes! That is because the brakes on a car don't fully release until the brake pipe is at full pressure (89 PSI) and on a long train it takes a while for the locomotive to build up to that pressure across the entire brake pipe when starting out from 0 PSI. Check out Section 1.b for an easy way to know when the brakes at the rear of the train are ready. Alright, to sum up, when everything is configured correctly your gauges should look like this: Gauge Location Expected Notes The actual driving part of driving a train in TSW2 doesn't exactly require Forza level skills. But there are some basic skills that you can screw up if you're not aware of them: When starting on an uphill, apply enough brake to keep the train stationary, then throttle up the engine, then slowly release the brakes. If you see these wavy lines around your speed: It means your wheels are slipping. More power is being applied to the wheels than the friction between the wheels and the rails will allow. Reduce your throttle to keep wheel power in check, or hold down the Sand button to increase friction, or both! If your wheels aren't slipping, don't be afraid to give it more power! You might have to set the throttle to notch 3 or 4 to get a heavy train moving forward on a hill. Sometimes you need just a little more power to get enough speed to keep the wheels from slipping. But if you prematurely hold the throttle in the next higher notch, the wheels will slip before you can get to that speed. What you can do is move the throttle up to the next notch to get a small boost in power, then quickly move it back down a notch before the wheels slip. Repeat a few times and you can often build up enough speed that your wheels will no longer slip at the next higher notch setting. Finally, maybe your train is just under-powered for the load? That is where a properly configured Multiple Unit setup comes in, which is explained in Section 2. When you hook up a locomotive to a cold train, it will take upwards of 10 minutes for the brake pipe to fully charge along the entire train (depending on the length of the train). You could wait the maximum amount of time, but that is boring cause it might not actually take the full 10 minutes. Instead of waiting around blindly, there is an easy way to check what the brake pipe PSI is at the end of the train. To do that you're going to need to make sure the Radio fuse is On. First locate the Fuse Cabinet , which is on the wall behind the Engineer's Seat: Open it, and make sure that the Radio & HOTD fuse is set to On: Then sit back in the Engineer's Seat. On the upper left side of the control stand, you'll find the readout from the radio: The number on the right (circled in red) is the PSI reading from the rear of the train. Until that PSI reads in the high 80s, at least some of the brakes in the train are still being applied and you'll have a hard time moving the train forward! End-of-train Device I should probably note that this won't work on every train. There has to be an End-of-train Device (EOTD) pre-hooked up at the end of the train: Just about any scenario you play will already have it set up. But if you're yard switching, or only have locomotives, or doing some weird scenario it might not be there. If the display is flashing when you turn on the radio, instead of showing numbers, that means there is no EOTD. As far as I know, there is no way to install an EOTD yourself. The only way your train will have one is if it's a pre-scripted part of the scenario. A Multiple Unit (MU) setup is when you have two or more directly connected locomotives: Train Fact : a set of directly connected locomotives is called a consist . Not really relevant to this guide, but you'll see the term thrown around and now you know. In the game there's nothing special you have to do to connect the control hoses and control cable between locomotives. If you have two locomotives directly coupled to each other, the game automatically takes care of all the hook ups for you. But what you do need to handle is configuring all the trailing locomotives so that they can be controlled effectively from the lead locomotive. Brakes In the trailing locomotive, set the Cut-Off Valve (or Cutout Valve ) to Cut-Out : This will prevent the trailing locomotive's Automatic Brake control from fighting with your Automatic Brake control in the lead locomotive. Optionally, you can also set the Automatic Brake to the Handle Off position. This will drain the equalizer reservoir in the trailing locomotive. But it doesn't really matter either way since the Cut-Off Valve has already disconnected the equalizer reservoir from the brake pipe in the trailing locomotive. Next set the MU-2A Valve to Trail 6 or 26 : This will both ignore the Independent Brake handle in the trailing locomotive (in case you had it applied), while simultaneously telling the independent brakes on the trailing locomotive to follow whatever the Independent Brake handle does in the lead locomotive. That way your Independent Brakes in all the connected locomotives
ИсточникGHub Platform · автор06.09.2026, 10:57:33
All the screenshots in this guide were taken in a SD40-2, but the controls between the SD40-2 and GP38-2 are virtually identical. So it should be easy enough to follow along in either. How do I know what type of locomotive I have? Perhaps the easiest way is to look at the cab out…
Войдите, чтобы писать в группе