100% Complete Guide, Secret Summons, All Collectable Items, with Only Maps
GHub Platform · Гайд · 0 ответов · 5 просмотров
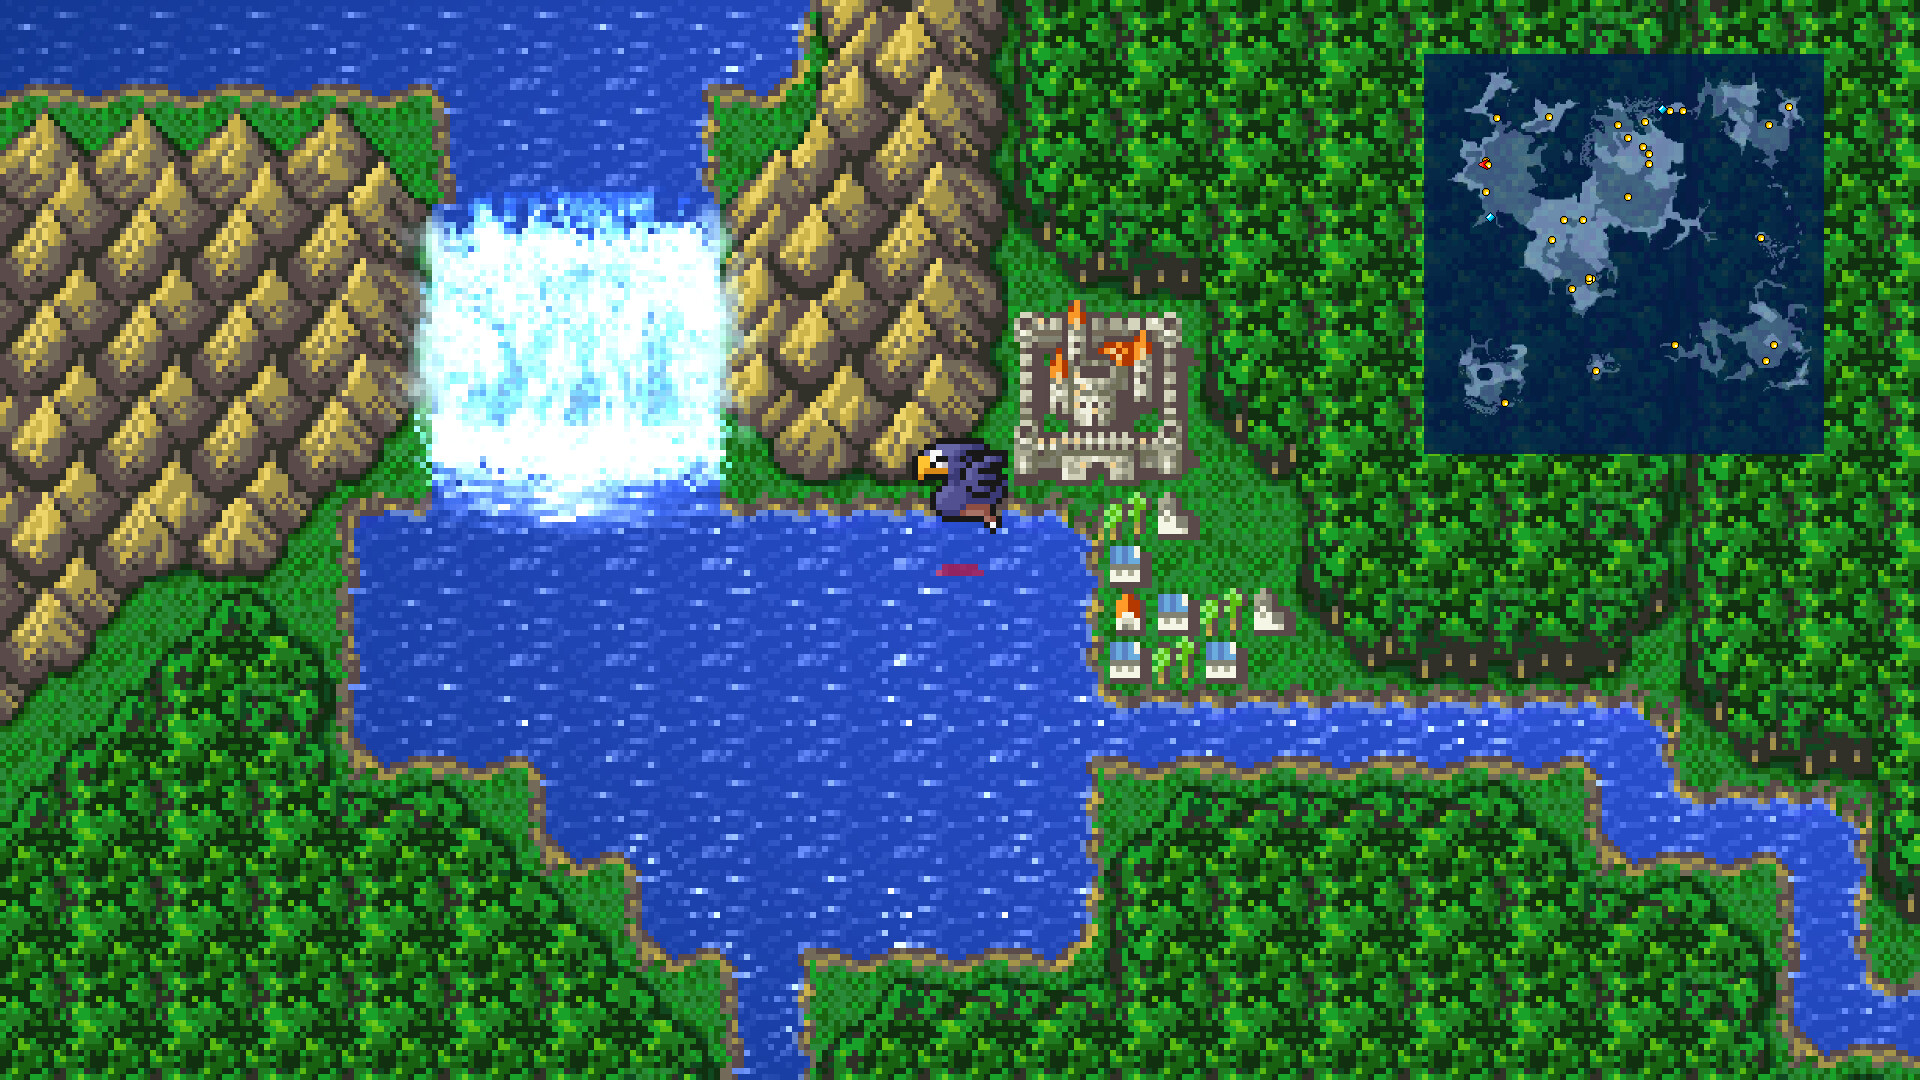
If you like my work and want to support, you can read this same guide on my blog: https://www.soloplayguide.com/games/final-fantasy-iv-pixel-remaster/guide Leveling Unlike previous titles and its 3D version, this 4th iteration is probably the simplest and most straightforward leveling system you get. Your characters grow stronger as you level up. You unlock more powerful spells as you grow to specific levels, which means you have to buy magic for mages to learn from. Characters in this version have fixed roles already assigned to them as the game progresses, so you don't have to worry about switching between jobs. Perfect Game Stats in this game are fixed (unlike the 3D version where you can manipulate stats with augments). You simply brute force your way to level 99. The only stats you can max are HP and MP. There are items that can increase max HP/MP; however, it's going to take forever to farm these items because they are so rare. Formation In this version, you only have 2 formations: Front, Back, Front, Back, Front Back, Front, Back, Front, Back Which means that you must have 2 or 3 characters in the front or back rows. Adjusting individual positions is impossible. Game Tips When using an INN, your entire party is fully healed and revived, and all ailment statuses are removed. There is no "Run"; instead, you press L1 + R1 (number key 2 + 3) at the same time to escape from battle. You can still use weapons as items to cast magic, but in this version, the magic damage is heavily nerfed, though it's still helpful in the early game. Pixel Remaster Features Viewing Bestiary: There are 2 ways you can view the bestiary: (1) From the main menu, " Main Menu " -> " Extra " -> " Bestiary ". (2) During gameplay, " Menu " -> " Configuration " -> " Bestiary ". While on the bestiary page, you can press Y button (or Tab on keyboard) to view monster locations on the map. It provides a nice visual on the map. Unknown monsters will be displayed as question marks, so you cannot rely on the in-game bestiary list. You can view a full list of the bestiary here to complete your achievement. Turn on/off "Encounters": This is an invaluable feature. I normally turn it on when I want to go through a dungeon quickly. Boost: The new update includes a feature " Boost ". It allows you to increase " EXP " and " Money " earned from battle. Just in case you don't want to spend time grinding, this is your go-to setting. Quick Save: Use " Quick Save " frequently, especially before a boss fight. Annotation (Important read) Symbol Example What it means Baron Castle Head south to 1F . Approach the room on your right that has 3 chests, then examine the switch to open the door. Take the stairs on your left and follow the map below to the west tower. You'll be interrupted by Rosa and Cid along the way. When you reach West Tower 3F , you'll be prompted to rest in the bed. Town of Baron You'll appear outside the castle. Walk left or right to enter Town of Baron . Follow the map below to collect all chests and items. Inside the inn are 3 chests; in the top-right corner room. The switch is the cross swords on the wall. Mist Cave is located in the northwest of Castle Baron . Head west and cross the bridge, then continue west following the mountain range until you see the cave. This dungeon has only one floor with 4 chests. Simply follow the map to the exit. At the end, you'll be prompted with a question. Choose to ignore the warning to initiate a boss fight. Bestiary Checklist: 001. Goblin 004. Sword Rat 005. Insectus 007. Flying Eyes Boss: Mist Dragon The trick is simple, do not attack the dragon when it turns into mist. Other than that, you can just attack normally. Heal using Potion if needed. Exit the cave after killing the Mist Dragon . Then walk east to enter a village. Mist As soon as you walk toward, a cutscene is triggered. You'll be forced into a scripted battle which you cannot win. Once you reappear, head north then make your way to the middle of the desert. You'll see a small town near an oasis. Save your game before entering. A cutscene is triggered when you walk into the town, then you'll have to fight an unavoidable battle with Baron soldiers. Boss: General, Baron Soldier x3 What you should do is kill 2 Baron Soldier , then the General . Otherwise, the General will run away. Once the battle ends, exit the inn. Pick up a hidden item inside the pot after the bridge, then enter the house in the northeast corner. You'll find Rosa lying in bed. Now your new objective is to find a cure for her. You should level up Rydia a little bit before continuing since she is too weak to go anywhere. Pro tip : Rydia's default weapon is a Rod , which is useless for attacking. However, it can be used to cast Magic Arrow for free, which is pretty nice. This way, you can conserve her MP in the dungeon. To use a weapon as an item during battles, select "Item -> arrow up until you see the equipped weapon (in this case it's Rod ) -> select the weapon -> select a target". Underground Waterway is in the northeast of the desert. Follow the map below to collect all chests. On the second bridge, a new character, Tellah , will join your party. The cave's path is like this: B1 (South Entrance) -> B2 (South) -> B3 -> B2 (North) -> B1 (North Entrance) Bestiary Checklist: 010. Red Mousse - B3, B2 North, B1 North 011. Gigantoad 012. Zombie 013. Vile Shell 014. Toadgre - B1 North 015. Sahagin - B3, B2 North, B1 North 016. Killer Fish 017. Tiny Mage - B3, B2 North, B1 North Entrance 018. Water Bug 019. Alligator - B1 North Entrance World Map Put this new equipment on after you exit the cave. Enter another cave to the north. Subterranean Lake Approach the waterfall to enter Subterranean Lake . Then, follow the map and fight a boss at the end. Before facing the boss, equip the Hades armor set you've collected in this dungeon. Bestiary Checklist: 010. Red Mousse 012. Zombie 014. Toadgre 015. Sahagin 016. Killer Fish 017. Tiny Mage 018. Water Bug 019. Alligator Boss: Octomammoth This boss is weak against Thunder . So, both Rydia and Tellah should cast the Thunder spell and take turns healing if needed. Cecil uses normal attacks. As soon as you walk out, you'll see the Red Wing fly by to destroy the castle. Go straight north to 3F . A cutscene will occur, Tellah will leave, and a new member, prince Edward , will join the party. You'll obtain a Hovercraft , which allows you to cross shallow water with rocks. Get back inside to collect treasures in the far north room. Inside, talk to the injured guard; he'll disappear. The switch is on the wall above the guard. Re-equip Edward with the equipment you have in your inventory. Head east then north; you'll see shallow water with rocks that can be crossed using your Hovercraft . Across the riverbank is the Antlion Cave . Note: Edward has 3 abilities: Sing , Heal , and Hide . Sing casts an ailment status based on the Harp he is using, while Heal heals all party members using a Potion (so watch out for the number of Potions in your inventory). Hide makes him hide from battle. Bestiary Checklist: 001. Goblin 008. Hundlegs - B2, rare encounter 009. Sand Worm - B2, B3 022. Domovoi - B1 023. Yellow Jelly 024. Basilisk 025. Leshy 026. Adamantoise Boss: Antlion Antlion counters any physical attack with Counter Horn , which deals decent damage. Rydia summons Chocobo , Cecil attacks normally, while Edward should use Hide . Once you kill the boss, use Emergency Exit (item) to leave the cave. Kaipo - Deliver Sand Ruby Head back to Damcyan Castle . From there, head west following the coastline; you'll see a Hovercraft path leading all the way down to the Kaipo desert area. Once you reach Kaipo , deliver the Sand Ruby to the northeast house where Rosa is staying. Interact with Rosa and choose Sand Ruby . After the cutscene,
ИсточникGHub Platform · автор06.09.2026, 18:48:51
If you like my work and want to support, you can read this same guide on my blog: https://www.soloplayguide.com/games/final-fantasy-iv-pixel-remaster/guide Leveling Unlike previous titles and its 3D version, this 4th iteration is probably the simplest and most straightforward lev…
Войдите, чтобы писать в группе