Blue mage spells and their earliest collection points
GHub Platform · Гайд · 0 ответов · 19 просмотров
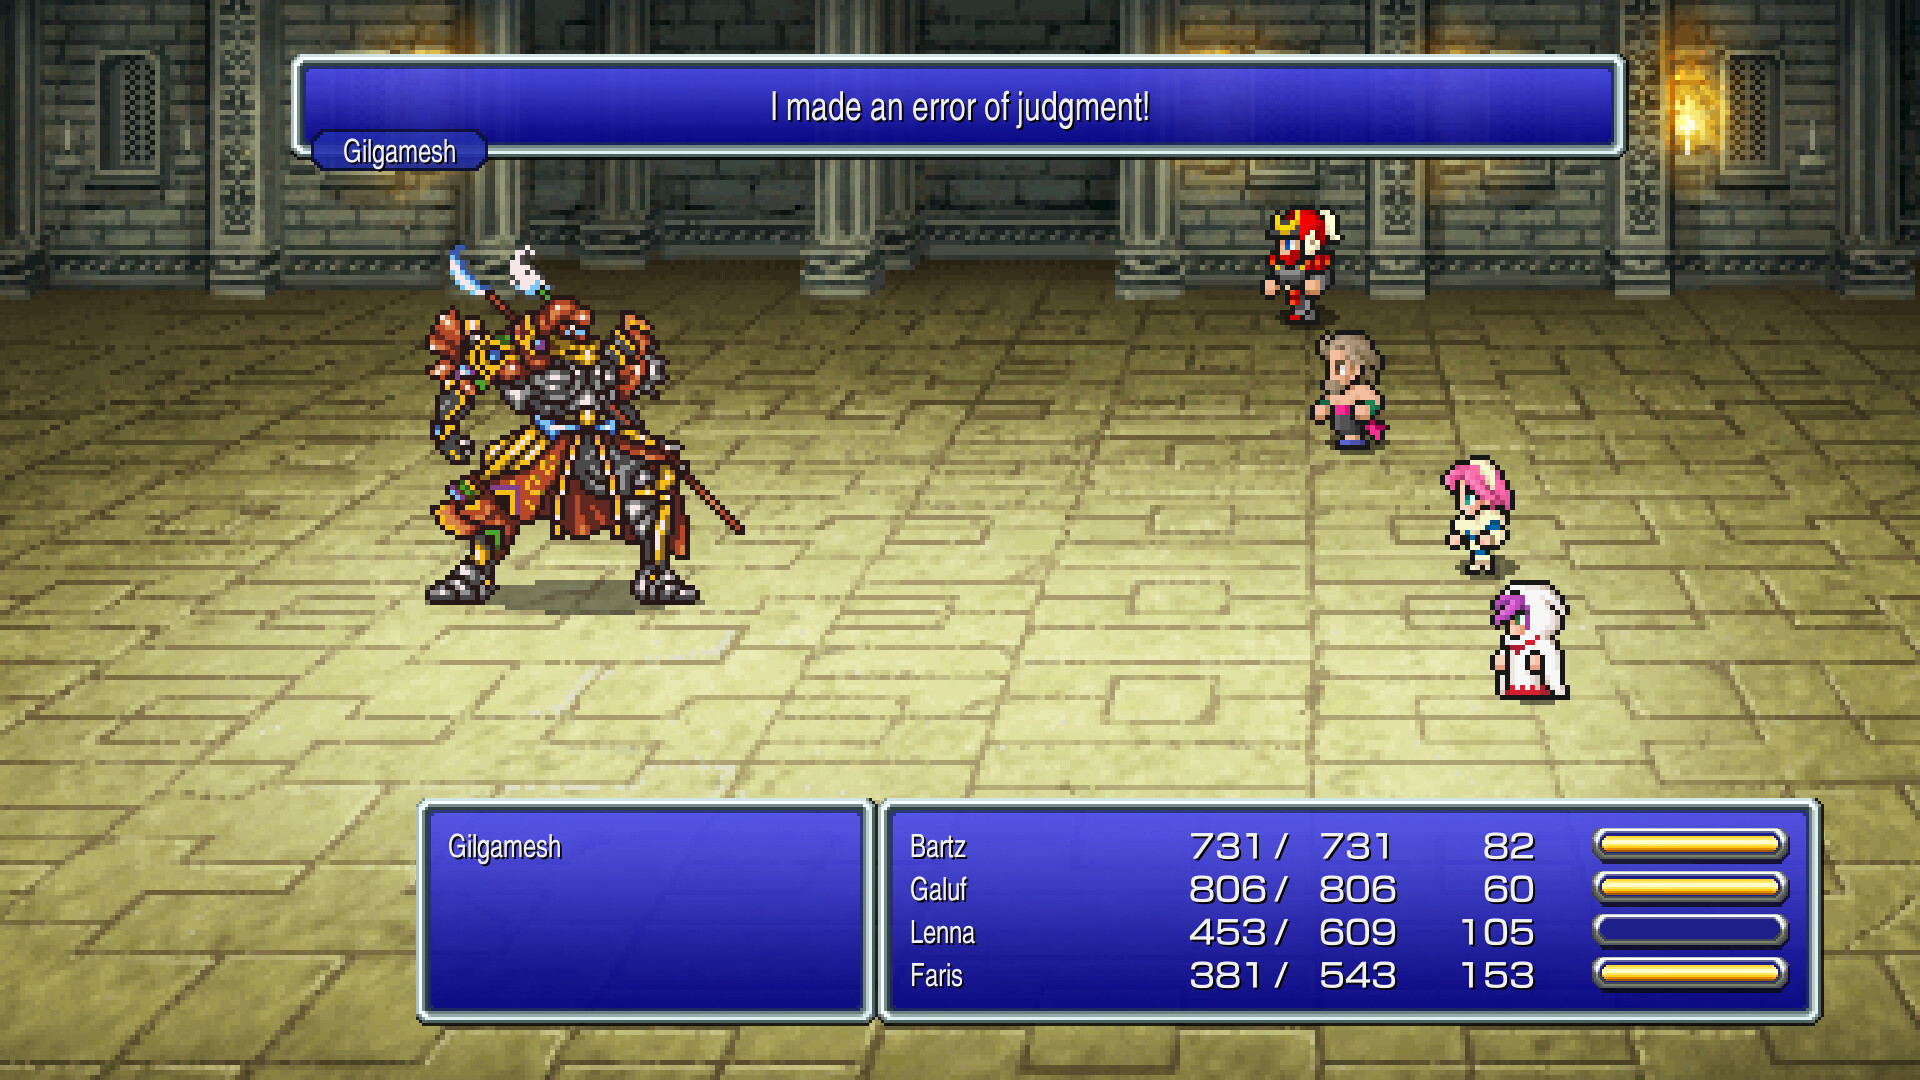
This is a quick, basic guide for getting all Blue Mage spells as early as possible. The goal for this guide is that you can refer to it occasionally as you play the game, reading along every time you make some progress. There are other guides with more exhaustive information about Blue Mage abilities, but I don't think most players are interested in every single enemy that can possibly cast a spell- you want to be earning them as you play along! So this guide is written in a way that will let you do that :) How does Blue Mage stuff work? Blue Mage spells are learned by an enemy using these abilities on a Blue Mage in your party or someone with the "learn" ability. The spell must specifically target and land on the party member successfully or you will not learn it. This can be tricky depending on the enemy and the spell. For example, Level 5 Death can only be learned when your level is a multiple of 5, such as level 5, 10, 15, 20, etc. and since players often have their entire party at the same level, this spell will typically kill the entire party. I have included some notes on how to work around this. Sometimes the enemy won't cast the ability I need. What gives? There are some abilities that the enemy won't use on its own or won't target your party even when they do use it. For these abilities you need a Beastmaster with their second ability called "!control". This allows you to control the enemy and force them to use the ability on your Blue Mage. Some of these enemies are encountered before you get the Beastmaster class, so you'll need to come back shortly after getting it (I have left notes letting you know when this is the case). Attacks one enemy with a goblin's strength. MP Cost: 0 Earliest enemy: Black Goblin Location: Wind Shrine One of the first enemies you encounter. It's not a great ability. But it's free? I guess? Remember that you will need a Blue Mage to be hit by this ability and survive in order to learn it! The entire party will learn the ability as well, so no need for more than a single Blue Mage at any given time (unless you want one for casting abilities and another for learning abilities). Deals wind damage. MP Cost: 4 Earliest enemy: Moldwynd Location: Wind Shrine Valuable early spell and easy to get. One of the few sources of wind damage in the game. This should be the first ability you search for. Absorbs HP from one enemy. MP Cost: 2 Earliest enemy: Steel Bat Location: Pirates Hideout Another early valuable spell. Doesn't do much damage but can heal you up in a pinch if damage is heavy and the healer is otherwise busy. Inflicts all enemies with darkness. MP Cost: 7 Earliest enemy: Headstone Location: North Mountain Extremely valuable spell. Makes the Shiva encounter a walk in the park since the blind lands pretty reliably and hits all enemies at once. Since Headstone does not have enough MP to cast the spell you must use an ether on it first. Turns one enemy into a toad. MP Cost: 5 Earliest enemy: Elf Toad Location: Walse Tower Elf Toad will only use this ability when they are the last enemy remaining. Causes berserk for all allies. MP Cost: 3 Earliest enemy: Jackanapes Location: Walse Tower Even though Jackanapes is the first enemy who uses this ability, I would not recommended getting it from this encounter as its way too difficult at this stage of the game. Instead you can grab it from an easier enemy just a little further into the game. Enemy: Page 256 Location: Library of the Ancients For a physical-damage based party this ability is amazing, as you'll be dealing double damage roughly and attacking immediately thanks to auto-battle. There is no way to undo this once you've cast it. ??? MP Cost: 3 Earliest enemy: Wild Nakk Location: Forest area next to Karnak Castle on the overworld map Does more damage depending on the difference between your current HP and your maximum HP. Great way to deal damage early in the game if the enemy has high defense. Sacrifices the caster to deal massive damage to one enemy. MP Cost: 1 Earliest enemy: Motor Trap Location: Fire-Powered Ship This enemy appears sometimes when only one enemy remains during an encounter on the Fire-Powered Ship. You can cast thunder or a thunder-based ability on it to trigger Self-Destruct immediately. Deals wind damage. MP Cost: 10 Earliest enemy: Gigas Location: Karnak Castle Solid ability and another rare source of wind damage. If you don't get Aera from Gigas there are plenty of other enemies who use it throughout the game. Given the timer sequence you may not find it worthwhile to spend time grinding it here. Brings one enemy to the point of death, and inflict paralysis. MP Cost: 21 Earliest enemy: Iron Claw (boss) Location: Karnak Castle Extremely valuable ability this early in the game and worth some of the frustration it takes to obtain it during the escape sequence. Since many early bosses are susceptible this can trivialize their encounters (especially the bombs in the second half of the game). Would recommend quick saving at the end of the escape sequence with at least one minute remaining to get the ability, kill Iron Claw, and flee the castle in time. Uses bubbles to surround and damage all enemies. MP Cost: 38 Earliest enemy: Dhorme Chimera Location: Desert area north of the Library of the Ancients Valuable source of non-elemental damage that is over-shadowed by its steep MP cost. Decent enough damage if you don't have a Summoner available. Sacrifices the caster to completely restore one ally's HP and MP. MP Cost: 13 Earliest enemy: Mythril Dragon Location: Plains area outside the Library of the Ancients Great on paper but probably won't see much use in practice. Might be a good way to heal up your healer if they ran out of HP and you don't have any items to get the job done. You will need a Beastmaster to use !control on a member of your party to get this. Quarters one enemy's HP. MP Cost: 7 Earliest enemy: Motor Trap Location: Fire-Powered Ship I never found a great use for this ability. In any instance where you're trying to do a large amount of damage, Death Claw or 1000 Needles seems the better options. You will need to skip this initially and come back with a Beastmaster to force the ability using !control. Be sure to get this BEFORE boarding the ship again with Cid and Mid- otherwise it'll be a few hours before you get another chance. Hits enemies with levels that are multiples of 5. MP Cost: 22 Earliest enemy: Page 64 Location: Library of the Ancients Can only be learned by a character who is a multiple of level 5 getting killed by it. Would recommend coming back with Dark Spark (see further below) to adjust your level in combat, as often times your whole party has the same level and would be instantly wiped. Reduces the defense of one enemy. MP Cost: 19 Earliest enemy: Page 256 Location: Library of the Ancients Great ability if you can succeed at landing it on bosses, though mine all missed when I tried. You'll want a Beastmaster at the top of your party ready to !control as the first move is usually casting Moon Flute, which will berserk your entire party. Halves one enemy's MP. MP Cost: 3 Earliest enemy: Byblos (boss) Location: Library of the Ancients Another ability with limited viability. It's fun to watch the hammer bonk enemies. Halves one enemy's level. MP Cost: 27 Earliest enemy: Black Flame Location: Forest area on the first island south-west of Crescent Island. Really helpful ability for learning other level-based abilities when you don't have anyone in your party of the required level. Engulfs one enemy in flames. MP Cost: 5 Earliest enemy: Prototype Location: The second island south-west of Crescent Island (next to the one with Black Flames). Great low-cost ability with medium-ish damage for general combat. This one can be a little tough given how difficult the encounter is, but hang tight until you've got the spell. You can still use !control to easily defeat Prototype afterward. Res
ИсточникGHub Platform · автор06.09.2026, 18:49:00
This is a quick, basic guide for getting all Blue Mage spells as early as possible. The goal for this guide is that you can refer to it occasionally as you play the game, reading along every time you make some progress. There are other guides with more exhaustive information abou…
Войдите, чтобы писать в группе