Runaway_ A Road Adventure - Guide and Walkthrough
GHub Platform · Гайд · 0 ответов · 7 просмотров
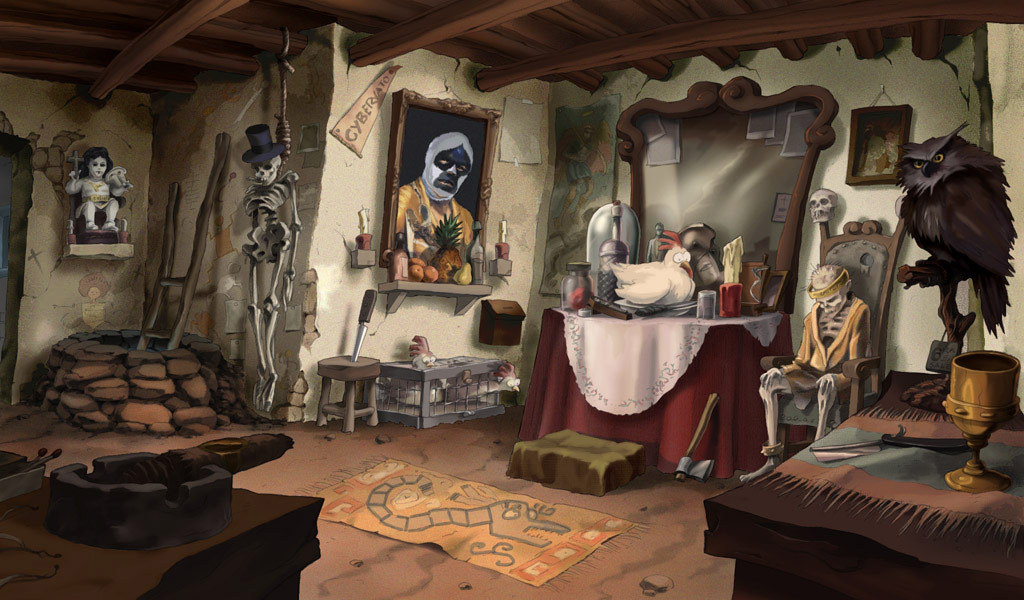
_______________________________________________________________________________ ¯¯¯¯¯¯¯¯¯¯¯¯¯¯¯¯¯¯¯¯¯¯¯¯¯¯¯¯¯¯¯¯¯¯¯¯¯¯¯¯¯¯¯¯¯¯¯¯¯¯¯¯¯¯¯¯¯¯¯¯¯¯¯¯¯¯¯¯¯¯¯¯¯¯¯¯¯¯¯ WALKTHROUGH [WLK1] _______________________________________________________________________________ ¯¯¯¯¯¯¯¯¯¯¯¯¯¯¯¯¯¯¯¯¯¯¯¯¯¯¯¯¯¯¯¯¯¯¯¯¯¯¯¯¯¯¯¯¯¯¯¯¯¯¯¯¯¯¯¯¯¯¯¯¯¯¯¯¯¯¯¯¯¯¯¯¯¯¯¯¯¯¯ Controls for Runaway are pretty standard for point-and-clickers. The cursor moves Brian about the scenery, and when it encounters an object of interest, Brian can try talking/inspecting/taking it. Right-clicking toggles between applicable modes. In some cases, items cannot be acquired until certain NPCs are visited or info is obtained. Moving the mouse to the top of the screen allows inventory access. To combine items, pick one and overlay it with another. (Not all combinations work, of course.) Right-clicking items in the inventory gives info about it; in some cases, Brian finds other items held within them. To save the game, go into the options menu (ESC) and save like normal. Note that there are no "overwrite file" options, so players must make a new one each time, plus label it properly. The game also keeps a start-of-chapter file on hand to avoid any save-erasure mishaps. Finally, to exit the game, click exit and do the yes/no option. This part can't be clicked, so type 'Y' or 'N', respectively. ______________________________________ ¯¯¯¯¯¯¯¯¯¯¯¯¯¯¯¯¯¯¯¯¯¯¯¯¯¯¯¯¯¯¯¯¯¯¯¯¯¯ [WK01] CHAPTER 1: WAKE ME BEFORE DYING ______________________________________ ¯¯¯¯¯¯¯¯¯¯¯¯¯¯¯¯¯¯¯¯¯¯¯¯¯¯¯¯¯¯¯¯¯¯¯¯¯¯ Initial Inventory: Wallet, Car Keys, Piece of Amber, Order Form • Take the Glass and Package of Pills off the nightstand • Take Sheet off empty bed • Take Gina's Bag off the bedside locker • Look at Gina's Bag in inventory (obtain Matchbox) • Look at Gina's Bag a second time (obtain Blonde Wig) • Read map on bathroom door • Enter bathroom • Open wastebasket (obtain Marker Pen) • Take the Bottle of Alcohol off sink Exit out the window in Gina's room to visit the storeroom. This is doable after reading the bathroom map. Note that some items here are rather hard to pick up. • Take the Vademecum (green book atop filing cabinet) • Take the Head off the anatomy mannekin • Take a Blank Medical Chart (white paper poking out of open cabinet drawer) • Take the Flammable Spray Can (on tall shelf) • Take a Syringe from the box of syringes (on tall shelf) • Take the Pillows (on tall shelf's lowest tier) • Return to Gina's room • Search Gina's bag again (obtain blonde Wig) • Combine Wig and the Head • Use Head on the empty bed • Combine Syringe and Bottle of Alcohol • Use Alcohol-Filled Syringe on the Marker Pen • Combine Marker Pen and Blank Medical Chart • Use Fake Medical Chart on Gina's chart • Put Gina's Medical Chart in the empty bed's chart slot • Enter bathroom for an automatic scene • Inspect the Vademecum to learn about Snoozitol • Use Flammable Spray Bottle on the sprinkler system (ceiling of Gina's room) _________________________________________ ¯¯¯¯¯¯¯¯¯¯¯¯¯¯¯¯¯¯¯¯¯¯¯¯¯¯¯¯¯¯¯¯¯¯¯¯¯¯¯¯¯ [WK02] CHAPTER 2: THE MYSTERIOUS CRUCIFIX _________________________________________ ¯¯¯¯¯¯¯¯¯¯¯¯¯¯¯¯¯¯¯¯¯¯¯¯¯¯¯¯¯¯¯¯¯¯¯¯¯¯¯¯¯ This level takes pace in a museum. The second floor contains several rooms (Clive's Office, Olivaw's restoration lab, scanner lab) and a coffee machine; the ground floor contains Willy the janitor's hangout and a Mayan art exhibit in back. Two stairways connect the floors. Brian begins in the restoration lab. Note that, if the first step is put off, players may need to go through Olivaw's dialogue to get the option to work. • Place Crucifix on the shelf to Olivaw's left • Obtain Strange Mayan Object (automatic) • Take the Talcum Powder Brush near the red helium tank • Take some Colorless Varnish from the briefcase nearby • Exit • Speak to Willy the janitor downstairs • Obtain Willy's Business Card (automatic) • Try exiting conversation for a scene at the 2F analysis laboratory • Exit area and reenter (makes Willy spawn downstairs again) • Use Colorless Varnish on analysis lab's keypad • Use 2F payphone • Exit area and reenter • Use Talcum Powder Brush on keypad • Type in the password (8137) and hit enter • Enter analysis laboratory (automatic) • Take the Strange Key near the fire extinguisher • Try operating the glass display case's handle area • Try operating the glass display case's keypad • Take the Ladle near the room's liquid nitrogen tank (right side of screen) • Visit Clive's Office • Take the Pair of Books on the desk • Use Strange Key on x-shaped crack beneath • Steal the Voice Recorder from the hidden safe • Use Strange Key to hide safe again • Enter Olivaw's lab • Use Voice Recorder on Olivaw If the recording portion doesn't trigger immediately, try going through some or all of her dialogue first. • Return to analysis lab • Use Voice Recorder on display case's handle • Obtain Battery (automatic) • Combine Battery and Ladle • Use Ladle on liquid nitrogen tank • Obtain Frozen Battery (automatic) • Combine Frozen Battery and Voice Recorder • Use Voice Recorder on display case • Take the Mayan Mask • Combine Mayan Mask and Strange Mayan Object (obtain Ruby) • Revisit Olivaw's lab • Use Ruby on the laser Olivaw's repeatedly fiddled with • Wait for Olivaw to shatter her mask (automatic) Olivaw won't be able to continue without coffee. • Inspect coffee machine (2F hallway, left of Clive's office) • Visit the 1F Mayan exhibit • Take the 'Bowl Full of Coffee Beans' from the free-standing bowl exhibit • Show the new bowl to Willy • Return to Olivaw's lab • Use the bowl on her electric lathe • Show bowl of ground coffee to Willy • Go to 2F walkway • Inspect, then take, the Package of Coffee from the wastebasket • Combine the package and the ground coffee • Show the Package of Coffee to Willy • Go back upstairs (automatic) • Obtain a Cup of Coffee from the machine • Give the Cup of Coffee to Olivaw • Obtain Crucifix (automatic) • Visit analysis lab • Use scanner (automatic) __________________________________ ¯¯¯¯¯¯¯¯¯¯¯¯¯¯¯¯¯¯¯¯¯¯¯¯¯¯¯¯¯¯¯¯¯¯ [WK03] CHAPTER 3: THE GREAT ESCAPE __________________________________ ¯¯¯¯¯¯¯¯¯¯¯¯¯¯¯¯¯¯¯¯¯¯¯¯¯¯¯¯¯¯¯¯¯¯ Brian begins in a dingy cabin with no inventory items. This chapter'll be a bit longer than the previous ones, too. • Take the Bellows (on junk pile near broken safe) • Take the Bottle of Cleanser (small shelf by phone) • Take the Coat Rack Peg (on floor by tall shelf) • Take the Chamois (on barrel to right of tall shelf) • Take the Crowbar (by Chamois barrel) • Combine Chamois and Bottle of Cleanser • Use Wet Chamois on window near freezer • Unplug freezer cord • Open freezer to reveal ice • When ice melts, drain the freezer (stopper near floor grate) • Push freezer to reveal trapdoor • Use Crowbar on trapdoor padlock • Exit through passage Brian will meet the drag queens and have access to the world map now. To end the chapter, he has to complete a three-stage rescue: distraction, holding the thugs off, and escaping. (Players begin at the broken-down bus.) • Take the Basketball (search trunk near Lula) • Enter tour bus • Take the Handheld Vacuum Cleaner (sticking out from under bunk bed) • Take the Sunglasses (counter behind driver's seat) • Take the Lipstick (container by sunglasses) • Enter back of bus • Take Needle and Thread (by platform shoes) • Talk to Carla • Say "You look exhausted..." • Say "I just happen to have heartburn..." option • Exit conversation • Get the Pill (use vacuum cleaner on floor grate by Carla) Now it's time to put the first phase in motion: securing an escape route. • On world map, visit the Hangar (large building up road from thugs' cabin) • Try entering barn to instead peer through its window • Try putting Pill into Rocco's beer when he sets it on the barrel • Return to the drag queen bus • Combine Basketball and Needle and Thread • Combine Basketball and Bellows • Try giving the inflated Basketball to Lula • Return to the
ИсточникGHub Platform · автор06.09.2026, 21:52:42
_______________________________________________________________________________ ¯¯¯¯¯¯¯¯¯¯¯¯¯¯¯¯¯¯¯¯¯¯¯¯¯¯¯¯¯¯¯¯¯¯¯¯¯¯¯¯¯¯¯¯¯¯¯¯¯¯¯¯¯¯¯¯¯¯¯¯¯¯¯¯¯¯¯¯¯¯¯¯¯¯¯¯¯¯¯ WALKTHROUGH [WLK1] _______________________________________________________________________________ ¯¯¯¯¯¯¯¯¯¯¯¯¯¯¯¯¯¯¯¯¯…
Войдите, чтобы писать в группе