Пенумбра: Некролог и Сумерки архаики ПОЛНОЕ РУКОВОДСТВО
GHub Platform · Гайд · 0 ответов · 7 просмотров
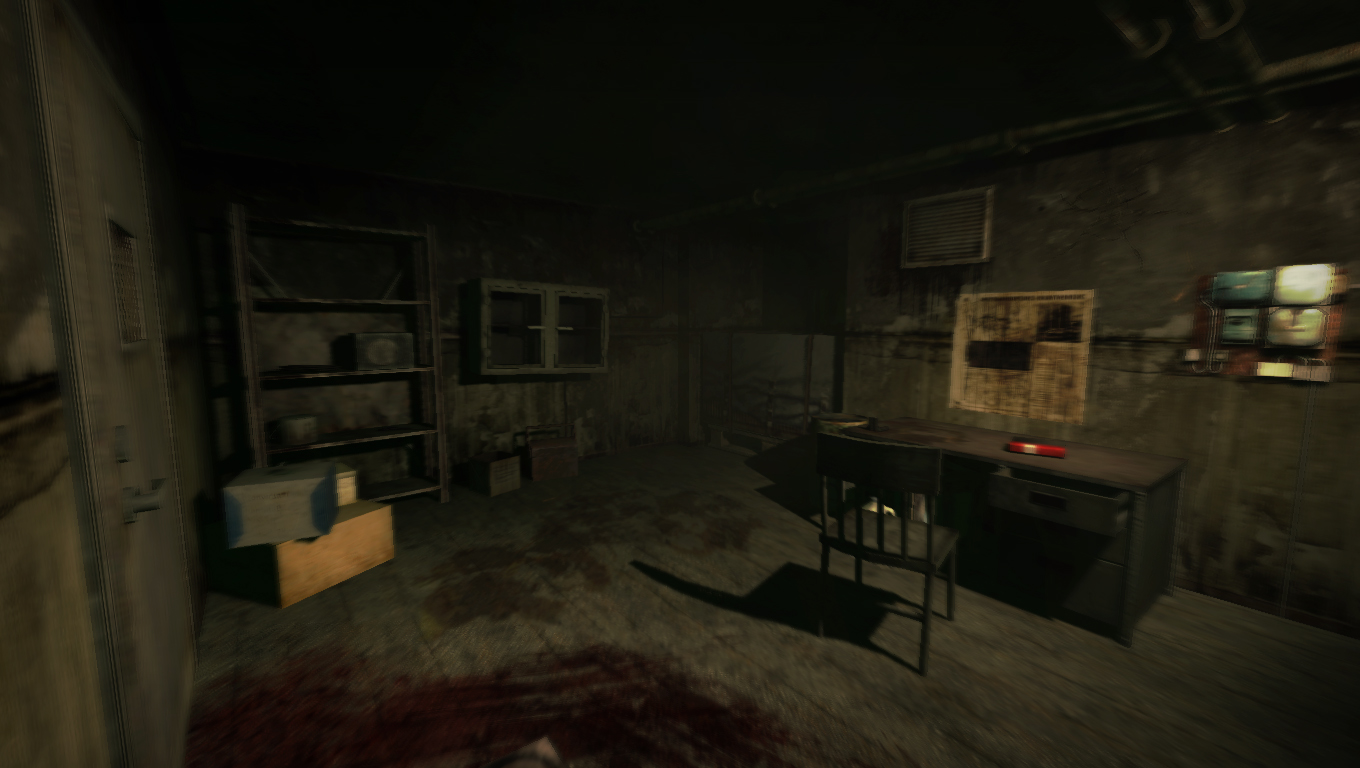
Just a few basic things to go through before we get into the full guide. I’m going to assume that you’ve played through the original three Penumbra games (Overture, Black Plague and Requiem) and so know the basics of how to actually play the game. If you haven’t played the original games, I would completely recommend doing so before you play Necrologue. Not only for the gameplay knowledge base, but also the story, as Necrologue is a direct continuation from Requiem. Randomness The game has a certain amount of randomness to it in a few select areas, meaning that sometimes items might not be where I say they are. If you notice something not being in the right place, let me know where you find it and I’ll add other locations to the list. Optional Areas and Split Paths This game also contains areas that are totally Optional and aren’t necessary to continue the game, as well as times when you can use two different methods to continue the game. I will point these areas out and you can choose which you decide to explore and use. Strange Artefacts Although I've listed the location to all the Strange Artefacts in a separate guide, I'll also list them here too so you can see exactly where they are in the whole story. Also, it's worth mentioning that only Necrologue has Strange Artefacts. Twilight of the Archaic doesn't have any at all. Videos As an extra note I have recently played both Necrologue and Twilight Of The Archaic on my youtube channel, and you can listen to my thoughts on the game, as well as get any visual help that you might need with a puzzle or situation if you check the videos out. You can find my YouTube channel here: https://www.youtube.com/user/Oymon/ Also, I feel I shouldn't have to say this considering it's a full guide but: SPOILER ALERT!!! Examination Room After the intro with (Not) Phillip, and then waking up off the floor with (Not) Clarence talking to you, look down on the floor and pick up the Flashlight . The computer with start beeping at you, so interact with it to see that (Not) Swanson is still alive! Maybe we can get that Hug after all! After she’s done talking and more ramblings from (Not) Clarence, you’ll be able to go through the nearby door. For the record you can look around the rest of this room if you want, but there’s nothing to pick up. Infected Hallways Despite the name, and the fact that you will often see moving lights and hear footsteps, there is actually ZERO danger in this room. The lights and sounds are nothing but tricks to try and keep you on your toes. In reality, they’ll vanish once you get too close. So no need to worry about it. Now, there’s an item we’re looking for in this area called the Hook With Rope , however as best I can understand it’s location is totally random. As such I’ll take you on a quick tour of this whole area so you can see everything and hopefully you’ll find it along the way. First, walk forward and the room on your right has some Batteries in locker. Further on down the corridor will be a door on your left. Walk through and go around the little U-bend. When you get to the fork in the path, turn left again and follow the corridor. Right at the end you’ll find a closed door, so open it up and inside you’ll find a largely empty room with a chair and a bin and maybe the item we’re looking for. If not leave the room and turn left and then left again and down the corridor here past the open hole in the window. Remember this for later. Keep going and around the corner you’ll find four doors. The first one of the left is blocked, but the first one on the right is open. While it leads to a dead end, you might want to have a look for the Rope down there. The second door on the right also leads to a dead end with a Locked door at the end of it that you can never open. The remaining door however does lead to proper room. In the filing cabinet in the corner you can find the ‘Research of the Virus’ Picture , and next to the TV you can find the ‘Survivor’s Note’ Note . There are some Batteries on the top shelf next to the bed, and in you go into the bathroom you can find some Painkillers in the cabinet there. Leave the room and go left through the door, Take a left and go down the corridor and through the door on the right at the end. You’ll find yourself back where we started. Go back down the corridor facing the door only this time take a right at the end. Here will be a closed door that you can open to find a room with a TV and two chairs, but little else of interest. Continue around the corner and another door on your right will bring you to a Generator Room. Unless the Rope is in here, this room is also empty. At the end of the corridor take a left and into a small square area with four pillars. To your left is a dead end with collapsed rubble, but before that there’s a door into a small room. Have a look, but there’s nothing much in there. Do a complete 180 from the rubble and down the corridor ahead, taking your first right. There’s a door there with a room containing a Save Point Statue , and in the top draw of the table is the Cassette Tape ‘Alford #5’ that you can keep until later. Leave this room and turn left back to the corridor you were previously in and then go right towards another hole in the wall. Again, remember this for later. Take a left at the hole and follow the path all the way up the stairs and to the locked door at the end. There’s a bin there that has some Batteries in it. Now, all things being equal, you will have hopefully found the Rope With Hook somewhere along this path. - OPTIONAL - Research Room Near that second hole in the wall is a double door with a sign that says ‘Research Room’ above it. If you go inside you can confirm for yourself that Swanson wasn’t killed (YAY!) and that you in fact seemingly killed a Tuurngait Zombie. You can also find some Batteries in the middle of the three sinks in the dark room next to where you killed the Tuurngait Zombie. That’s about all you can see in there though, so when you’re ready, you can leave. - CHOICE - Remember those two holes in the wall that I told you about? Well, each one leads to a way forward that takes you in a slightly different direction but ultimately takes you to the same place. The first one is safer, but the second one nets you some Items and a Note, so which one you choose is up to you. - Option A This is the choice that will take you through the broken glass on the Eastern side of the area. Use the Hook With Rope on the hole and then climb down, dropping safely onto the lower platform. Go left, follow the corridor and through the door. Down the stairs and then take a right and then another right around the corner. Follow this corridor, through the small archway ahead and through another door. In this small room is a metal door that you can go through into the next area... - Option B This is the choice that will take you through the broken wall on the Northern side of the area. Use the Hook With Rope on the hole in the wall and then climb down. You’ll eventually fall and black out. Once you come to, you can check the bag for some Painkillers and you can also pick up the ‘Benjamin’s Last Words’ Note . Once that’s done, crawl you way through the small hole in the snow and follow it around and down to the next area... Collector If you came into this place through Option A, walk forward and around the corner and you should see a small hole on the right wall with a door just inside it. If you came in through Option B go around the nearby corner with the barrels and you’ll see a door ahead of you. This is the same door, so go through into the room here. Inside you can find a Save Point Statue and some Batteries on the desk. There are also some Painkillers in the little cabinet, A Cable on the shelf next to that, and if you open the bottom draw in the desk you’ll find a Capacitor . Leave the room and turn right, and check the boxes right in front of you. You’ll see A Wire on the floor next to them. Turn aroun
ИсточникGHub Platform · автор10.09.2026, 15:00:01
Just a few basic things to go through before we get into the full guide. I’m going to assume that you’ve played through the original three Penumbra games (Overture, Black Plague and Requiem) and so know the basics of how to actually play the game. If you haven’t played the origin…
Войдите, чтобы писать в группе