100% Achievements: A Comprehensive Guide
GHub Platform · Гайд · 0 ответов · 11 просмотров
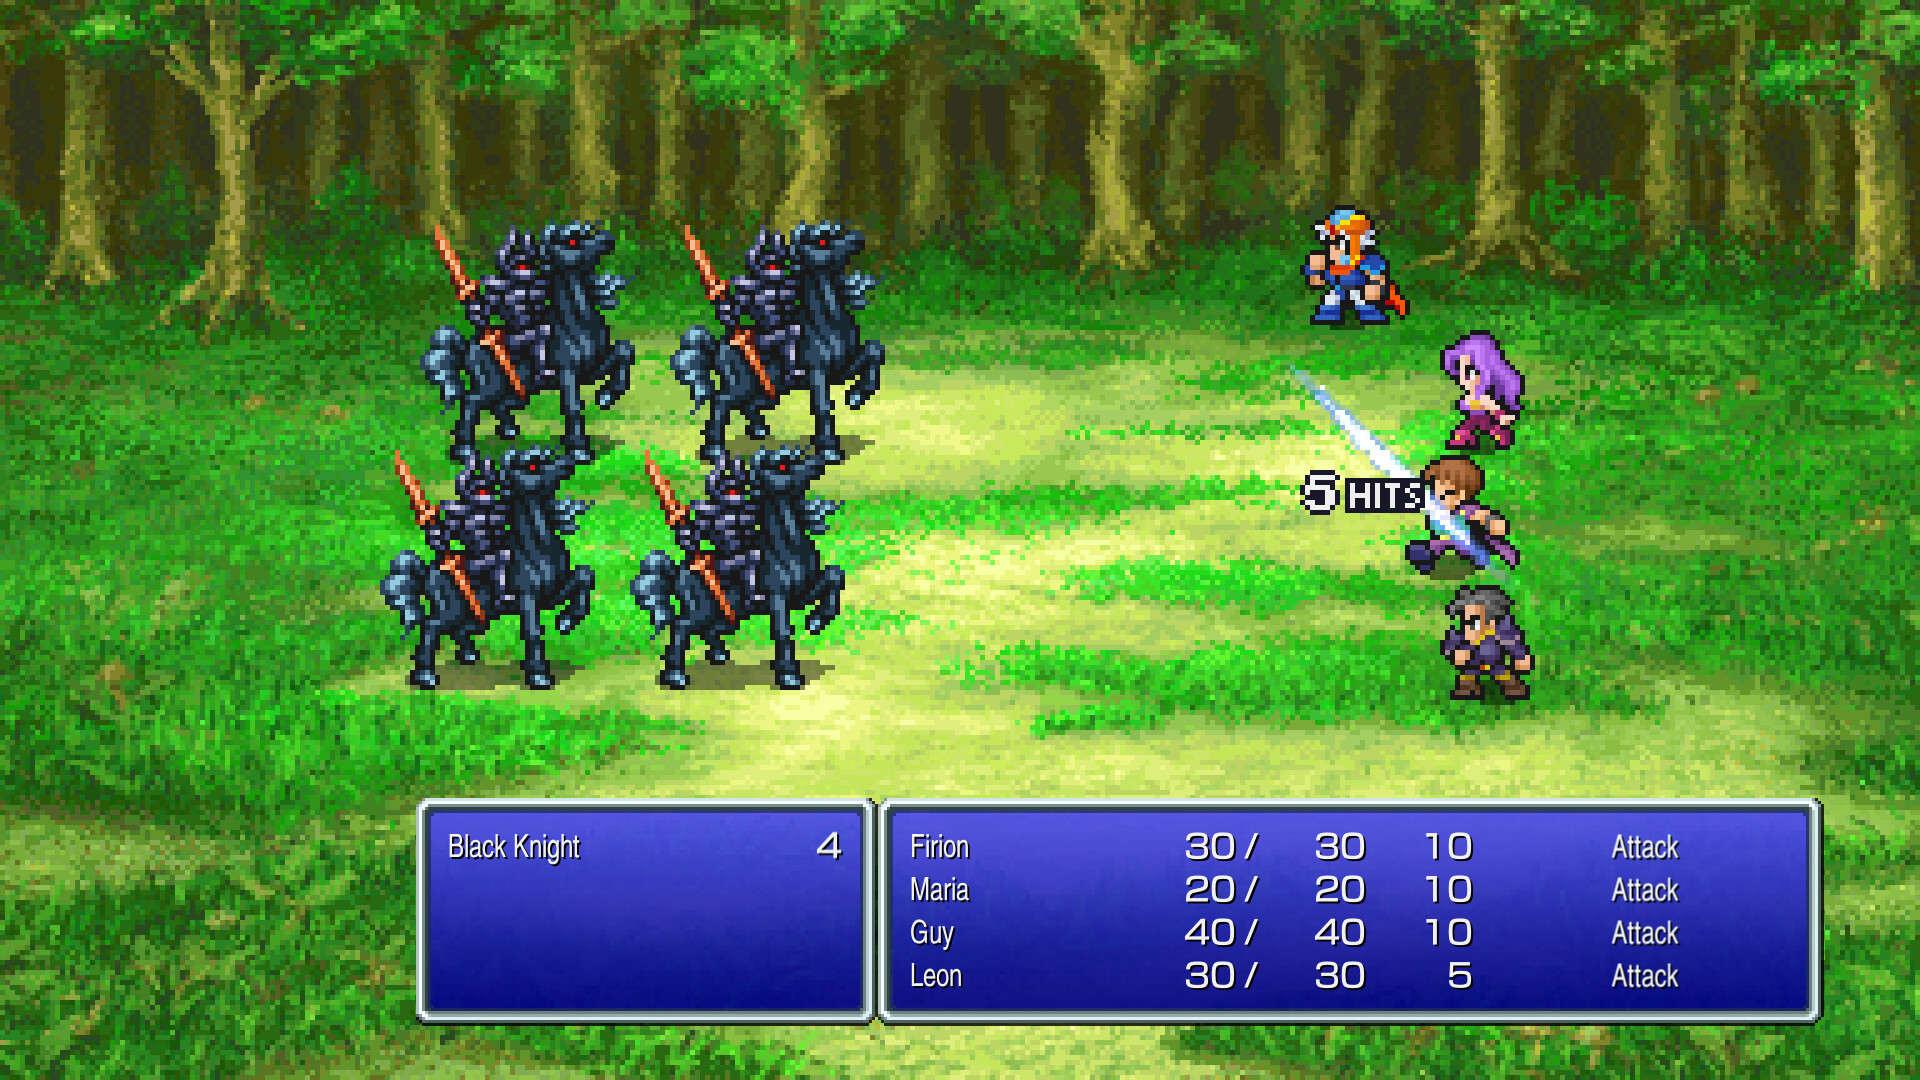
Final Fantasy II (Pixel Remaster) is an overhauled version of the original, with remodeled sprites and audio, but the core gameplay that you've come to remember and love is still the same. That being said, the achievements are not abundant, nor exhausting to complete. Do keep a keen eye out on your bestiary and treasure chests, as there are missable ones in this game that, once skipped, cannot be returned to. If you want more "walk-through" oriented instructions, you can follow the treasure chest portion of this guide, which will detail the chronological order in which you find both the treasure chests and the passwords. "Apprentice Warrior" Defeated 100 monsters. The first of many achievements, defeating 100 monsters will most likely be the first one you unlock. "Experienced Warrior" Defeated 300 monsters. The same as above, but do it 300 times instead. This one is easily earned as you play, so no need to grind at all for it. "Legendary Warrior" Defeated 500 monsters. The same as above, but do it 500 times instead. This one is easily earned as you play, so no need to grind at all for it. "Thrifty Spender" Obtained 10,000 gil. Gil-related achievements mean the total amount of gil earned overall, not what you have on your person in total, so spending gil won't effect this achievement. Earn a total of 10,000 gil to unlock this achievement. "Smart Saver" Obtained 50,000 gil. Gil-related achievements mean the total amount of gil earned overall, not what you have on your person in total, so spending gil won't effect this achievement. Earn a total of 50,000 gil to unlock this achievement. "Moneybags" Obtained 100,000 gil. Gil-related achievements mean the total amount of gil earned overall, not what you have on your person in total, so spending gil won't effect this achievement. Earn a total of 100,000 gil to unlock this achievement. "Adventurous Warfarer" Traveled to all the map locations. Should unlock once you reach Pandemonium for the first time, as that is the final location you'll visit. There is one missable area (the Rebel Camp) that appears before you take back Castle Fynn, so make sure to visit it before you do. There is also the optional Chocobo Forest, but as long as you followed the location guideline above, you should have already visited. "Sword of Myth" Obtain Excalibur The sword Excalibur is the strongest sword in the game. Once you learn the phrase "Dragoon" and have access to the air ship from Cid, head to Castle Deist and speak to the woman that gave you the final Wyvern egg. Ask her about dragoons and she will leave the castle, but before going she will bestow you Excalibur to look after in Ricard's place. "Weapons Tactics & Magic Tactics" Leveled up one weapon/magic type to skill level 16. These are probably the two you'll have to grind a bit post game. For magic, you'll likely level up "cure" due to healing all game, but if you're missing some levels at the end, the easiest way to level it up is to take damage, so equip your strongest weapons, find some low-level mobs (such as Captains) and attack yourself. I typically would kill off two of the four members, bring them back, heal them and rinse and repeat. For weapons, find a low level mob (preferably that only attacks via physical damage) and have one character equip ONLY the "Blood Sword" as a weapon. Kill off the other three characters. Have that character attack themselves with the blood sword, as it heals on hits, so you won't lose any health, but your weapon level will slowly increase. It takes a bit of time, so have patience. "Field Research- Basic", "Field Research- Advanced" & "Field Research- Professional" Completed 10% (50% & 100%) of the Bestiary entries. To complete the beast mastery achievement, you will need to catalog all 128 enemies (boss enemies included). You can view the enemies that you've encountered on the main menu under [EXTRAS]. Doing so will show you what number(s) you're missing and you can cross reference it with the list below to find out what and where you can find those missing enemies. Unlike the previous installment, there are missable enemies in this game, but don't worry; we'll address them all here so you can catalog them before you reach the point of no return. Included before the list of enemies are all the missable ones, ordered by catalog number. In the numbered list below it, I marked all missable monsters with a "🌟". The list is as follows: No. 11 - Phorusracos - Before Mysidian Tower in the desert on your way to the Dreadnought, but before the Cyclone appears. Once the Cyclone appears, this enemy no longer spawns. No. 40 - Killer Fish, No. 42 - Hell Diver, No. 45 - Buccaneer, No. 52 - Sea Serpent (Sea Snake) - These are all found in the water on your way to Castle Deist, before reaching the Mysidian Tower. No. 31 - Antlion & No. 54 - Land Ray - Anywhere in the desert while heading towards the Coliseum, before reaching the Mysidian Tower. ▆▆▆▆▆▆▆ ▆▆▆▆▆▆▆ ▆▆▆▆▆▆▆ ▆▆▆▆▆▆▆ ▆▆▆▆▆▆▆ ▆▆▆▆▆▆▆ ▆▆▆▆▆▆▆ ▆▆▆▆▆▆▆ ▆▆▆▆▆▆▆ ▆▆▆▆▆▆▆ ▆▆▆▆▆▆▆ ▆▆▆▆▆▆▆ ▆▆▆▆▆▆▆ ▆▆▆▆▆▆▆ ▆▆▆▆▆▆▆ ▆▆▆▆▆▆▆ ▆▆▆▆▆▆▆ ▆▆▆▆▆▆▆ ▆▆▆▆▆▆▆ ▆▆▆▆▆▆▆ ▆▆▆▆▆▆▆ ▆▆▆▆▆▆▆ ▆▆▆▆▆▆▆ ▆▆▆▆▆▆▆ ▆▆▆▆▆▆▆ ▆▆▆▆▆▆▆ ▆▆▆▆▆▆▆ ▆▆▆▆▆▆▆ ▆▆▆▆▆▆▆ ▆▆▆▆▆▆▆ ▆▆▆▆▆▆▆ ▆▆▆▆▆▆▆ ▆▆▆▆▆▆▆ ▆▆▆▆▆▆▆ ▆▆▆▆▆▆▆ ▆▆▆▆▆▆▆ ▆▆▆▆▆▆▆ ▆▆▆▆▆▆▆ ▆▆▆▆▆▆▆ ▆▆▆▆▆▆▆ ▆▆▆▆▆▆▆ ▆▆▆▆▆▆▆ "Rookie Treasure Hunter", "Veteran Treasure Hunter" & "Legendary Treasure Hunter" "Collected treasure from 10% (50% & 100%) of the chests." Here I will detail where to find all 234 treasure chests in one playthrough, as well as other missable content that will be important along the way, such as locations, enemies (which are also detailed in the bestiary achievement section of this guide) and more. This isn't an in-depth walkthrough as much as it is a step-by-step guide to not missing anything important for those achievement hunters. This will be in chronological order of how you progress the game (or at least how I did), so if you follow along, you'll find everything you need. Spoilers galore! Anyway, let's get started: Location - Altair Treasure chests: 1 Total treasure chests at this point: 1/234 Found just on the west side of the area before leaving building's main door. You really can't miss it. This is the only chest in Altair. You will also learn the password "Wild Rose", but that is story driven and not missable. Location - Gatrea Treasure chests: 0 Total treasure chests at this point: 1/234 Located north and just a tad west of Altair, Gatrea will be the second location you most likely come across. There are no treasure chests here. Location - Fynn & Castle Fynn Treasure chests: 38 (only three are accessible at this point) Total treasure chests at this point: 4/234 There are a total of 11 treasure chests in Fynn and 27 in Castle Fynn. When you first arrive to Fynn and make your way to the bar to obtain Scott's Ring, you'll only be able to access the three in the bar's basement. Castle Fynn is inaccessible for now and the other 8 treasure chests are hidden in a room that you can't access. They are missable, but we'll get them before that happens later. For now, grab the three in the basement and head back to Altair. Once in Altair, speak to Hilda to learn several passwords, including "Mythril", "Airship" and "Dreadnought". Paloom Location - Paloom Treasure chests: 0 Total treasure chests at this point: 4/234 Once you obtain the canoe, you'll have access to Paloom, located across the lake to the northeast of Altair. This is the first port town you'll visit. There are no treasure chests located in this area. After your visit, you'll pay the toll to take the ship to Poft. Location - Poft Treasure chests: 0 Total treasure chests at this point: 4/234 This is the second port town you'll
ИсточникGHub Platform · автор13.09.2026, 17:49:09
Final Fantasy II (Pixel Remaster) is an overhauled version of the original, with remodeled sprites and audio, but the core gameplay that you've come to remember and love is still the same. That being said, the achievements are not abundant, nor exhausting to complete. Do keep a k…
Войдите, чтобы писать в группе