Практичный FTL
GHub Platform · Гайд · 0 ответов · 17 просмотров
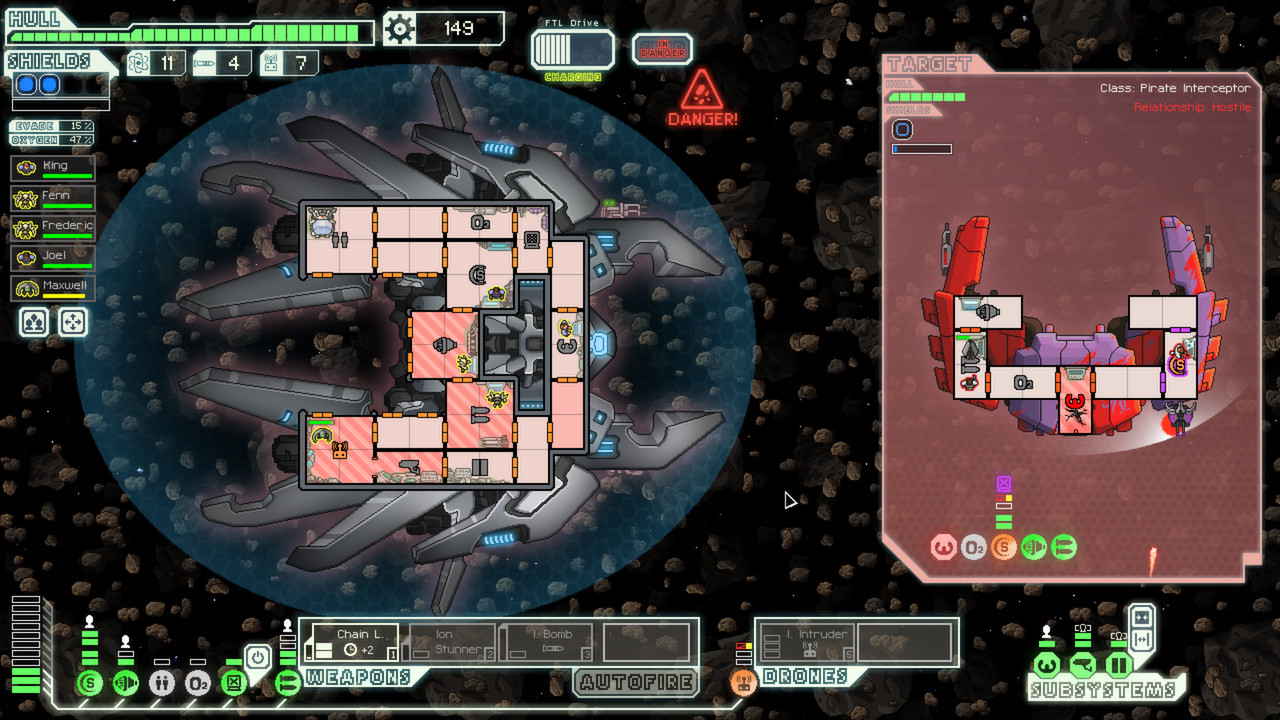
This guide is attempting to be a comprehensive compilation of all best practices, techniques, and strategy used to be successful in FTL: Faster Than Light. This guide is geared toward Hard Mode with Advanced Edition content on unless otherwise noted. It assumes you have a basic knowledge of the mechanics of FTL - a few hours of play should be enough. It generally will not go into detail about statistics of weapons, crew, weapons, Etc. This guide refers to the "secret race" and the Flagship battle, so use discretion if you consider these to be spoilers. This guide is written mostly from memory based on the experiences I've had in my thousand two thousand three thousand four thousand hours of gameplay. I update it regularly when new techniques are discovered or records are broken. Let me know if you see something incorrect, or if you'd like me to add more detail about a certain topic. Thanks for reading, and I hope you find it helpful! All screenshots are mine unless otherwise noted. In every encounter for the entire run, you want to base all of your decisions off of the idea that you need to maximize total number of jumps and collected scrap while minimizing hull damage. Part of this challenge is to not waste scrap by spending it on the right upgrades at the right time. The following guidelines are generally how you'll want to time your upgrades for an average run. But be flexible and use what you're given! If you find good weapons, focus a little more on those rather than defense. If you don't find much in the way of offense, look for ways to optimize your defense, so you take less damage as you deal with your enemies. Just be sure to keep a little scrap onhand for essential system/weapon purchases. Sector 1 With most ships, your first upgrade should be level two shields. This will pay for itself quickly in repair costs, and it will keep your essential systems safer. You generally won't have to buy reactor upgrades to power them - rob other systems of power till you can afford more reactor power. If you like, you can almost always find a ship that can't break level two shields - this will allow you to get experience for your pilot and engines crewmembers - possibly shields and weapons as well. This will yield 10% extra evasion. Generally, you'll want to put a little more into engines right after upgrading shields. Level 3-4 engines is a good goal. If you have a Defense Drone I, you don't have to put quite as much into engines because you won't be relying on evasion alone to avoid missile damage. After the essential upgrades, you'll want to start collecting some spare scrap. At this point, you'll find that around 65-80 scrap is a good amount to have around in case a store has something useful. Try not to save much more than that though because it could be better utilized on investing in defensive ship upgrades. Early Sectors: 2-4 This is where strategy starts to diverge based on what you've randomly been given, and what useful items you've found in stores. If you have good weapons, start putting more scrap into weapon system upgrades. If you have a decent boarding team, focus on defense and being able to take out their medbay/clone bay. If you have a Defense Drone I, put more into shields. And again, don't forget to keep some spare scrap onhand for stores. You might consider purchasing an optional system around this time to compliment your loadout. If you have a decent boarding team and some way to damage their medbay/clone bay, consider mind control. If you have only average weapons and a couple Mantis or Rockmen, consider teleporters. No good boarding crew and average weapons? Drone Control for a Defense Drone I. Cloaking is usually too expensive to buy until later sectors. And when in doubt, hacking is always useful considering the cost of the system. Only upgrade doors if your crew isn't good at fighting or if you're very short on crew. If you have a spare crewmember to man them, wait a few sectors to upgrade. Most fires and boarders can be handled with good suffocation techniques. Level two doors don't help that much, and the scrap can usually be spent on better things. I usually keep my fourth crewmember on doors at the beginning of each jump. If the other ship doesn't board, I move him to shields. Your weapons should be able to reliably deal with level two shields at the start of these sectors, and level three by the end. Late Sectors: 5-7 Generally, this is more of the same. Build on what you've been given. You should try to have level three shields around sector four or a the latest five. You should have level five engines soon after that (especially if you like to use each sector to the fullest and fight the rebels at the end for that one last jump - it really helps to get you out of there in a hurry). You should also have an optional system by now. Preferably two by the end of these sectors. When your ship starts to feel powerful enough and you have the scrap to spare, you should upgrade all of your level one systems and subsystems to level two. It doesn't take that much scrap, and it will give you a bit of a damage buffer. You'll have more time to deal with fires and boarders before they destroy the system. These damage buffers are usually not essential though. Your weapons should be able to reliably deal with level three shields at the start of these sectors, and level four by the end. The Final Showdown: Sector 8 When you fight the Flagship, you should at the bare minimum have level three shields and level five engines. You should also have a couple of optional systems of some sort to make the battle easier. Your weapons should be able to reliably deal with four layers of shields. Profitability should generally be the driving factor when choosing a sector. Reddit user mekloz did a very thorough study about overall average sector rewards . Please check it out, but the summary is: civilian and rebel sectors have the highest rewards followed closely by Lanius and Zoltan. Uncharted sectors are definitely the worst. This was done without Long-Range Scanners though, so slug sectors are undervalued a bit if you have them. Red sectors generally have more hostile encounters. If you're low on weapons or hull, green sectors are less hazardous to your health. They'll also have more beacons with free rewards or weapons but also more empty beacons to make up for it. That said, Zoltan sectors can be as difficult as red sectors. If you have a lot of scrap to spend, or you desperately need a store for other reasons, prioritize sectors that have more stores. Engi, Slug, and Civilian sectors have the most stores. You should usually choose a homeworlds/stronghold sector over other sectors. They have a unique event with substantially higher rewards - the ship unlock quests. Know what you need for the quest before making this call. For example, the Mantis Homeworlds and Engi Homeworlds have very different requirements and rewards. If you have teleporters, upgrade your medbay/clone bay and go Mantis Homeworlds. If you don't, but have an Engi crew, go Engi Homeworlds. All this said, I never go out of my way to choose Slug Homeworlds because the ship unlock quest requires forfeiting rewards - its generally not profitable. If you have the Long-Range Scanners augment, slug sectors can be very profitable. They allow you to seek out encounters, and you get a couple of extra jumps because the nebula slows down the rebel fleet. If you have slug crew, a couple Zoltan crewmembers or a Backup Battery, you should also consider slug sectors. Those make you much more resistant to common events and ion storms. Also, when choosing your sector, look at the entire path rather than just the next sector. If one path funnels you into several other sectors that you don't like, take another path. Specific Sector Types Know the benefits and hazards of each sector and how your ship will deal with them. Rock sectors have many asteroid belts and sun encounters, so they may
ИсточникGHub Platform · автор13.09.2026, 18:45:29
This guide is attempting to be a comprehensive compilation of all best practices, techniques, and strategy used to be successful in FTL: Faster Than Light. This guide is geared toward Hard Mode with Advanced Edition content on unless otherwise noted. It assumes you have a basic k…
Войдите, чтобы писать в группе