Познай свое королевство: Прохождение без прохождения
GHub Platform · Гайд · 0 ответов · 11 просмотров
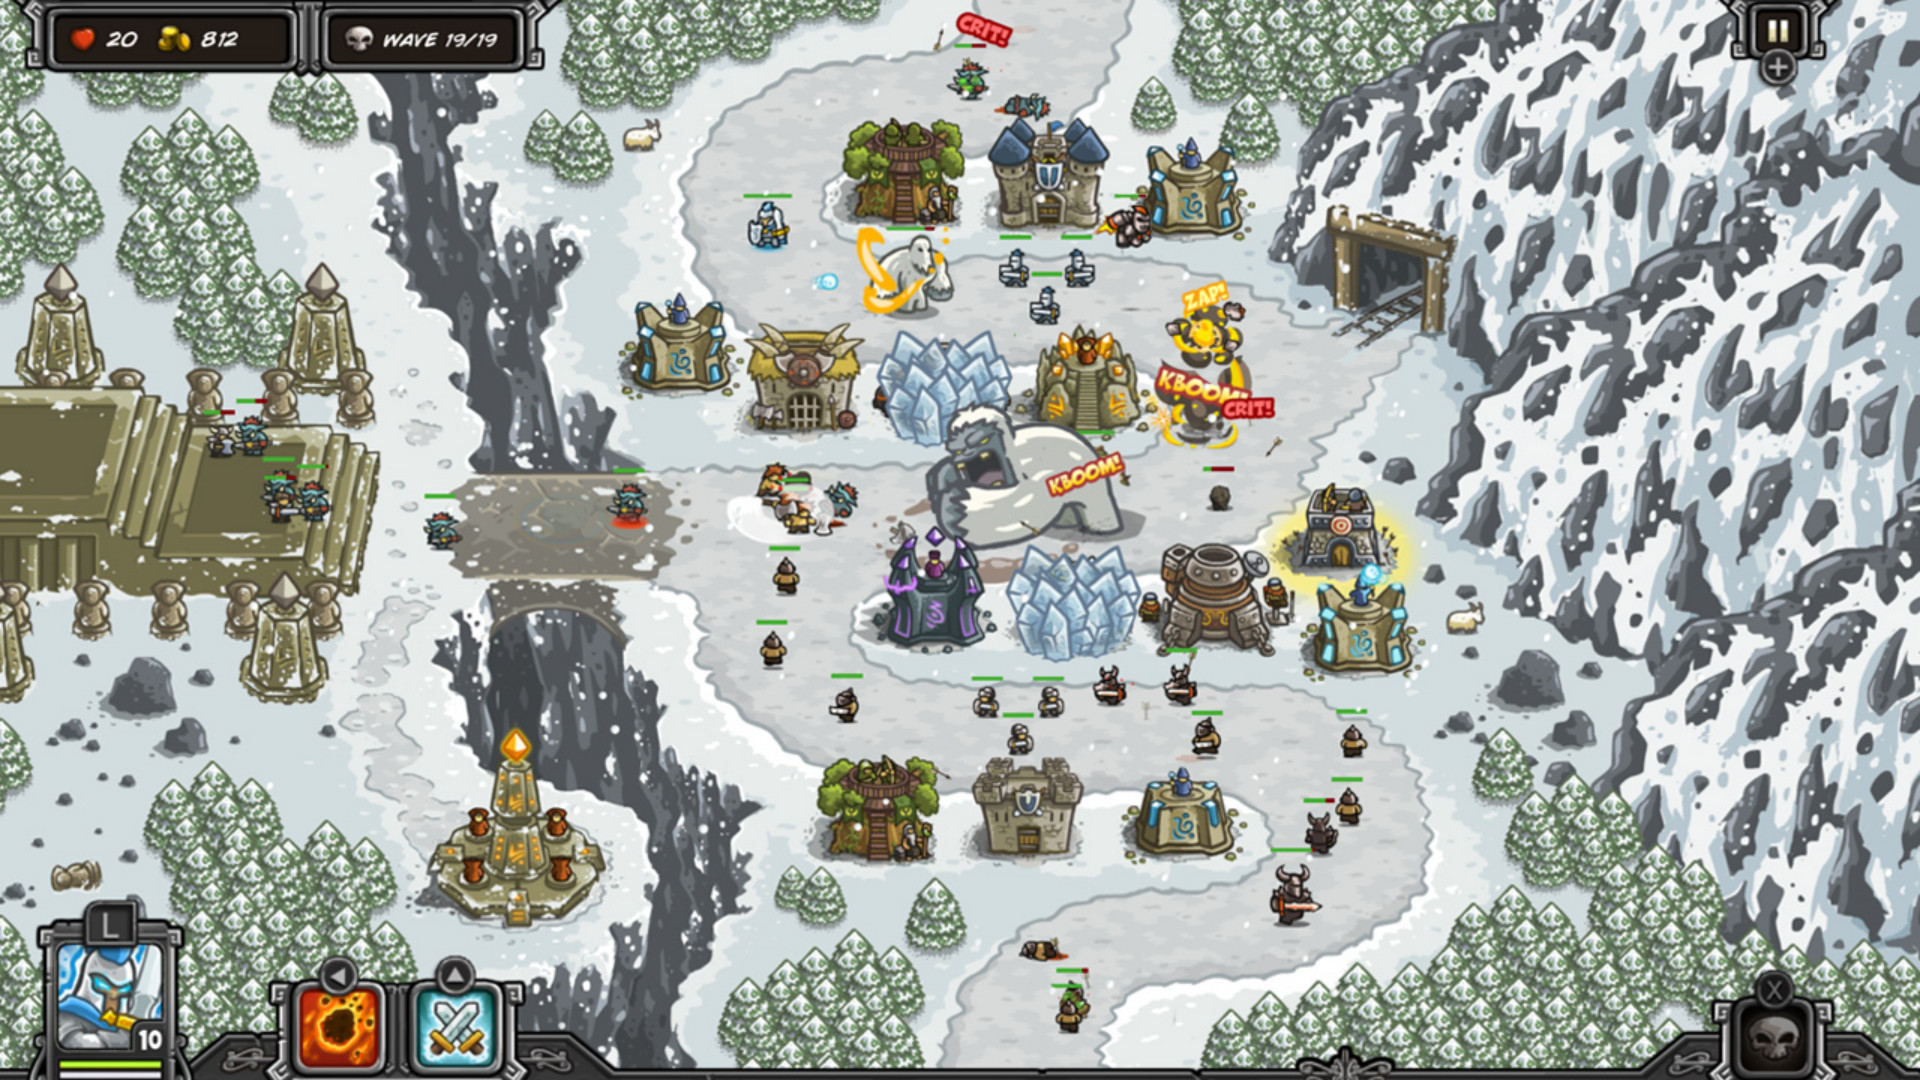
Do you want something to help you solve the level but still give you the satisfaction of that “Ah ha!” moment when you crack it? This is what I intend to provide. You might have often found yourself stuck on a particularly nasty level of Kingdom Rush without being able to make any kind of headway. You know you’re close, but are missing something . Unfortunately, most guides pretty much give you the solution. In effect, it’s all or nothing. You either go with headbutting the wall for a while or just give up and get the answer. But that kills the joy out of completing the level... as it then became a case of playing-the-game-by-numbers. So less of a step-by-step guide, my aim is to cover the stumbling blocks or cool moves and hand them to you under the table all sneaky like. You get to enjoy cracking Kingdom Rush without having to headbutt the wall repeatedly. I’m serious. Stop it. Because who doesn’t like freebies? Some general tips to help give you some starters to get cracking: Note: If you have already read Know your Frontiers: A Walkthroughless Walkthrough , then you can skip this next bit and get straight to the levels themselves, as these tips are basically the same. If you fail… change something I’ve been guilty of this many times. You fail a level… then on the replay do the exact same thing again, only this time willing the game even more, as if that will make a difference. “Grr! Grr! Grr I say! I’m really want this enemy to die!” Of course, what happens is that the same lines break and you still lose. And it’s easy to do. You’ve created what you feel is logically a very sound defence, so changing it can feel like taking a several steps backward. But the most important thing with this game is to try things out . There’s no penalty for losing a level. So if it goes wrong: Try something different. Sometimes it’s changing the towers you use, others it’s how you upgrade them. In fact, some of the later levels purely come down to the upgraded abilities of a particular 4th level tower… so try them out! Experiment with different quantities or at different times. Sometimes the trick is to build a completely unconventional setup. Kingdom Rush is as much about adaptability as it is strategy. It is not a case of learning a single tactic that will solve everything… but getting to know the quirks of the towers at your disposal and being able to apply it. Max out towers before Heroic / Iron challenges Small detail, but you might notice that the Heroic / Iron challenges limit the level of upgrades your towers get. So before you try the level – make sure all 6 upgradable elements are at that level or greater. These levels are tricky, so you’ll want every advantage going for you. For example: If the max upgrade level is 2: You’ll want at least the entire bottom 2 rows of the upgrades purchased. Identify the Kill-Zone(s) Not all paths are equal. The inclusion of infantry means that a lot of combats will cluster into particular areas of the map. Most maps are awkward with weirdly placed tower spots: So the trick is about identifying the areas where you stand the best chance of defending. These are your Kill-Zones . Generally, these are chokepoints and/or patches with the greatest amount of available tower spots overlooking them. (I’m using Kingdom Rush Frontiers maps so as not to spoil the fun of these maps) Now bear in mind this doesn’t mean you focus solely on the Kill-Zones – just your primary upgrades. You’ll still often want to expand to cover most of the map – creating additional Kill-Zones or just adding vital auxiliary towers to help keep enemy numbers in check (whether it’s reducing the amount that hit your lines or catching any that sneak by). Identifying Kill-Zones is primarily about getting your foot in the door: Finding the best places to set up and place your initial focus. Gold is scarce, so you’ll rarely get to sprawl the whole map with the best towers: So it’s all about being economical. In general, you’ll want at least 1 Kill-Zone covering each road. Sometimes that involves letting both roads merge (so you defend as one), or covering them separately. It depends on the level. Just make sure each is covered in some way. Be aware, of course, the best Kill-zones also depend on the enemies you face, so you’re not always able to identify them at a glance. As you play, you might find that some areas work better than others – so it’s not a hard-and-fast rule. As the level unfolds: Pay attention to what areas take brunt of the force (or even break) and adapt accordingly. Now how to make the most of them… To understand how best to capitalise upon a Kill-Zone: it helps to know some quirks of the 4 tower types at your disposal: Barracks When you plan for a barracks tower… don’t pick them for damage. Their primary job is to stall enemies and hold them in range of your brightest and best towers. Damage is just a bonus. They don’t deal a lot and most enemies beat them in a straight 1-vs-1, so it’s more about pinning enemies down long enough for your better towers to pummel them. The main reason to upgrade them is primarily to improve their survivability. You want at least one barracks in every Kill-Zone and vital areas where you need to stall enemies. Always build them in range of other towers. The thing to remember: The barracks tower itself cannot shoot. So anywhere you place it is somewhere a ranged tower won’t be. Now I appreciate this sounds inconsequential, if obvious… but this means that anywhere you place a barracks will not get ranged tower coverage. Let’s take a slightly extreme example to demonstrate. Consider the below setup: Assuming the enemies travel from the north: This layout is very weak. How come? The problem is that all of the ranged towers are at the very bottom. The enemies will get to stroll down the entire top path completely unhindered, meaning that the only time the ranged towers start shooting is when the enemy are straight on top of your infantry. Let’s switch it about like so: Though the same towers are used and the infantry are in the exact same place: This placement is much more effective. The reason is that the ranged towers can now shoot at the enemies on both the top and bottom road. So by the time the enemies reach the infantry, they will have had more shots directed at them. And the bonus just stacks: If the towers whittle down the enemy numbers, it ultimately allows your infantry to survive much longer, making the defensive line considerably more resilient as a whole. As a result: The best locations for barracks are awkward tucked-away spots that a ranged tower would have too much of a limited range with. In effect, give them the worst spots in every Kill-Zone. Try to place them towards the back so that your ranged towers can get some free shots before they hit your troops. Additionally, in some cases: You might have a super-cool Kill-Zone with many towers covering each other, but an awkward lone tower spot a bit further ahead. If you need some more infantry, this is also a good spot; adding a top ‘layer’ to your Kill-Zone, if you will. Artillery For something with such a delightful explosion and heart-warming ‘splut’ sound as it frags enemies… this tower requires a lot of finesse to use properly. It is, curiously, perhaps the trickiest to use for that simple reason that, wielded incorrectly, it’s just an oversized money-sink. Its subtlety is the numbers. The basic blast deals about 8-15 damage, but only shoots every 3 seconds or so though (3.8 damage-per-second). To give you some comparison: The archer tower deals around 6 damage-per-second. So against a single target: The archer tower deals 50% more damage… at nearly 50% of the cost. It goes without saying then: The only time the Artillery is worth its money is when it’s crashing down on top of as many enemies as possible. Clustering enemies together with infantry is vital for getting your money’s worth. Cram several in one place, and the collateral damage is just de
ИсточникGHub Platform · автор13.09.2026, 20:47:26
Do you want something to help you solve the level but still give you the satisfaction of that “Ah ha!” moment when you crack it? This is what I intend to provide. You might have often found yourself stuck on a particularly nasty level of Kingdom Rush without being able to make an…
Войдите, чтобы писать в группе