VR quality guide (+ Quest 2 & 3 in depth settings)
GHub Platform · Гайд · 0 ответов · 1 просмотр
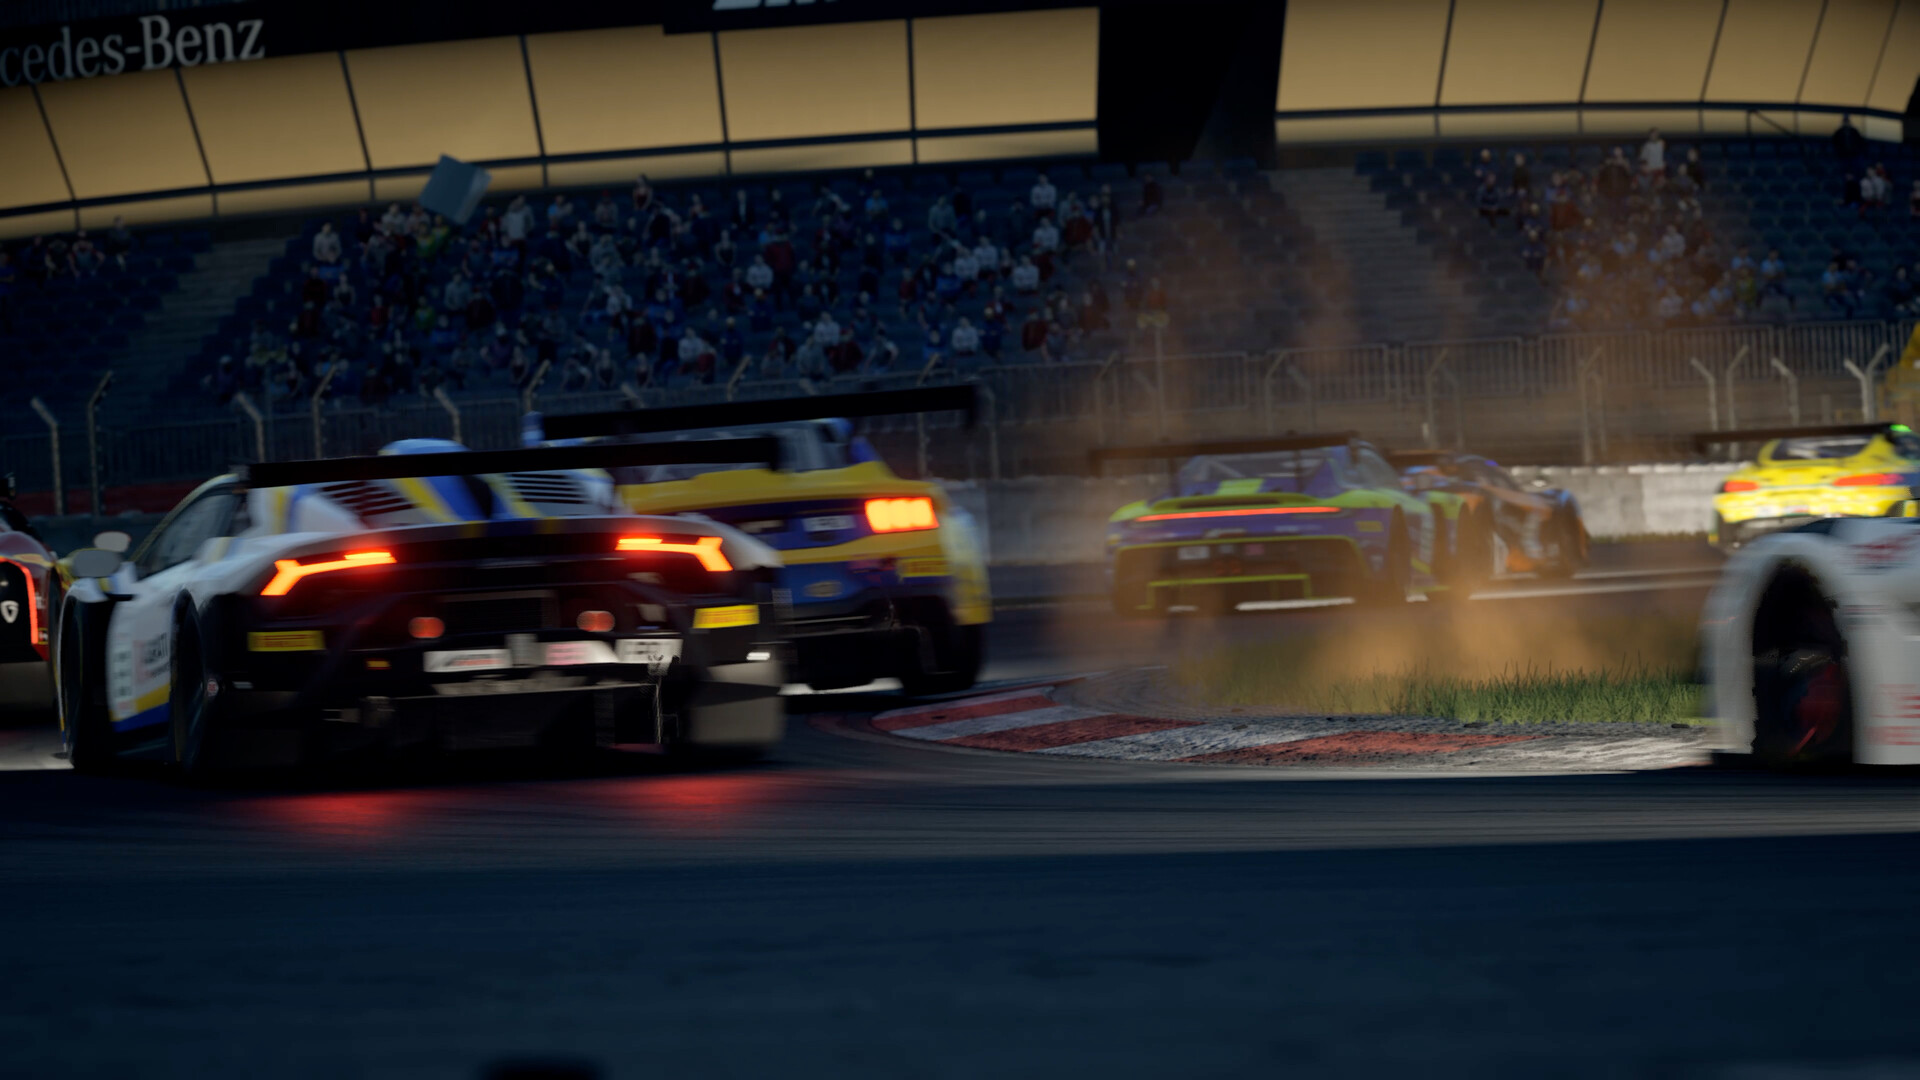
Since all HMD input pictures are warped, there is no way to render the image natively to the screen. Therefore it is best to do as much oversampling as your hardware can manage and utilize the UE temporal upsampling in order to reach good performance. DLSS (i've tried most of the version via DLL injection) and FSR both are far behind in clarity compared to the UE gen5 TAA. First, unless you maxed out VR pixel density, keep the resolution scale at 50%. This is very important since it affects the performance a lot, but increasing it instead of VR pixel density yields less quality increase. UE gen5 TAA in EPIC mode. DLSS and FSR is off. If you are struggling to keep the desired FPS with 50% render and 150% VR pixel, you can turn off Gen5. The old one is a bit faster, but less stable temporaly and bit more blurry. Over 150% VR pixel, the gen5 yields better image upgrade than a bit higher oversampling. VR Pixel density controls the oversampling, optimally it should be 200% but above 150% it really starts to clarify the image on my HMD. And finally sharpening, basicly this is where the UE upsampling beats the DLSS. It is a personal preference, but i would suggest over 150% dependant of how much temporal flickering you can handle. You should also set the monitor output to either 3 (mirror of HMD output) or 0 (disable). It can be found at the bottom of "c:\Users\*****\Documents\Assetto Corsa Competizione\Config\vrSettings.json as "spectatorScreenMode" line. My actual optimized ingame settings are (RTX 3080 + Oculus Quest 3): Resolution scale: 60% View distance: HIGH Shadows: HIGH Shadows distance: HIGH Contact shadows: ENABLED Antialiasing: EPIC Antialiasing type: TEMPORAL TAA GEN5: ENABLED DLSS: DISABLED FSR: DISABLED Effects: HIGH Post-processing: HIGH Foliage: LOW Texture: HIGH Mirror quality: MID Mirror view distance: 250m Mirror framerate limit: Auto Mirror resoluion: HIGH Opponents visibility: 19 VR pixel density: 160% Materials quality: HIGH Temporal upsampling: ENABLED Bloom quality: LOW Volumetric fog: DISABLED Foliage lod quality: VERY LOW Car lod quality: 50% HLOD: ENABLED Advanced sharpen filter: DISABLED Motion blur: DISABLED Sharpness: 300% There are a lot of hidden settings and even the stock one lacks proper description, so here are the Quest 2 & 3 settings you should aim for. In the oculus app, under devices/graphics preferences, you should set the maximum resolution, and the refresh rate your hardware and brain can handle. Note: According to oculus dev info, if everything else is unchanged 5408*2736 should lead to closest to 1:1 rendering resolution of the panel after distortion. The 1.5x or any other number is meaningless, it is NOT oversampling (hence it changes with refresh rate too). (Sadly OTT is abadoned and not compatible with Quest 3, you have to use the Debug tool and while most settings are persistent, FOV is not. You have to set it after every Windows startup.) Most advanced settings will be set via OTT, but you should disable Mobile ASW in "c:\Program Files\Oculus\Support\oculus-diagnostics\OculusDebugTool.exe" app. The headsets ASW cannot handle the image we'll throw at it and will glitch out now and then with occasional frameskip. Further settings will be set via OTT, which can be downloaded from: https://www.apollyonvr.com/oculus-tray-tool Under the Quest Link tab, you'll find the following settings. Distortion Curvature: Q2: LOW Q3: Default This is actually result almost the same effect as fixed foveated rendering. Increases the quality of the middle with sacrificing corner resolution. Default/high is the same, low is the one we need, it yields around 25% resolution increase in the middle for the same performance. (It doesn't do anything with Quest 3, leave it at default.) Default/High: Low: Encode resolution: Q2: 3664 Q3: 4128 Any meaningful VGA should handle this, it is set to match the resolution of the Quest 2s 3664*1920 panel. Quest 3 has two 2064x2208 panels, hence the encode width should be 4128 but currently anything above 4032 is dropped back to 4032. Encode bitrate: 500-960 Dependant of the quality and length of your USB cable. Sharpening: Q2: Enabled Q3: Quality Q3 has a new, much more fine and less aggressive sharpening called Quality. OTT game settings: FoV Multiplier: This is by far the biggest tweak you can get. Even with cut to flat foaming, most people can't see the whole screen of the Quest 2. Currently if I set it to 0.74 and 0.72 i cannot see any difference to 1.00/1.00. But the rendered pixels are 72% of the original with high distortion, and somewhere 78% during low distortion. Your mileage may vary, if it doesn't bother you, cut some of the visible bottom&top for further performance gain. (I ended up with some visible cropping, which is like wearing a helmet: 0.72/0.36) For quest 3 due to the better facial interface and lenses, i found that 0.9 horizontal is the max i can see, and set the vertical to 0.35 for great performance with "helmet feel" visible cropping. For Q3 i am using 1.00/0.36 without facial interface. 1.00/1.00 0.74/0.68 Optional: Profiles: Sometimes the settings doesn't load, so it is preferable to set up a profile which load the same settings when you start ACC. You'll hear a "game launch detected" after a few seconds, if you tick the "Audio confirmation..." box. Default ASW Mode: OFF Since we don't move our head that much in ACC and ASW doesn't have motion vectors, i find it very annoying when it kicks in for a frame or two. So I ratcher choose to drop those frames, it is noticybly better if you have a framedrop on a bump. --- Источник: https://steamcommunity.com/sharedfiles/filedetails/?id=2932276145
ИсточникGHub Platform · автор14.09.2026, 01:21:40
Since all HMD input pictures are warped, there is no way to render the image natively to the screen. Therefore it is best to do as much oversampling as your hardware can manage and utilize the UE temporal upsampling in order to reach good performance. DLSS (i've tried most of the…
Войдите, чтобы писать в группе