100% Rez Infinite
GHub Platform · Гайд · 0 ответов · 1 просмотр
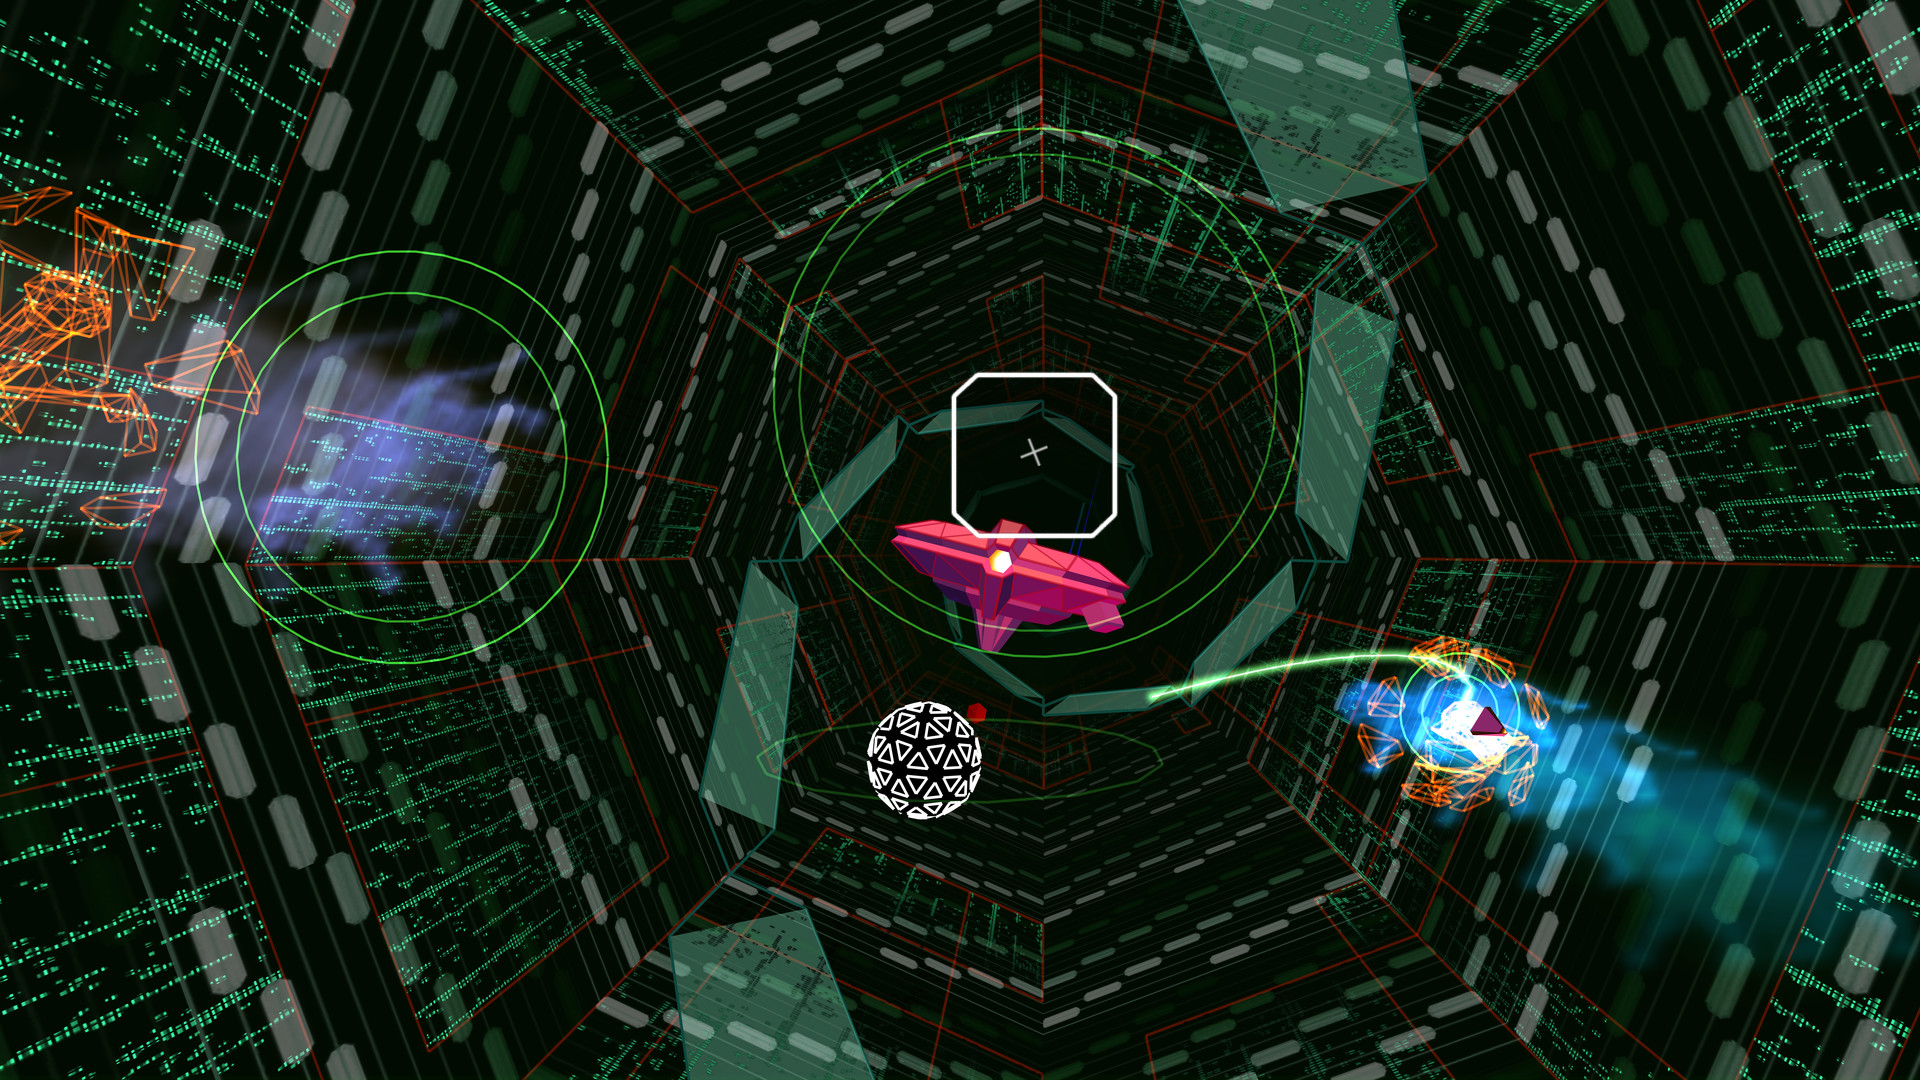
Hello and welcome to my first guide! I will explain here how to unlock each and every achievement of the game. Most of them are pretty straightforward, but some of them can be a bit tricky and that's the reason why I decided to make this guide in the first place. Achievements are tied to the various extra features that can be unlocked in Beyond mode, so if you want to unlock all the available options just follow this guide and you'll be good to go. So, without furher ado, let's get started! The EARTH Clear area 1 in play mode or travelling mode. The MARS Clear area 2 in play mode or travelling mode. The VENUS Clear area 3 in play mode or travelling mode. The URANUS Clear area 4 in play mode or travelling mode. Eden Clear area 5 in play mode or travelling mode. These are self-explanatory. Just beat all the main areas once with any % to unlock them. Lazer Assassin Achieve a shot down rate of 95% in areas 1-5. As long as you analyze every area at 100% (shoot all the flying cubes) and use Overdrives wisely it shouldn't be too hard to get this achievement. If you're going for 100% completion, you'll unlock this one while trying to get "The Rezident". The Rezident Achieve a 100% shot down rate and item collection rate in areas 1-5 or play for over 10 hours. This is where things start to get tricky, especially in the last area. Reaching a perfect score for each level can be difficult, so here are my suggestions and tips: The first thing you'll have to remember here is that the single rates for Analyzation, Shot Down and Support Items stack every time you complete an area. E.g., let's assume that you have completed the first area with 100% Analyzation, 100% Shot Down and 90% Support Items; if you replay it and get 90% Analyzation, 90% Shot Down and 100% Support Items you'll see that your area statistics will show 100% rate in every field. As said before, always analyze every area at 100%. If you skip some phase you'll lose the relative enemies and items. In order to be able to get a 100% rate of Support Items you'll have to make sure to shoot every enemy that might drop one of said items during the Infiltration Phase. This basically means that aiming for a 100% Shot Down rate is an almost certain way to find all the items. When you're shooting down the cube Protector, wait for the screen to be completely cleared before shooting the cube and proceeding to the next layer . Enemies will often pop out shortly after destroying the Protector and sometimes you won't be able to shoot them down if you activate the cube right away. Just wait a few seconds and clear the screen until you're sure that no more enemies are coming. If the cube is getting off the screen, just shoot it one or two times to bring it to the center, then finish activating it when you're ready. When things get messy, remember to use Overdrives! They are great, not just because they will clear your screen from enemies but also they will pick any item for you automatically while they last! During the Area 4 boss fight, don't shoot the purple buttons on the striped walls (see screenshot below) unless you really need it. Behind these walls there are secret passages that contain several items, but if you open one of these a second too late you won't be able to enter it and thus you'll lose the respective item. Not shooting a button will prevent the additional item behind it from being counted in the final result. Area 5 is particularly hard due to its high number of enemies, longer Infiltration Phase and multiple bosses. Use Overdrives carefully and keep your eyes peeled for any item that might slip out. Shoot the large worm-like enemies in the head in order to kill them quickly and get the items they drop. During the last boss battle avoid shooting the X-Balls (the floating octahedra that sometimes open into a "X" form and shoot you, see screenshot below) since they will randomly drop items that can be easily missed, if destroyed. It might take a few tries to get full completion in all areas, especially Area 5, but following these tips you should eventually manage to make it. Of course you can always just play for 10+ hours and still get the achievement if you don't want to stress out too much. Ultimate Cracker Achieve the high score in five areas of score attack mode. The minimum amount of points required to beat the default high score is quite easy to reach, but here are some tips that can help you boost your score: The general tip is to shoot down as many enemies as possible, as well as shooting their projectiles. Enemies will fly away or disappear after a certain amount of time, so try to keep 'em on-screen as long as possible to shoot down their incoming attacks without losing them. Remember that enemy pattern will vary from Play Mode, so don't think you already know what to expect if you just cleared the areas normally. Try to chain your attacks as much as you can. A single deadly shot to an enemy will give you a certain amount of points, while multiple shots will get a multiplier up to 8x (which is the maximum amount of shots you can fire simultaneously). Overdrives will give you less points since no multiplier is applied, so it's best to avoid using them in this mode unless really necessary. Always pick up items as they will give you some extra point. Be particularly aware of the green items, which will give you 1000 point each. Just like in Normal Mode, bosses can come in three different forms: [Mega], [Giga] and [Tera] (you'll see it written next to the boss' name while entering the Boss Phase). [Tera] form requires a Shot Down rate of 98% or higher to be triggered. It's the form with the hardest attack patterns. [Giga] form requires a 95% Shot Down rate. It's the "standard" form. [Mega] form comes at any percentage below 95%. It's the form with the easiest attack patterns. It is obviously recommended to go for the [Tera] form, both for the higher Shot Down percentage and for the different attack patterns that can allow you to make extra points. When facing bosses, drag them out as much as you can and shoot their projectiles. Avoiding to attack the main core and letting the boss attack you can be a great way to farm points. Don't overdo it though, 'cause most bosses will self-destruct after a while and you might lose points if you don't give 'em the coup de grace yourself. Power Breaker Clear score attack mode 30 times. Ok, this one is...quite the overkill. There's no workaround for it, you just have to finish a score attack on any level for a total 30 times. With my tips you should be able to get the "Ultimate Cracker" achievement in less than 10 attempts, so all you have to do is keep playing the game and try to perfect your score every now and then until you unlock this. By far the most tedious achievement of the whole game. The Forgotten Achieve the lost area high score. Just follow the general tips I gave you for the Score Attack mode and you'll get the high score in this extra area without any problem. Firewall Buster Achieve the high score in boss rush mode. Drag each boss out as much as you can as I suggested on the Score Attack tips and you shouldn't have any problem reaching the high score. Remember that bosses will always be in [Giga] form. Trance Hacker Clear direct assault (trance). The second most tedious achievement of the game after "Power Breaker". The achievement description might be deceiving, as this is not about clearing the "Trance Mission". In fact, the Trance Mission is an endless loop of...well, stuff, and it cannot be "completed" in any way. In order to get this achievement you'll have to complete the Direct Assault, which is an endurance mode where you have to play all the game areas from start to finish. Problem is, you have to complete the whole thing a total of 6 times in 6 different variations of music, visuals and patterns. Yeah, even with the different patterns it can get boring after
ИсточникGHub Platform · автор14.09.2026, 01:31:55
Hello and welcome to my first guide! I will explain here how to unlock each and every achievement of the game. Most of them are pretty straightforward, but some of them can be a bit tricky and that's the reason why I decided to make this guide in the first place. Achievements are…
Войдите, чтобы писать в группе