Optimizing Story Choices and their Rewards
GHub Platform · Гайд · 0 ответов · 1 просмотр
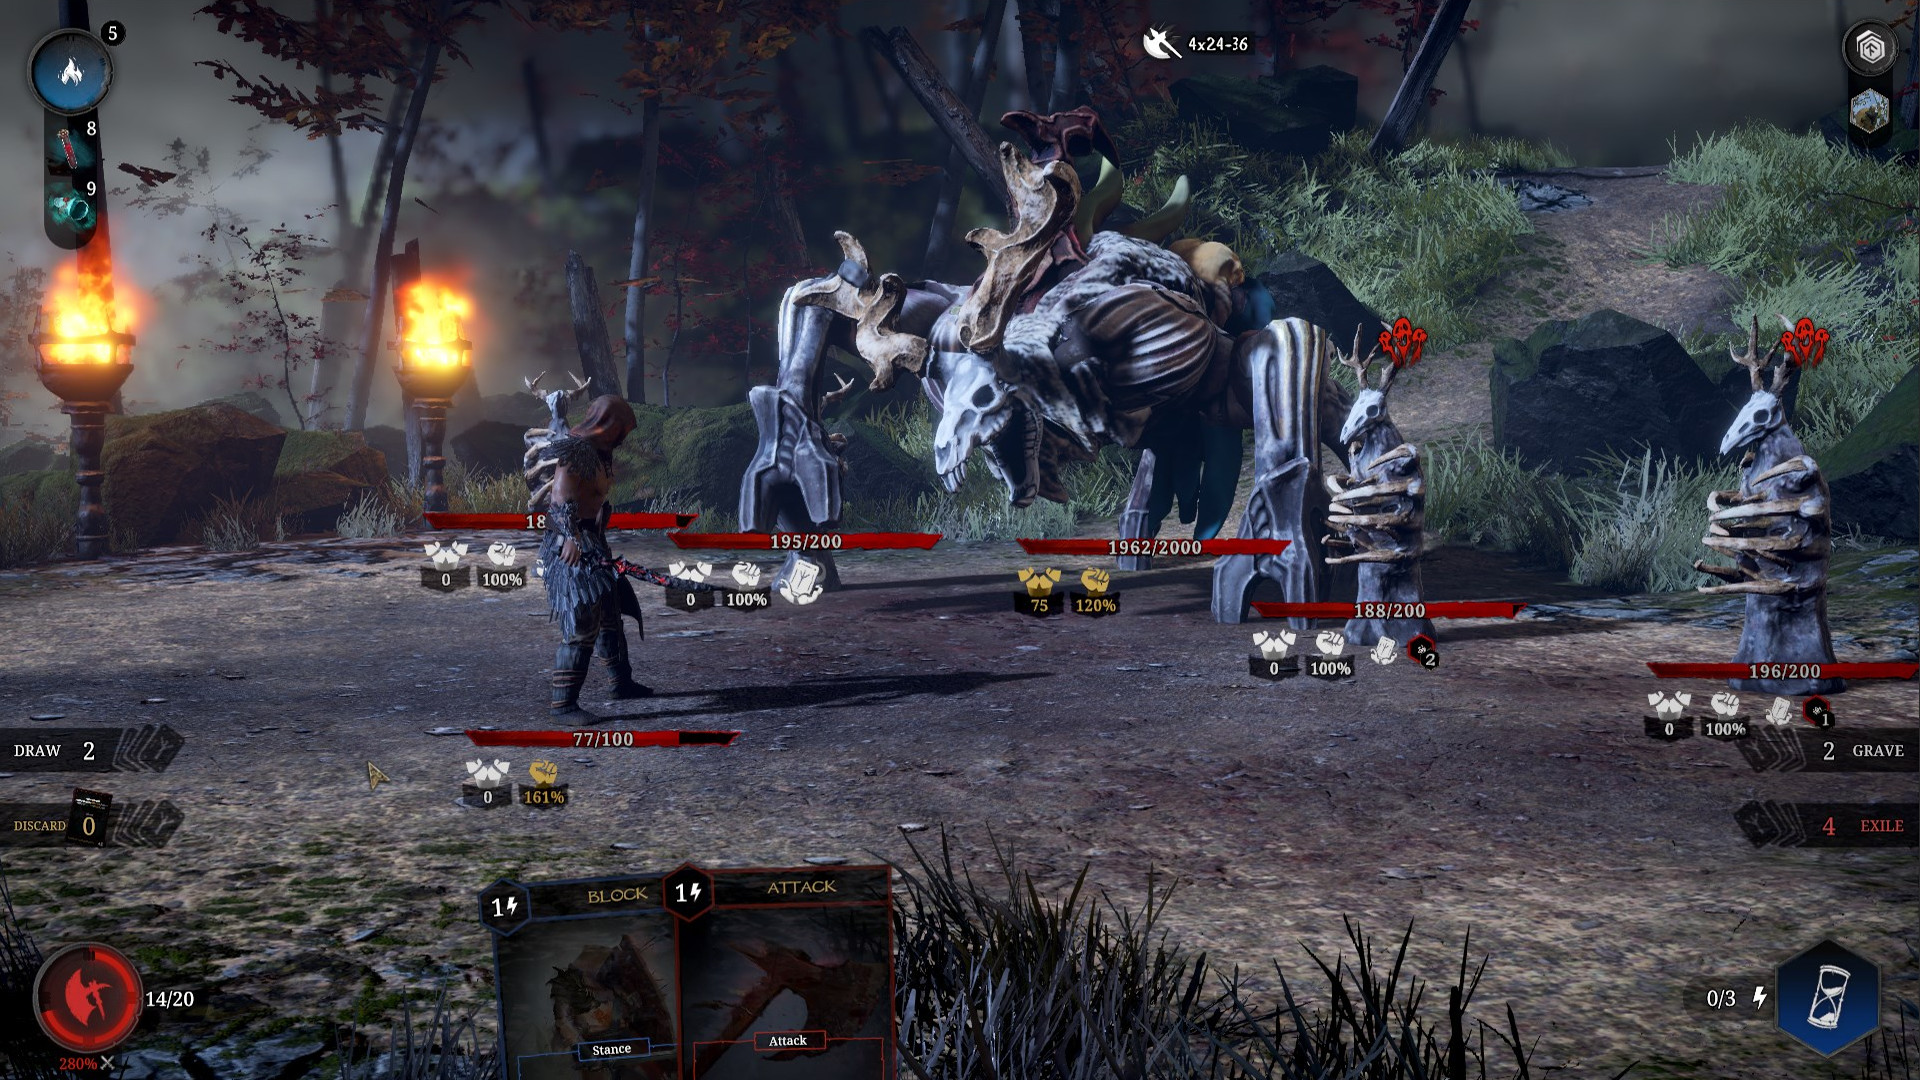
Tainted Grail: Conquest has branching story options, which offer permanent and branching rewards and sometime a lack thereof. The best choice is not always the obvious one; the reward for any choice is rarely announced in advance. At the moment most of those choices cannot changed. This short guide present you those options so that you can make informed decision where appropriate. Some choices temporarily prevent completing taking the game to its "100% story completion" until their permanent option is taken. For obvious reasons this guide is not ideal for a first playthrough. Finally only the choices are present in this guide. Quests and events preceding are kept to an absolute minimum. For complete quest information the wiki can be of help. [taintedgrail-conquest.fandom.com] Updates: 2022 Update: Added the hidden Bard reset option, thanks to the discord. 8/14 Tiny, tiny note about the Bard in Beta 1.1 7/21 Added the Seeking Traveler/Witch temporary choice (2 candles and a legendary card recurring gift) 7/20 Exact ritual for Confident Priest tested (7th) and added possibility of no fights for rewards. 7/17 Added 2 sort-of bugged options which lock you out content for the Ceremony and Drunk encounters. Spoilers Ahead Due to the nature of the subject involved spoilers are present. I do try to keep them to a minimum where possible, without making the guide useless or dull. Elderly Archer ("Flame Purifies All") Encounter: As himself on the map. Prerequisite: Recruit the Scientist or Candlemaker Option 1: Be kind. Tell him to forgive himself which require avoiding the choices "NO PUNISHMENT COULD BE ENOUGH FOR YOUR CRIME" and "NO. YOU DESERVE THE PUNISHMENT." The normal rewards in the future are doubled. Remove HP costs. Option 2: Be harsh. Choose the options above. Normal rewards stay unchanged. Remove HP costs. The Ceremony ("Bad Moon Rising") Encounter: Run-Down Windmill Pre-requisite: Obtain an Invitation (2nd encounter at the tavern fighting the drunk) Option 1: Choose "Spare" This allows you to fight bosses encounter on subsequent Run-Down Windmill encounters. The prefered option as they give normal boss rewards and you can't die from them. Option 2: Choose "Kill" In future Windmill encounter you will have the same fight as if you try to force your way in the first time you find the Windmill, 3 hard cultists with 500hp and 2 healing cultists with 250hp. Only a normal fight rewards and you can die. (Pseudo option 3: Give your Invitation, but choose to "Leave" on the next prompt. This completely locks you out as you won't get another invitation, as of v1.01a) The Bard ("World Fixed In Evil") Encounter: As himself on the map. Prerequisite: Complete his quest to return a certain weapon to him then meet him another time. Option 1: "LEARN A SONG OF FORGETTING" This sad and harsh option will allow you to remove 3 cards from your deck in future encounters, which is very good. Option 2: "NO. STOP. I PROMISE I'LL..." Maintain the regular choices on future encounters: A neutral card OR Forget 1 Card. Upon completion the bard will additionally join your village allowing you to pick a song from a list for him to play when you are there. Hidden reset: "You need to bring a special item to the bard. Setup you need: old merchant accessible before bard (you can check at the start of a run with the candlemaker to reveal.) After that you need to be lucky that he has the item in question for sale. The item you need is the “unidentified flower” -lMaltel Presumably work both ways -Me A Wrinkled Creature Encounter: As herself on the map. Option 1: Refuse Graciously Repeating rewards in the future are roughly twice better including better runestones. [taintedgrail-conquest.fandom.com] Option 2: Eat Inferior repeating rewards. Pied Piper Encounter: As himself on the map. Option 1: Be nice and patient with him. Choose the options "WHY WOULD I NEED A WEIRD FLUTE?", "ASK HIM TO STOP" then "OKAY, I'LL TAKE YOUR INSTRUMENT." Reward: Infinitely re-usable flute combat item and future encounters allow you to change the flute's effect. [taintedgrail-conquest.fandom.com] Option 2/3: Fight him, or leave. No Flute . Future encounters will be either Nothing or Being attacked with five rats. 50% chance. Rats grant a huge (2500) amount of experience. The Drunk Encounter: Obscure Tavern Prerequisite: Do a "Big Sacrifice" at the "Insane Cultists" encounter then use a Tainted Altar. First, choose the "I KNOW YOU'RE THE ROGUE CULTIST " option followed by "IT SENT ME, YES, BUT I DON"T HAVE TO OBEY". Then: Option 1: "Kill". (Generally preferred or so it seems) Tainted Altars offer a new option for a new kind of passive: Tests. Choose from 4 damage/60 max hp/20 armor but reduce by said amount for 5 fights. Tavern keep appearing but now does nothing at all (bad). Reduce odds of occurance All Mother's Altar. Presumably increase odds of Tainted Altar appearing. Option 2: "Spare". Tainted Altars now heal 40 HP after a one-time fight with cultists. Can fight the Drunk at the Tavern for his repeating encounter in the future (as before). The reward for those fights is 2 runestones and 2 items. Presumably the inverse of the previous option as far as spawning altars go. (Pseudo option 3: Choosing the option "The Reality is That You Die" instead of the option above locks you out of the quest as the entire quest dialogs will be gone on next visits as of v1.01a) Bullying the Merchant Encounter: The Marketplace Temporary Option 1: Gain 100 gold. This amount is modified by the usual difficulty bonuses, etc. Can be repeated on every future encounter. Has no negative implication and the money taken doesn't have to be paid back at all; option 2 will pay for itself. Permanent Option 2: Invest to unlock better store options . Best to do this in the medium/late game when money is no longer an issue. The Ghost Shop ("Til Death Do Us Part") Encounter: Ghost (Town) Pre-requisite: Recruited the Ghost at the Tavern Temporary Option: Do not take up his quest. You can still gamble normally. This will prevent him from repeatedly appearing on the map for his bad encounter which only gives a handful of Wyrdstone. Permanent Option: Take up his quest. Beside the encounter noted above, after completing his quest you will be able to buy his Neutral Card for 75 gold: Mystic Gamble (Gain 50% damage or 25 Armor for 3 Turns) A Squire and his Gold Encounter: As himself on the map. Pre-requisite: Rescuing the Master-At-Arms from the Cursed Broch Temporary Option: On repeated encounters the Squire give you the option of either trading any runestone for a passive giving +25% to Gold Acquired or 75 gold for free. Permanent Option: Talking to the Master-At-Arms and starting the quest "Semper Fi" will stop the previous encounter from continuing. On completion of the quest gain the option to buy Tactic Mastery for 75 gold (Discard all card. Draw as many card and reduce their cost by 1.) The Confident Priest's Journey ("With Madman's Faith") Encounters: Confident Priest, All-Mother's Altar Temporary Option: Accept to do her Quest (Faith, by "taking pity on her"). Do not complete it. You can pray up to the Seventh Ritual (50hp per prayer) at the altar to strengthen it, if you want, as seen here. [taintedgrail-conquest.fandom.com] By choosing this temporary option the Confident Priest will keep appearing on the map, gifting you either 3 Healing Potion or Legendary Card: All-Mother's Blessing (Create 100 Barrier, 2 Charges) at the cost of a possible fight (50%?). Permanent Option 1: Complete her quest and tell her to abandon her journey . She no longer appears on the map. No bonus over what you normally get by blessing the altar. Permanent Option 2: Complete her quest and tell her to co
ИсточникGHub Platform · автор14.09.2026, 02:33:14
Tainted Grail: Conquest has branching story options, which offer permanent and branching rewards and sometime a lack thereof. The best choice is not always the obvious one; the reward for any choice is rarely announced in advance. At the moment most of those choices cannot change…
Войдите, чтобы писать в группе