👑 Crown Chase ModKit: The Official Guide to Creating Arenas
GHub Platform · Гайд · 0 ответов · 5 просмотров
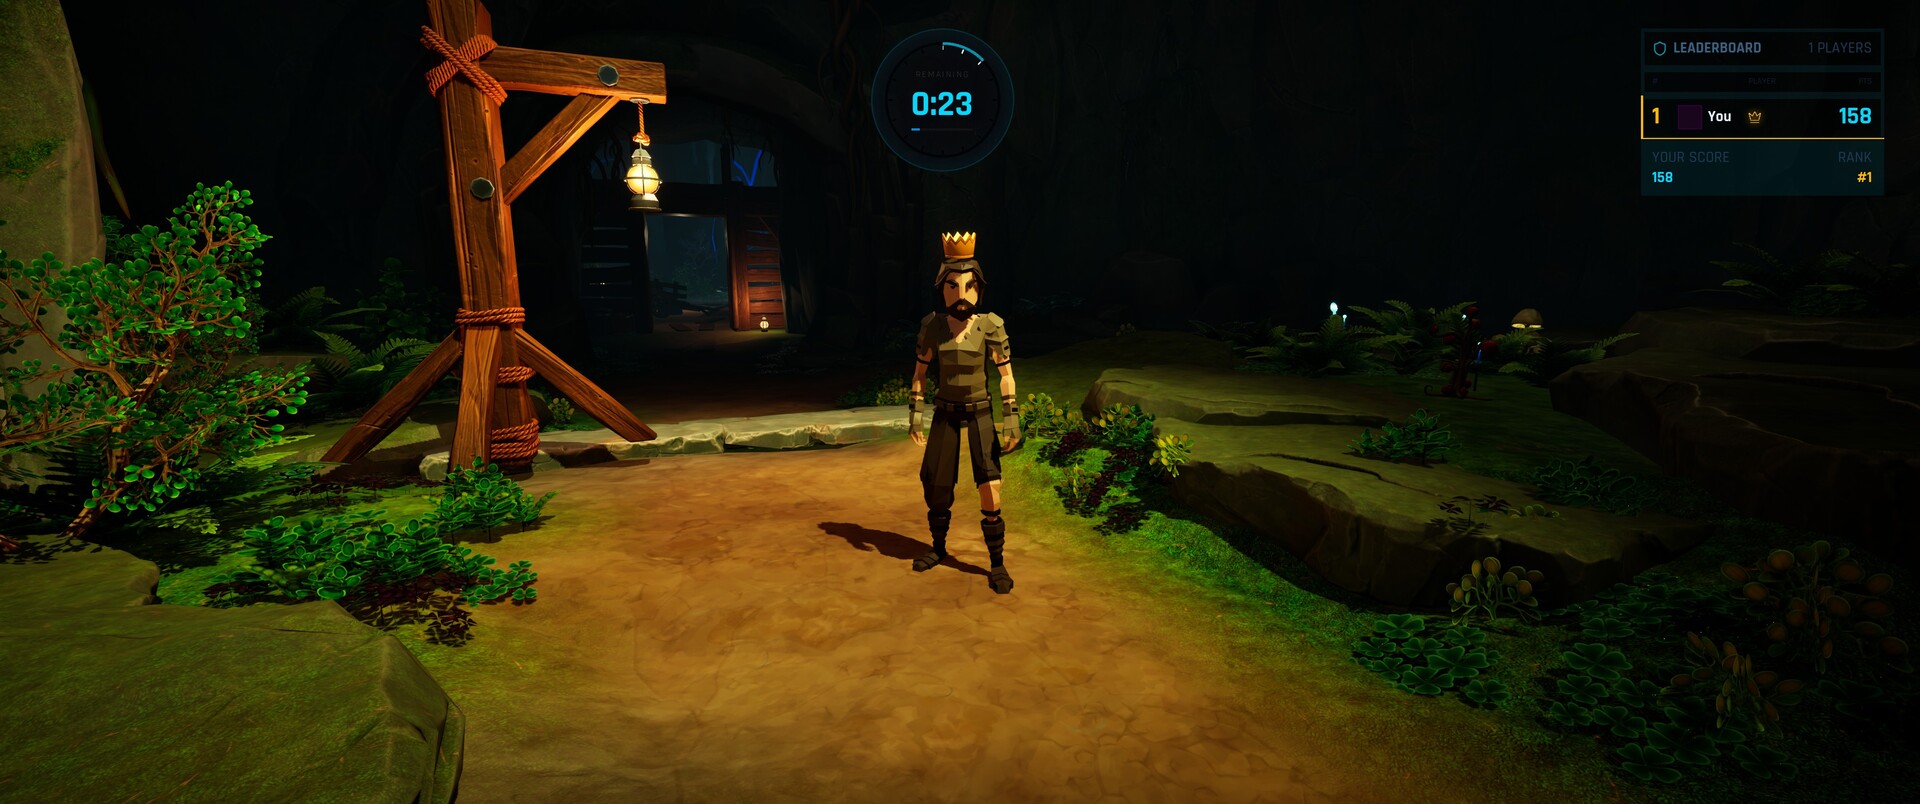
Welcome to the Crown Chase modding community! With full integration with Steam Workshop, you can create your own crazy arenas, set traps and share them with friends. This guide will take you step by step from creating an empty level to a ready-made .pak file. Downloading and installing ModKit (Preparation) Before you create your first arena, you will need an official set of developer tools. Download the ModKit archive at this official link: 👉 Download [drive.google.com] Unpack the downloaded .zip archive in a place convenient for you on the computer (preferably, the path to the folder does not contain Cyrillic). Make sure you have Unreal Engine 5.5 installed. Find the Crown.uproject file in the unpacked folder, open it — and you are ready to create your first arena! The most frequent error of beginners — saving the map in the main folder of the project. In order for the game to see your mod, the map itself and absolutely all the files used on it must be located exclusively in the folder of your plugin. 💡 Tip: ModKit already has a ready-made test plugin (for example, TestArenaMod). You can open it to see how everything works, or use its folder as the basis for creating your first arena! Open Crown Chase ModKit in Unreal Engine 5.5. In the Content Browser window, make sure you have plugin display enabled (Click Settings ➔ Show Plugin Content). Find your mod folder (eg Plugins/TestArenaMod Content/). Right-click in this ➔ Level folder. Name your map. ⚠️ CRITICAL RULE: All objects you add to your map (3D models, materials, textures, sounds) must also be stored inside your plugin folder. If you use an aset from the generic Content folder of ModKit itself, the packer will consider it part of the "basic game" and simply will not add it to your mod. The player will see a void instead of this object. Open the created level and build your arena. In order for players to appear in the arena correctly, and not fall from the sky or teleport back to the forehead, you need to correctly adjust the starting points. Find the Player Start object in the Place Actors panel and drag it to the map. Make as many copies as your arena supports players. Highlight all your Player Starts on stage. In the Details panel, find the Actor ➔ section, expand the advanced settings (down arrow) ➔, find the Tags field. Press + and add the tag: StartGame. Important: If you forget to add a tag, the game will try to find any available spawn points. But having a StartGame tag ensures that players do not appear on each other and do not end up in the technical areas of the card! Avoid using the StartLobby tag. To turn your card into a ready-made mod, Unreal Engine uses a DLC system. To do this, we need to create two packaging profiles: the first will create the "base" of the game (done only once), and the second — will package the mod itself. On the top panel of Unreal Engine, click Platforms ➔ Project Launcher. Scroll down to Custom Launch Profiles section. Creating a basic profile (1_Base_Release) This profile is needed by the engine as a reference point. He says, "This is what a mod-free game looks like, don't pack these files into players' mods". Click the Add button in the Custom Launch Profiles section to create a new profile. Above in the Name field, name it 1_Base_Release. In the Project section, select your current project. In the Cook section: - Choose the By the book method. - There is no need to select anything in the list of cards (Cooked Maps), leave it as it is. Scroll down to Release /DLC /Patching: - Check the box next to Create a release version of the game for distribution. - In the field below it, enter the version of the release: 1.0. Click the Back button in the upper right corner to save the profile. Create a profile for your mod (2_Build_DLC) You will always use this profile to create your .pak files. Click the Add button again in the main Project Launcher menu. Name this profile 2_Build_DLC. In the Project section, select your current project. In the Cook section: - Choose the By the book method. - Expand the list of Cooked Maps (or Select Maps to cook) and be sure to check your new card (which lies in the folder of your plugin). In Release /DLC/Patching: - Check the box next to Build DLC. - The Name of the DLC to build field will appear. - ⚠️ ️ CRITICAL RULE: The name of the DLC in this field should MATCH PERFECTLY with the name of your plugin folder. If the folder is called MyAwesomeArena, then this field should also contain MyAwesomeArena. If the names differ, the engine will not find your files! - Check the box next to Build DLC based on a release version. - In the field below it, enter the same version of the database that we created earlier: 1.0. Click the Back button to save the profile. Starting the database packaging Since the base profile (1_Base_Release) only needs to be created once for your ModKit, let's do it now: Find your 1_Base_Release profile in the list and click the Launch button next to it. Wait for the green inscription BUILD SUCCESSFUL to appear. Now the engine is ready to pack your mods! Fashion packaging (.pak) When all settings are saved, it's time to assemble the mod. In Project Launcher, click the Launch button next to your profile (2_Build_DLC). Wait for the process to complete (green inscription BUILD SUCCESSFUL). Open the folder on your computer where the collected mods are stored (usually this is specified in the profile settings, for example, ModKitPaks/Windows/). Find your ready-made .pak file there. 🛠️ ️ Problem Solving (Troubleshooting) Problem: My.pak file weighs only 603 bytes and the card does not load in the game. Solution: This means that the driver has not packed anything. Go back to Step 3 and make sure you check the box next to your card in the Cooked Maps list and the DLC name exactly matches the plugin name. Also, make sure your card lies in the plugin folder, not the main Content folder. In order for other players to download your map, it must be published in the Steam Workshop using the official SteamCMD utility. SteamCMD Downloads Download the official SteamCMD utility from Valve (just type "SteamCMD" into Google and go to the Steam documentation page). Create a new folder on your disk, such as C:\SteamCMD, and unpack the downloaded archive (steamcmd.zip) there. Preparing your mod files Before publication, you need to collect all the files in one place: Create a new folder to download, such as C:\CrownChaseUpload\. Copy your ready-made arena file (.pak) that you created in Step 4 to this folder. Add a preview image to the same folder (for example, preview.jpg no larger than 1 MB). This is the picture players will see on Steam Workshop. Creating a configuration file (.vdf) SteamCMD uses a special text file to understand which game you are updating and what your mod is called. In a folder with SteamCMD, create a plain text file and name it UploadMod.vdf. Open it via Notepad and insert the following code: "workshopitem" { "appid" "5020920" "publishedfileid" "0" "contentfolder" "C:\\CrownChaseUpload" "previewfile" "C:\\CrownChaseUpload\\preview.jpg" "visibility" "0" "title" "The name of your Arena" "description" "Description of your map for players." "changenote" "The first release of the map!" } What needs to be changed here: appid: Leave 5020920 (This is the official identifier of the game Crown Chase on Steam). publishedfileid: Leave 0 for the first download of the new map. (If you update an existing map, you will need to enter its ID from the Workshop page here). contentfolder: Specify the exact path to the folder with your .pak file (pay attention to the double slashes \\). previewfile: The way to your picture. title and description: Enter the name and description of your arena. visibility: 0 (Public for eve
ИсточникGHub Platform · автор14.09.2026, 03:46:54
Welcome to the Crown Chase modding community! With full integration with Steam Workshop, you can create your own crazy arenas, set traps and share them with friends. This guide will take you step by step from creating an empty level to a ready-made .pak file. Downloading and inst…
Войдите, чтобы писать в группе